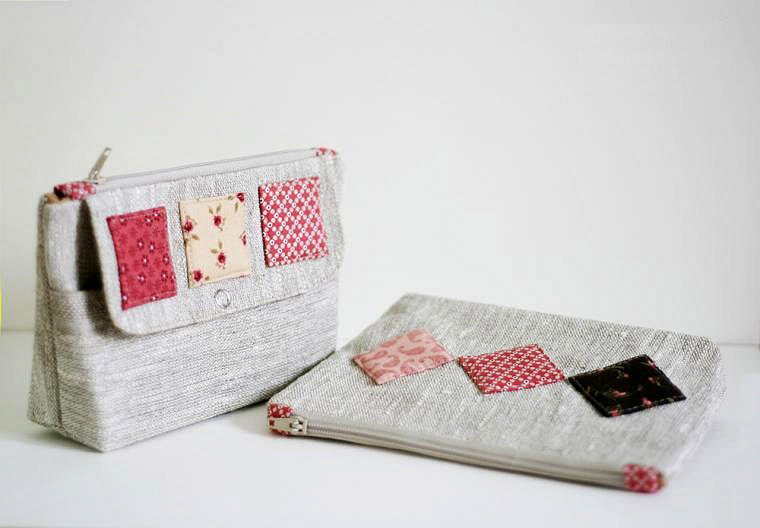
Cosmetic Bag of linen with two compartments. DIY Tutorial in Pictures.

From flax we cut two rectangles 22 cm by 18 cm, one rectangle 22 cm by 13 cm (pocket) and a rectangle 18 cm by 8 cm with rounded edges (valve). Duplicate all the details, except the pockets, from the fabric (or fabrics) for the lining. From paper or plastic we cut out three squares of 4 cm by 4 cm.

Let's start with the decor. We take one of the squares and paste a piece of fleece on it.

Now take a piece of colored cotton and cut out of it a box a little more than a paper one.

We glue the two sides of the fabric onto a square:

Likewise we make out the remaining squares.

Put the squares on the linen piece for the valve.

And sew them

Top, face down put the second part of the valve, stitched by three sides, process margin.

We turn and iron with an iron. We put the top part of the button-fastener.


Now a zipper for the bag.

Now we collect the construction. We put flax, on top of the valve, on top of the zipper.

And lining bags

Stitched by along the zipper, turn around, stripped, put decorative stitching along the zipper. One end of the zipper bag was sewn.

Likewise, sew the second end of the zipper.


Pin the pockets with the pins, after having put the bottom of the button on it.

We unfold the outer parts to each other, the parts of the lining of the bag are also to each other.

Stitched by the perimeter, leaving an opening to evert the lining.

Putting the lower side seam and transversely stitched by forming a volumetric bottom.

We do this on both sides and on the lining. We cut off excess along the seam.

It remains to unscrew the bag and steam off. Pleasant creativity!


SUPER MERCI POUR VOTRE TUTO BIEN JE NE CONNAIS PAS LA LANGUE ANGLAIS MAIS AVEC VOS IMAGES CELA EST SUPER BIEN EXPLIQUER MERCI DU PARTAGE
ReplyDeleteLILIANE
XXX MERCI DU PARTAGE BIEN JE NE CONNAIS PAS L ANGLAIS MAIS AVEC LES IMAGES J E POURRAIS SUIVRE ETAPE PAR ETAPE ,MERCI UN GRAND BRAVO
ReplyDeleteLILIANE
Wow, toll!!! Mein nächstes Projekt. Setz mich heute gleich hin und fange an. Tolle Idee mit den gepolsterten Pads. Danke für den Tipp.
ReplyDeleteLovely. Thanks for the nice tuitorial. Made a couple of them to gift my friends.
ReplyDelete