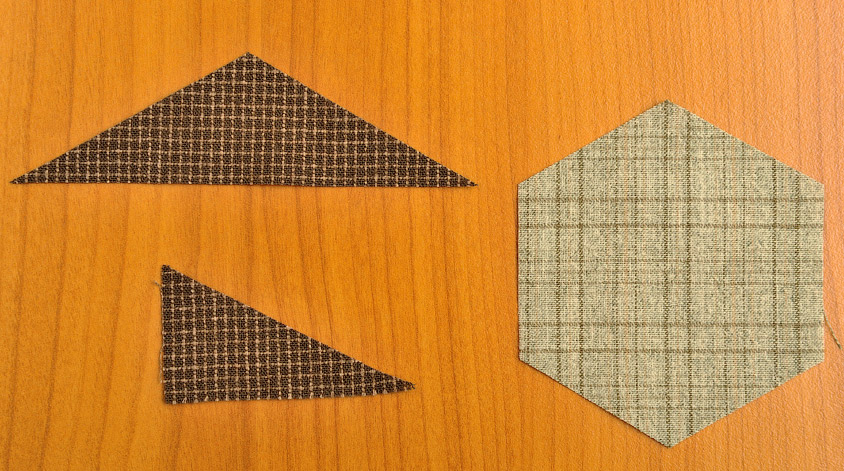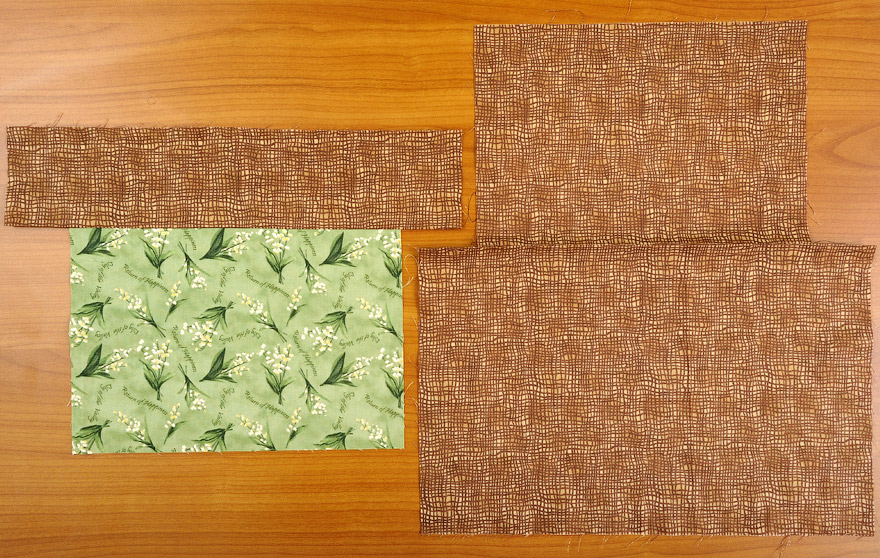

For the bag, you will need a dozen and a half fabrics of various colors, a lining material, a lining fabric, a clothesline, a 35cm zipper.
Download and then print the bag patterns. According to this link, the patterns of the front part of the bag are given in full size, and the bottom pattern is on a scale of 1: 2, but if you have the opportunity to print this part in full size, i.e. in A3 format, then take the bottom pattern file from here.
Make a hexagon, two triangles and the bottom of the bag, the most convenient for this is to use plastic. The seam allowances are accounted for and are 0.65 cm!
Using the obtained patterns, cut 60 hexagons, in my case - 2 of each of the selected colors. And using the patterns of triangles from the fabric of the same color, carve out 22 large triangles and 4 small ones.

For the lining of the bag, cut out the following details: a rectangle of 31.5x37 cm, and for the part of the lining where the pocket is located, cut out two rectangles of 8.9x37 cm and 24.7x37 cm.
Also cut out the following pocket details: from the fabric for the lining, a rectangle of 20.8x38 cm, and from the contrasting fabric - 20x38 cm. I like to use lighter fabric for the pocket, because the content is better seen.
You also need to carve out the zip strip of the main color fabric 5x37 cm - 2 pcs.

Sew all the hexagons and triangles as shown in the photo. You can do this in any way convenient for you. I did it manually.
Also, for the front part of the handbag, you will need to cut out 2 strips of cloth of the basic color 4.5x73.7 cm (specify this size according to your own sewing, when all the polygons and triangles have been collected).
Sew these strips to the main stitching. Place the obtained part on the gasket material, smooth it well and sweep it up for further quilting. I gave a stitch inside each hexagon, retreating 0.65 cm from the seams, the triangles quilted into the seam.

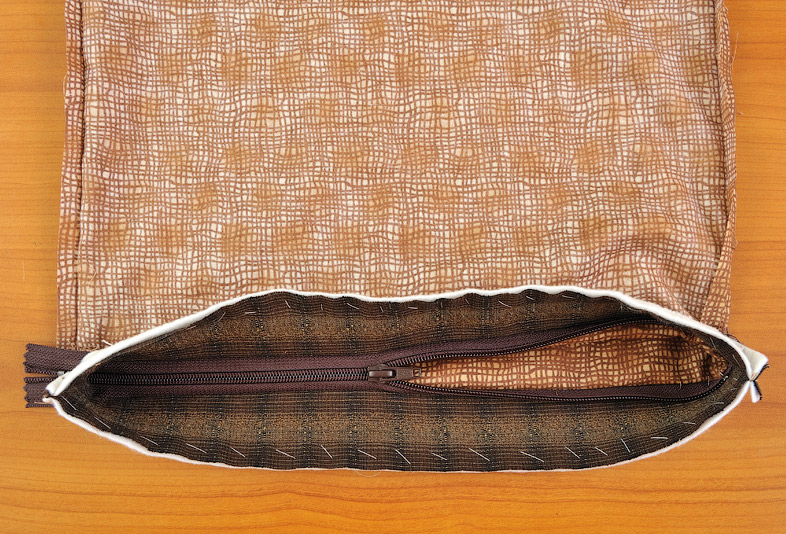
Cut out 2 shims for 7x39 cm zippers. Bundle the slats together with the shims, cut off the excess shim fabric.
And sew the quilted upper part of the bag by hand, as shown in the photo.

Getting down to making the lining of the bag. I will show you the fastest and easiest, in my opinion, method of making a lining with two pockets.
Prepare two parts of the side of the lining, where we have a pocket and sew to them the details of the pocket as shown in the photo.

Iron the obtained parts, as in the photo, and stitch them, retreating from the edge of both parts of the lining with a pocket a couple of millimeters, but scribbling not the whole part, but only along the width of the pocket, not reaching one centimeter to the very edges of the pocket.

Put one part on another, pin them together and sew on both sides those parts that we haven’t scribbled on in the previous photo. Moreover, it is necessary to scribble, as if continuing our line of stitching.

Our lining details are adhered, now we need to "create" a pocket. Backing off about three inches from the three not yet sewn edges of the pocket, draw a pencil line and stitch it over them. That's it, your pocket is ready. Do not forget to sew stitches when sewing pocket in all its "thin" places.

But our pocket is very large, so we will make two pockets out of it, one of which will be for a mobile phone. To do this, measure your phone, add a little bit of freedom to fit and stitch directly on the pocket as in the photo inside the pocket.

Now you can sew the lining and attach strips to it with a zipper

Making handles for bags. For this you will need:
Two pieces of cord 50 cm each
Lining material (the densest polyester batting, for example) - two strips of 15x50 cm
The fabric of the main color is two stripes, cut out on a slanting 6.5x55 cm

Using a needle and thread, wind the cord very tightly in a polyester batting.
Fold the strips for the handles twice face inward, stitch them on a typewriter and turn them on the face. You get two tubes.

Retract the cord into the handle part. The pen is ready. Make the second one.

Brush the handles of the bag in the right places as shown in the photo and fix them by stitching on the machine, retreating from the edge of the bag less than 0.65 cm.

Making the bottom of the bag.
Using the pattern of the bottom of the bag from the fabric of the primary color, as well as cushioning material and fabric for the lining, carve out one piece at a time. Place the piece on the fabric on the oblique line. Fold these parts together in the following order: face-down lining, gasket, bottom part of the main fabric face-up. Quilted sandwich.
And maybe you want to sew the bottom of the lining to the lining itself, so that later there is no need to process anything. In this case, your "sandwich" for stitches bottom will consist of a gasket and the front part.

To handle the bottom of the bag, you will need a bias tape. There are several options depending on how you decide to sew the bottom to the bag. If the seam is outward, then you will need an bias binding from the fabric of the main color 6.5x80 cm. Fold it in half with your face outwards along the long side, iron it already folded in half and sew it to your bag.
The second option is if you sew the bottom with a seam inside the bag, then you can take a ready-made bias binding of a suitable color not less than 2 cm wide.
Helpful advice. If you made the bottom of a plastic bag, then cutting off the seam allowance from it, you can insert it into the bottom of our bag. But then you should not stitch all three parts of the bottom at the same time, but only its front part and the gasket. Put a plastic under the lining.

Throughout the project, allowances for seams of 0.65 cm are calculated. But there are places where these allowances are 1 cm: on the slats at the places of sewing on the zipper, on the lining at the places of pocket plunging, on the pocket itself on all four sides.


0 comment:
Post a Comment