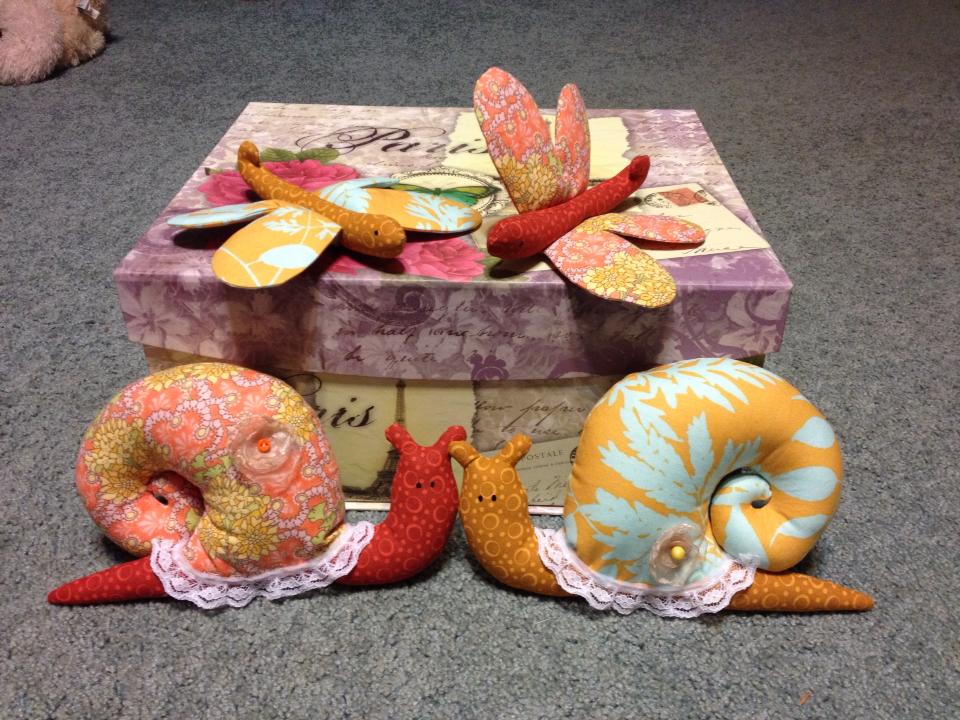
Today I want to offer you a DIY, you'll be able to make this cute decorative snail :)
You need:
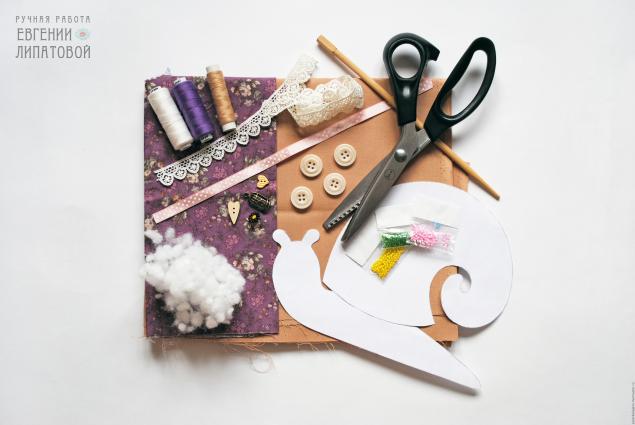
- two kind of fabric: for body and the shell
- threads to match the fabrics
- needle and pins
- sewing machine
- scissors (I have a kind of zag-zag, but you can use a simple)
- soft pencil or a piece of soap (chalk)
- sushi sticks (it'll be useв for turning and stuffing the blanks)
- hollofayber for stuffing
- materials for decoration (ribbons, buttons, beads, charms, stripes, lace, paper flowers, etc.)
- instant glue (if some element of the decor will be impossible to sew;))
- black acrylic paint (to draw the eye)
- author's Tony Finanger pattern
- iron
So, get inspired and begin :)
Print the pattern on A4 paper. Cut out the pattern.
2. Carefully iron the pieces of fabric folded in half.
3. Then pin them to the pattern and trace the outline with the pencil. Remember about 3-5 mm for allowances (
including the bottom of the shell).
4. Remove the patterns and again pin the fabric to fix them.
5. Stitch the parts along the contour (
the places marked on the pattern with a dotted line are not sewn up because they are used for stuffing) and cut out, leaving allowances. I do it with zigzag scissors.
6. Now, turn the workpiece outside in. Use sticks for sushi. Then iron the balnks.
7. The bottom of the shell is folded and sewed slightly — for more convenience when stuffing.
8. Fills the blanks with holofiber. Stuff the snail tightly and carefully, to avoid lumps and folds on the fabric.
9. When the both parts are filled, the hole in the body is sewn up.
10. Now sew the snail into its "house" :) To do this, first pin the shell to the body so that when sewing it did not move out.
11. Sew the shell to the body with a concealed seam. Anyway, the base of the shell will be then decorated.
12. Let's play now!
I suggest first just pin decorative elements to
the toy, to make the composition, select the best of them and start to
sew and glue.
Dot eyes can be drawn with black acrylic paint and toothpicks, and it is possible to embroider with a French knot.
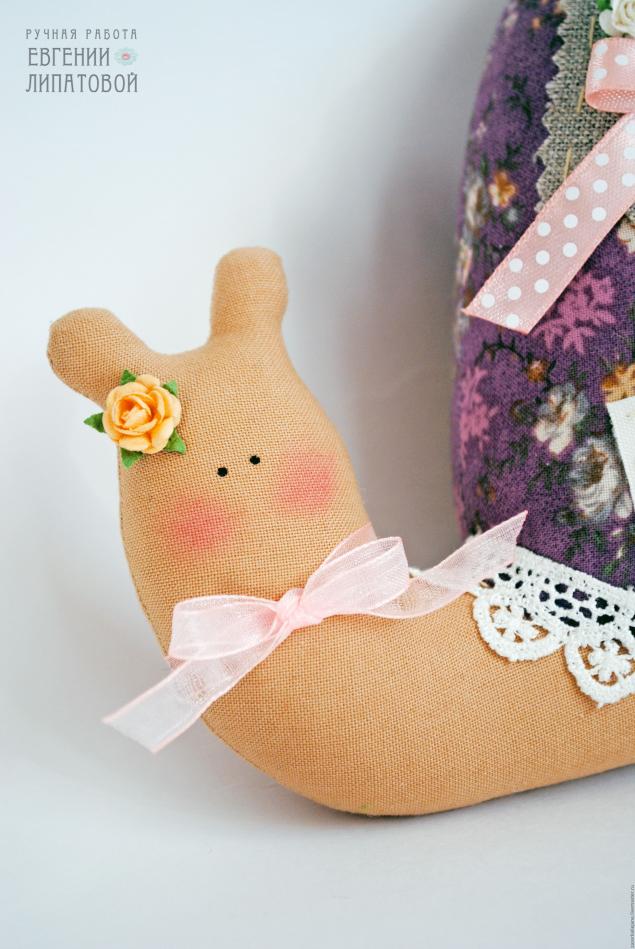
To complete the image, I stuck a paper flower in the 'hairdress', rouged cheeks.
13. And now, the textile snail is ready! :) All in all, it took me 3
hours. So, as you can see, you can make a handmade gift fairly quickly,
the main thing is just to want it ;)
Author: Evgeniya Lipatova


c' est trés trés jolies belles réalisations je pense essayer félicitations j' adore a trés vite
ReplyDelete