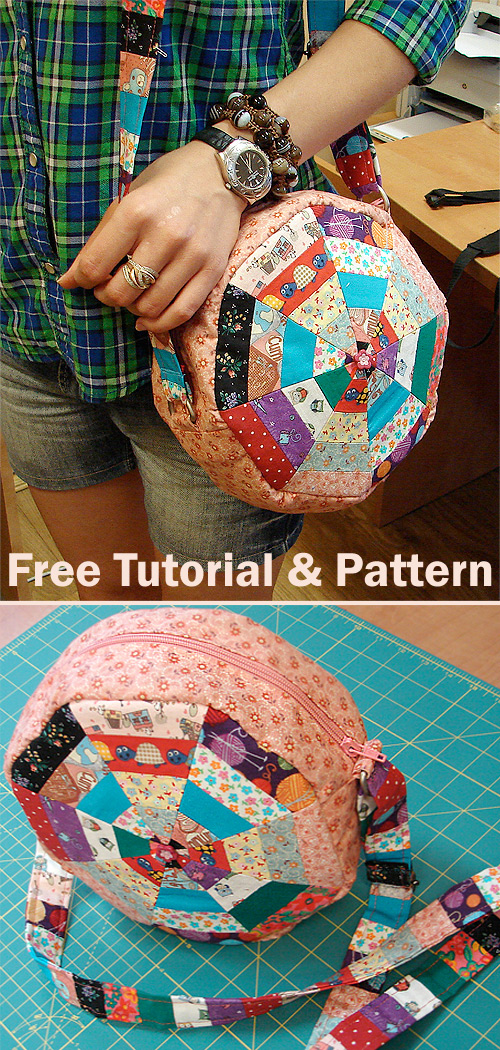

To sew a block, you will need to cut out five strips 4 cm wide. and approximately 40cm long. Sew them together. From plastic, cut the triangle pattern (angle of 45 degrees). And putting the curve to the canvas, cut the fabric into triangles, as shown in the picture:

The block contains eight triangles, sew them in pairs:

For a decor we sew to the center a button.

Now we take on the lining of the bag: I bought an already-stitched lining fabric with padding polyester. Cut out two octagons of this size as a finished block. And one more rectangle for a 10x12cm pocket. Let's give it a beautiful shape, slightly rounding the edges on one side. To handle the pocket border, open the 4x40cm strip.

We process a pocket with bias binding

Cut out two strips of facial tissue and two strips of lining fabric. Press as shown in the picture:


The same is repeated from the front. Now you can stitch on the machine and remove the basting seams.

For straps 3 cm wide, cut out two strips of 6x15 cm. and press them with a 1.5 cm allowance.

Bend the strips in half and sew as shown in the photo:

Now sew straps.

Close the seam:


We sew strips from lining fabric and from seamy side. (The length is better to take with a margin of approximately 40 cm).

Now we pin pins on the zipper of the bag to the front sheet. Sew on.


It looks like a bag from the wrong side. It remains to process the edges of the border.

Is done.

I sewed the handle of the bag from the remnants of the patchwork fabric, as shown in the photo. Handle length - at its sole discretion.

We collapse the strip as in the photo. Stitching.


Спасибо!!!
ReplyDeleteReally nice and a beautiful present for christmas.
ReplyDeleteThanks very much for the explanations.
Felicitaciones, muy hermoso.
ReplyDelete