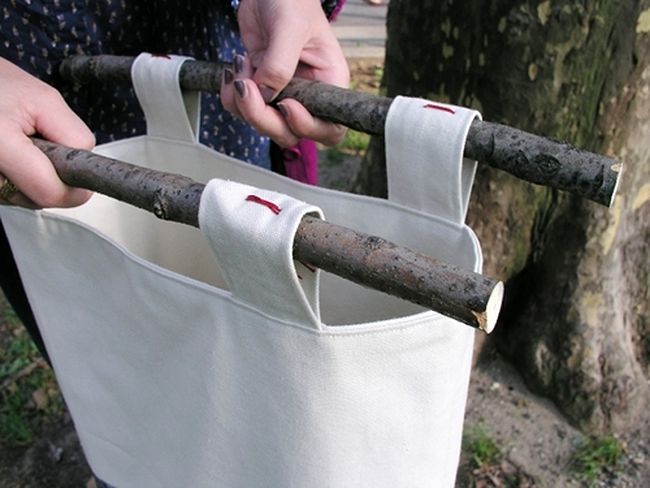
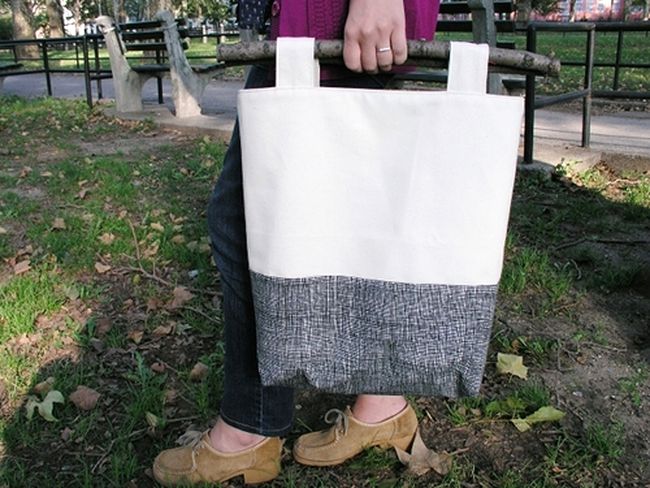
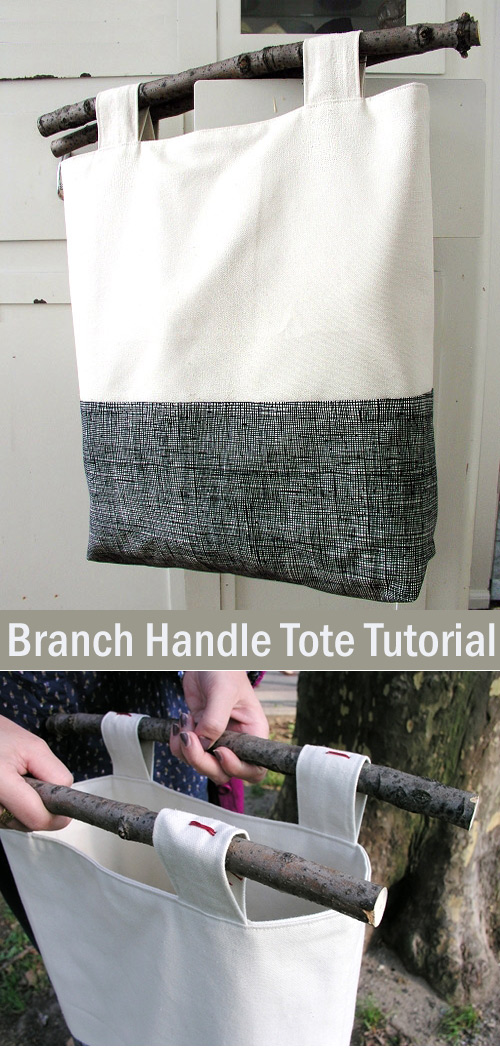
Add a little autumnal flair to your fall wardrobe with this rustic tree branch tote! This sturdy piece is great for carting daily necessities on your commute or for more outdoorsy tasks like packing a picnic or carrying camping supplies.
The bag itself features a basic construction that can be adapted and used with any type of handle, so if the branches aren’t quite your thing, it’s easy to make fabric straps instead. Look for nice, straight branches that have fallen from trees in your local park or woods or, if you can’t find any, check at a floral supply shop.
Let’s get sewing!
Materials
1 yard heavy-weight fabric, such as canvas
1/2 yard coordinating fabric for color blocking
2 branches, about 1″ in diameter and 17″ long
saw
drill
twine
long needle
sewing machine
iron
basic sewing supplies
1. Cut the fabric.
Cut the following pieces from your fabric:
(2) lining pieces measuring 18″ wide and 20″ long, with a 2″ square cut from the bottom corner of each (shown above on the right in solid beige)
(2) exterior pieces measuring 18″ wide and 20″ long, with a 2″ square cut from the bottom corner of each (shown above on the left). To make a color-blocked tote, you can seam together two contrasting fabrics for the exterior pieces — just sew the two fabrics together with a straight seam, then trim the resulting seamed piece to the necessary dimensions.
(4) tabs measuring 5″ wide and 7″ long (shown above on the top right)
Here’s a detail shot of what the bottom corners will look like with a 2″ square cut from each corner.
2. Sew the exterior.
Place the two exterior pieces together with right sides facing, and pin along the two side edges. Sew each side edge with a 1/2″ seam allowance, stopping the seam before you reach the cut-out corner.
Next, sew the bottom edge in the same way (again, leave the cut-out corner unsewn for now).
Press all the seams open.
3. Sew the corners.
Here’s what the corners will look like after sewing the side and bottom seams.
Spread the two exterior pieces apart and bring the raw edges of the corner together, so that the side and bottom seams are meeting up in the middle, as shown here.
Sew along this edge with a 1/2″ seam allowance.
Trim away about 1/2 of the seam allowance, then turn the piece right side out and press the corner seam. Repeat for both corners.
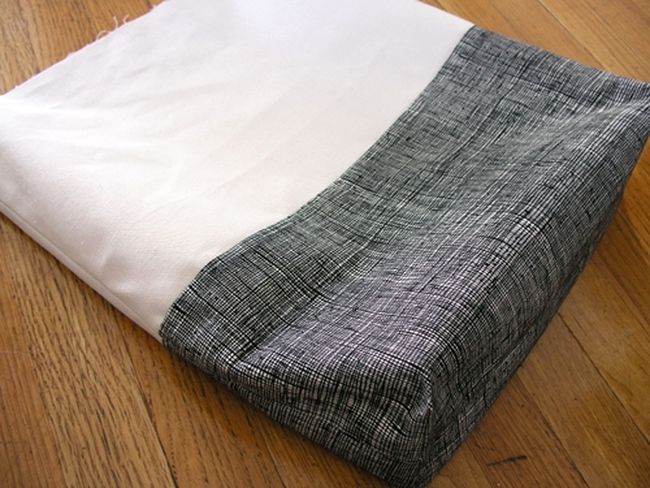
The exterior is now assembled. Here’s how it will look at this stage.
4. Sew the lining.
The lining is assembled much like the exterior, except that you have to leave an opening in the bottom seam. First, sew the side edges just as you did for the exterior. Next, you’ll sew the bottom seam BUT leave an opening in the center of the seam. In the photo above, the pins mark the area that will be left open. Sew the areas on the outside edges of the pins.
Finally, sew the corner seams of the lining just as you did for the exterior. Remember to press all the seams as you go.
5. Sew the tabs.
Fold each tab piece in half lengthwise, with the right sides together. Sew the long raw edges together using a 1/2″ seam allowance.
Turn the piece right side out and then press it with the seam centered in the middle on one side.
Top stitch along each long edge of the tabs.
Fold the tabs in half so that the side with the seam is on the inside, where it will be hidden. Pin each folded tab to the top raw edge of the exterior piece, positioning the tabs 3″ in from the sides of the exterior.
Sew the tabs in place using a 1/4″ seam allowance. (Note the 1/4″ seam allowance here, not 1/2″ as we’re using elsewhere. This ensures that this seam will be hidden later on.)
Here’s how the exterior of the bag will look after all four tabs are attached.
STRAP VARIATION: To make fabric straps instead of tabs for branches, make two long straps (beginning with two pieces of fabric measuring 5″ wide and 30″ long), sewing the straps in the same way as the tabs. Attach one strap to each side of the exterior, then proceed with the rest of the tote as follows.
6. Join the exterior and lining.
This is hard to show in a photo, but here’s how to join the exterior and lining. With the exterior RIGHT SIDE out, place the lining WRONG SIDE out directly over it. The exterior will be completely covered by the lining, with the tabs sandwiched between them. Align the side seams of the exterior and lining, and pin the pieces together all around the top raw edge.
Sew along the top raw edge using a 1/2″ seam allowance.
Next, turn the lining up over the exterior, carefully working it through the opening left in the bottom of the lining. Sew the opening closed, then tuck the lining down inside the exterior. Press the top edge where the lining and exterior meet.
Finally, top stitch all around the top edge, and you’re done sewing!
7. Attach the branch handles.
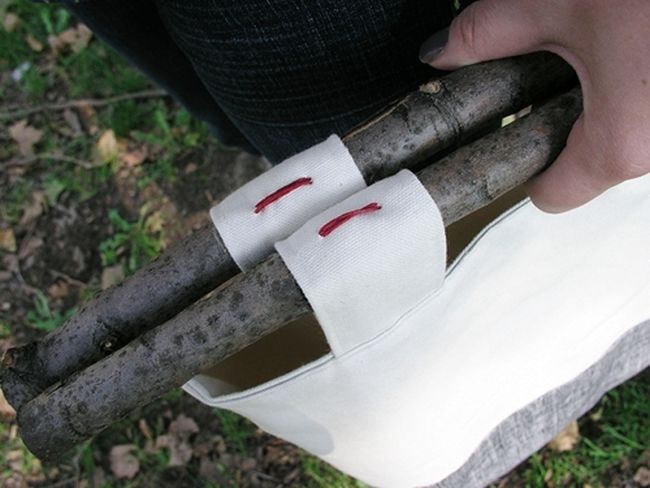
Using a saw, trim the branches so they are as wide as the tote. Place the branches inside the tabs and mark the spot where the tabs meet the branches. Drill two holes to attach each tab. (Note: The easiest way to cut and drill the branches is to fasten them to a work table with clamps.)
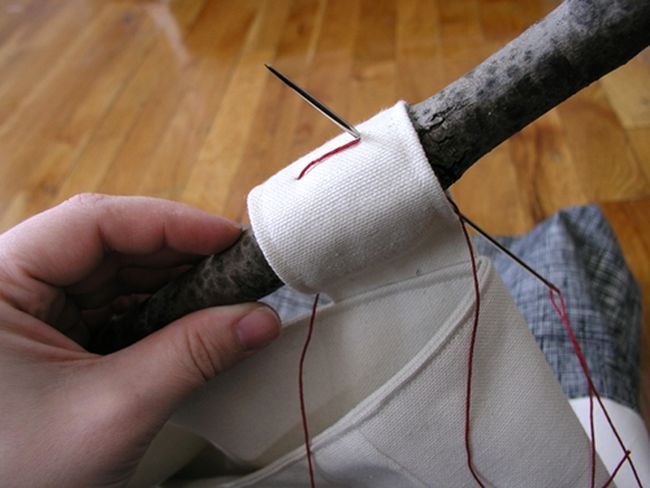
Using a long needle and twine, sew the branches to each tab with a few large stitches. (I’m using an upholstery needle here, which is a handy tool to have in your arsenal for miscellaneous crafty tasks.) Be careful on this step, as you may have to wrestle with the needle a bit. Make sure you always have the needle pointed away from yourself.
And you’re done! Take a nice, long walk in the woods (or in my case, the park) and enjoy your new tote!







This tote gives me a happy fall feeling. I would love to make it with a burnt orange or maroon color for the bottom fabric.
ReplyDeleteI am big fan of Sewing. I am not professional sewing expert. But, always try to make few new things with help of Sewing tutorials. This is one of best sewing tutorial which I ever read. I love to carry designer carry bad during my shopping. I have added it in my weekend to do tasks. :) Thanks for sharing!
ReplyDelete