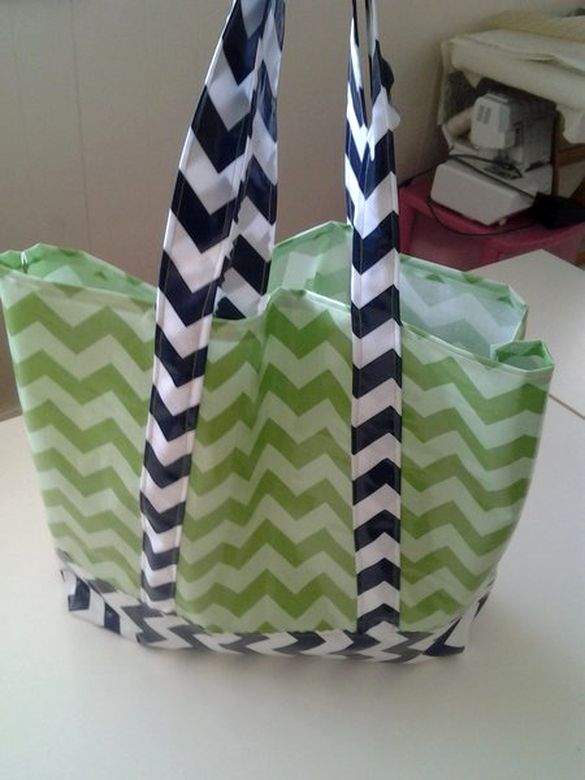
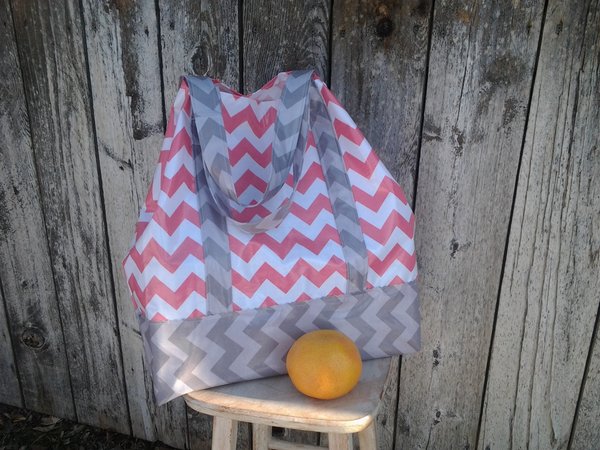
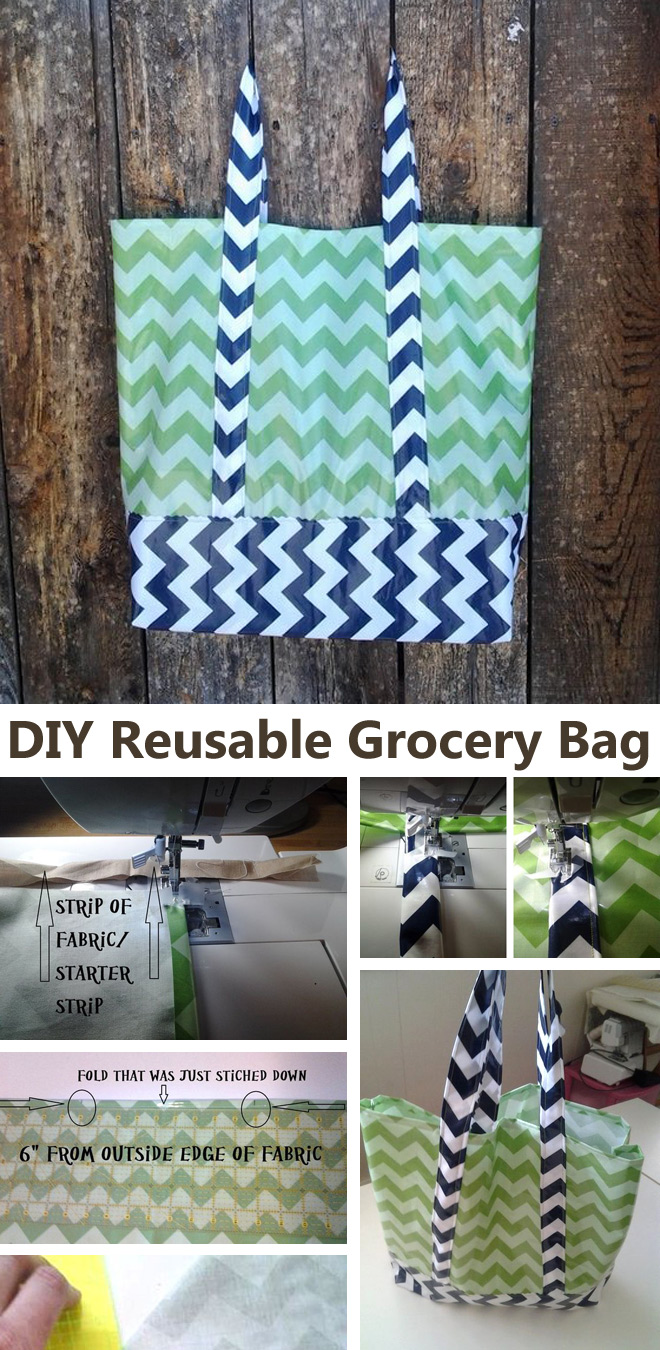
Reusable Grocery Bags! These finished bags have a reinforced bottom for stability and can be thrown in the washer and dryer on a low setting for easy cleaning.
Start by selecting two contrasting fabrics. I like the Chevrons but there are many laminates to choose from.
You will need:
¾ yard of Main Laminate Fabric (bag body)
1 yard of Contrasting Laminate Fabric (bag straps and reinforced bottom)
Presser Sheet
Iron
Masking or Scotch Tape
Pinking Sheers
Other Standard Sewing Supplies
Cut:
1- 20” X 40” piece of Main Laminate Fabric
3- 4” X 40” pieces of Contrasting Laminate Fabric (use Pinking Shears)
1- 14” X 21” piece of Contrasting Laminate Fabric (use Pinking Shears)
Pressing:
When pressing place the plastic side of the fabric away from the iron. Use a presser sheet if needful.
Sew:
Put masking or scotch tape on the bottom of the presser foot. Place the sticky side of the tape to the bottom of the foot. This allows the laminated fabric to slide under the foot with minimal sticking.
Start by sewing 3- 4”X 40” short end to short end to make a big loop.
Once all three pieces have been sewn into a loop, fold the circle into thirds the long way with the wrong side of the fabric on the inside of the fold. Use pins to hold the fold in place.
Continue the length of the loop folding and pinning the loop into thirds. Because of the pinking shears we can leave the laminate raw edge free. I haven’t made an exact science out of the folding. Guesstimating works just fine.
At this point I like to press the folds into the loop using a presser sheet and a warm iron. This helps hold the folds in place while I sew. It does not create a firm crease but it will help hold things in place. *Remember DO NOT put your iron in direct contact with the plastic side of the fabric. It will melt to your iron and make a mess.
Fold the loop in half and in half again. Mark the bottom TWO folds. Use different colored pins to give yourself a reference point for the next step.
Set the loop aside and pick up the main fabric for the body of the bag.
Fold down top edge of the short end the fabric to make a finished edge. Using a scrap piece of fabric sometimes known as a starter strip can be very helpful as you start sewing the laminated fabric. It will give you some leverage to the end of the fabric to help you gently tug the fabric under the needle. Please don’t tell my Junior High Sewing teacher I even mentioned this idea. I think she would give me a retroactive failing grade.
Fold it in half lengthwise and mark the bottom center on the fold.
Lay the fabric out flat and using a ruler mark 6” in from the long end of the fabric on the sewn short edge. Repeat on the opposite end on the sewn short edge.
Using the marking pins and the 6” marks on the long piece of fabric, line up the loop to make a strap the goes all the way around what will become the bag body. Pin the strap into place.
Move to the sewing machine. Sew up one side of the strap. I used contrasting thread for you to see the stitch line more easily, but you may wish to use something that will blend in a bit better.
Once you get to the end of the bag body continue to sew around the handle edge, and back down the other side of the handle. Repeat for the inner most part of the handle. Set aside.
Pick up the contrasting piece of fabric measuring 14” X 21”. Fold it in half the long way and mark the center point with pins.
Use these pins to match the bottom center of the bag body to the bottom center of the reinforced bottom.
Pin the reinforced bottom to the bag body.
Top Stitch across the pinking edge of the reinforced bottom
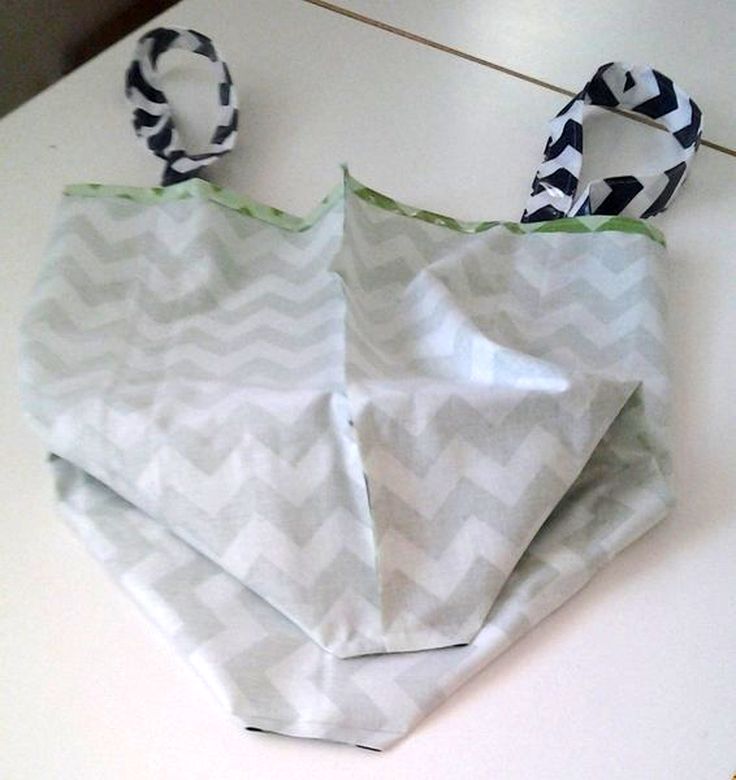
Fold the body of the bag in half with right sides together Pin and Sew
Open bag so you can fold it in half along the bottom of the bag.
Using a ruler that shows a 45 degree angle, mark a 2 inch line down the corner of the bag.
Sew across the marked line
Trim away the excess fabric below the sewn line
Turn the back Right side out
Your Done!


0 comment:
Post a Comment