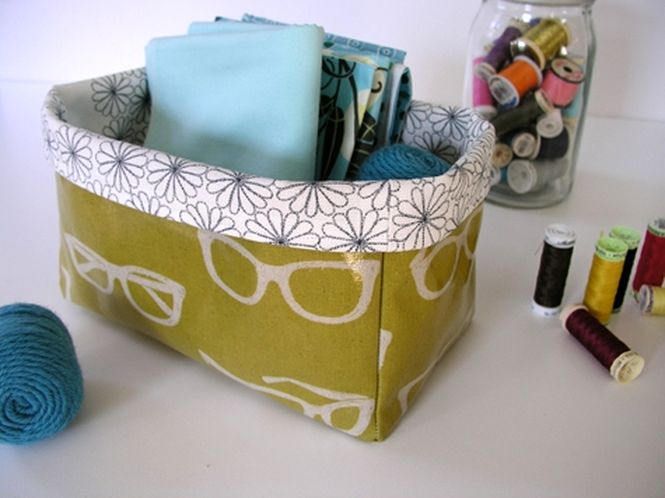
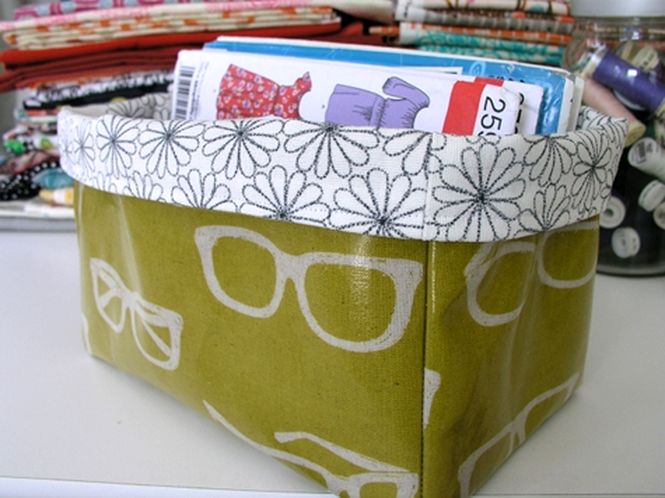
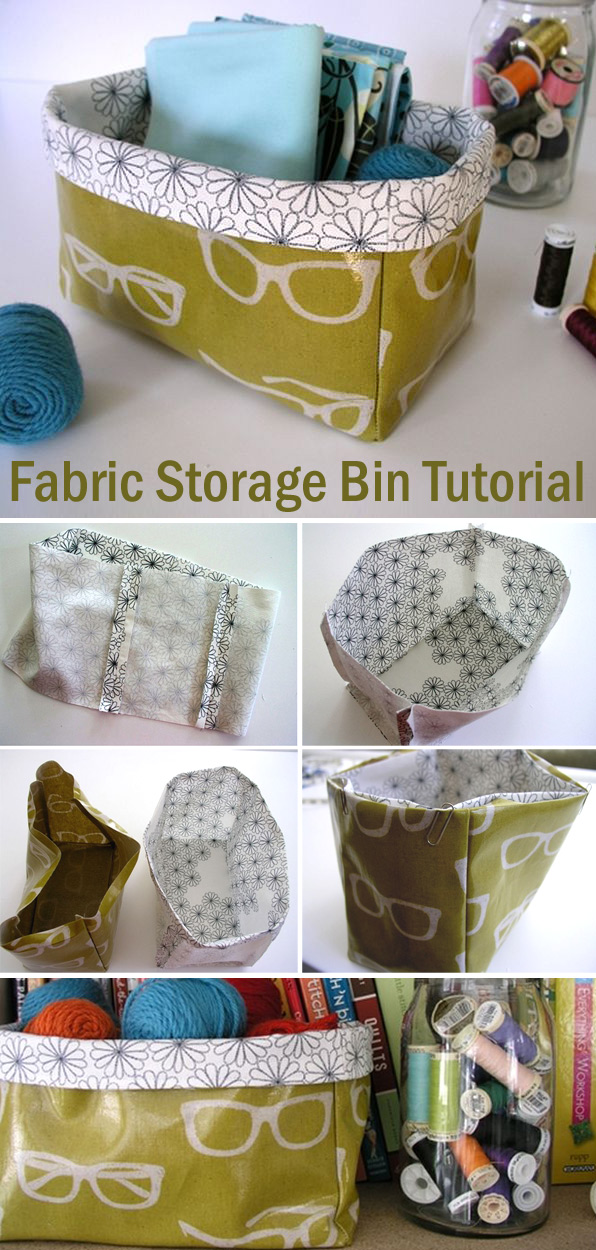
If you’ve got spring cleaning on the brain, you may be looking for some new organizational solutions (aren’t we all?). Here’s a quick and easy sewing project to help the cause — fabric bins! These little containers are perfect for holding odds and ends, from bathroom clutter to craft-room supplies.
I’ll show you how to make the medium-sized bin pictured here, but once you get the hang of the construction, you’ll see how easy it is to make any sized container you need. I’ve made mine from oilcloth, which is stiff enough to hold the bin’s shape, and as an added bonus, it can be wiped clean. There are just a couple of tricks you need to know about sewing oilcloth, and we’ll get to those below. Let’s hop to it!
Materials
1/2 yard oilcloth or another stiff fabric (this adorable sunglasses print is by Echino)
1/2 yard cotton fabric for lining (my lining fabric is from Ikea)
paper clips
straight pins
scissors
sewing machine
iron and ironing board
Instructions
1. Cut the fabric:
To make a bin with a finished size of 5″ x 9″ x 5″, you will need to cut the following pieces:
short end pieces: 7.5″ x 6″ (cut 2 from exterior fabric + 2 from lining fabric)
side pieces: 7.5″ x 10″ (cut 2 from exterior fabric + 2 from lining fabric)
bottom piece: 6″ x 10″ (cut 1 from exterior fabric + 1 from lining fabric)
Or, for a different finished size, cut your pieces to any size you prefer, adding 1/2″ to all sides for seam allowance.
2. Sew the lining:
Place a short end piece and a side piece together with right sides facing, and pin together along the 7/5″ edge. Place the last pin 1/2″ from the bottom edge.
Sew the seam with a 1/2″ seam allowance, stopping 1/2″ before the bottom edge (at the spot where you placed the pin), leaving the last 1/2″ unsewn.
Continue to sew all four side pieces together in the same way, forming a tube. Press all the seams open.
Image above: Detail of the 1/2″ left unsewn at the bottom of each seam.
Next, pin one side of the bottom piece to the bottom of one side of the fabric tube, aligning the corners. Pin in place.
Fold the 1/2″ unsewn flap of the adjoining piece out of the way when you reach each corner.
Continue to attach all four sides of the bottom piece. When finished, this is what you’ll have!
Trim the seam allowance to about 1/4″ from all three sides of each corner. (This will help reduce bulk from excess fabric at the corners.)
Finally, fold the top raw edge under 1/2″ and press. Set aside the lining for now.
3. Sew the exterior:
Okay, oilcloth time. Here’s what you need to know:
Sewing on the wrong side of oilcloth is just like sewing regular fabric. Sew it just like you would anything else.
Sewing on the right side of oilcloth is tricky because it’s sticky, and it won’t feed through the sewing machine normally. To work around this, simply place strips of tissue paper over the surface of the oilcloth while you sew. (More on that below.)
Finally, never iron oilcloth, as it can melt. Instead, “press” seams or folds by creasing them with a bone folder or the back of a spoon.
To construct the exterior, sew it the same way you did the lining. Join the four side pieces together as you did for the lining, remembering to leave 1/2″ unsewn at the bottom of each seam. Then attach the bottom as you did before. Finally, fold under the top raw edge — but do not iron it; instead, crease the fold with a bone folder or the back of a spoon.
When finished, the exterior and lining will be the same shape and size.
4. Join the lining and exterior:
With the exterior right-side out and the lining wrong-side out, place the lining inside the exterior. Align all the corner seams, then use paper clips to hold the two pieces together at the top edge.
Cut several strips of tissue paper about 2″ wide. Any tissue paper will work — I’m using the gift wrapping kind.
Place the strips of tissue paper over the right side of the oilcloth, aligning the edge of the paper with the edge of the fabric. Paperclip in place, clipping all layers together — the lining, the exterior and the tissue paper.
Then simply sew through all the layers. Sew all the way around the top edge of the piece, about 1/8″ from the folded top edge.
Then just tear away the tissue paper. If small bits of paper get trapped under the stitches, gently pull them out with tweezers.
Fold down the top edge of the bin about 1″, fill it with odds and ends and you’re done!
Here’s to a well-organized spring!


0 comment:
Post a Comment