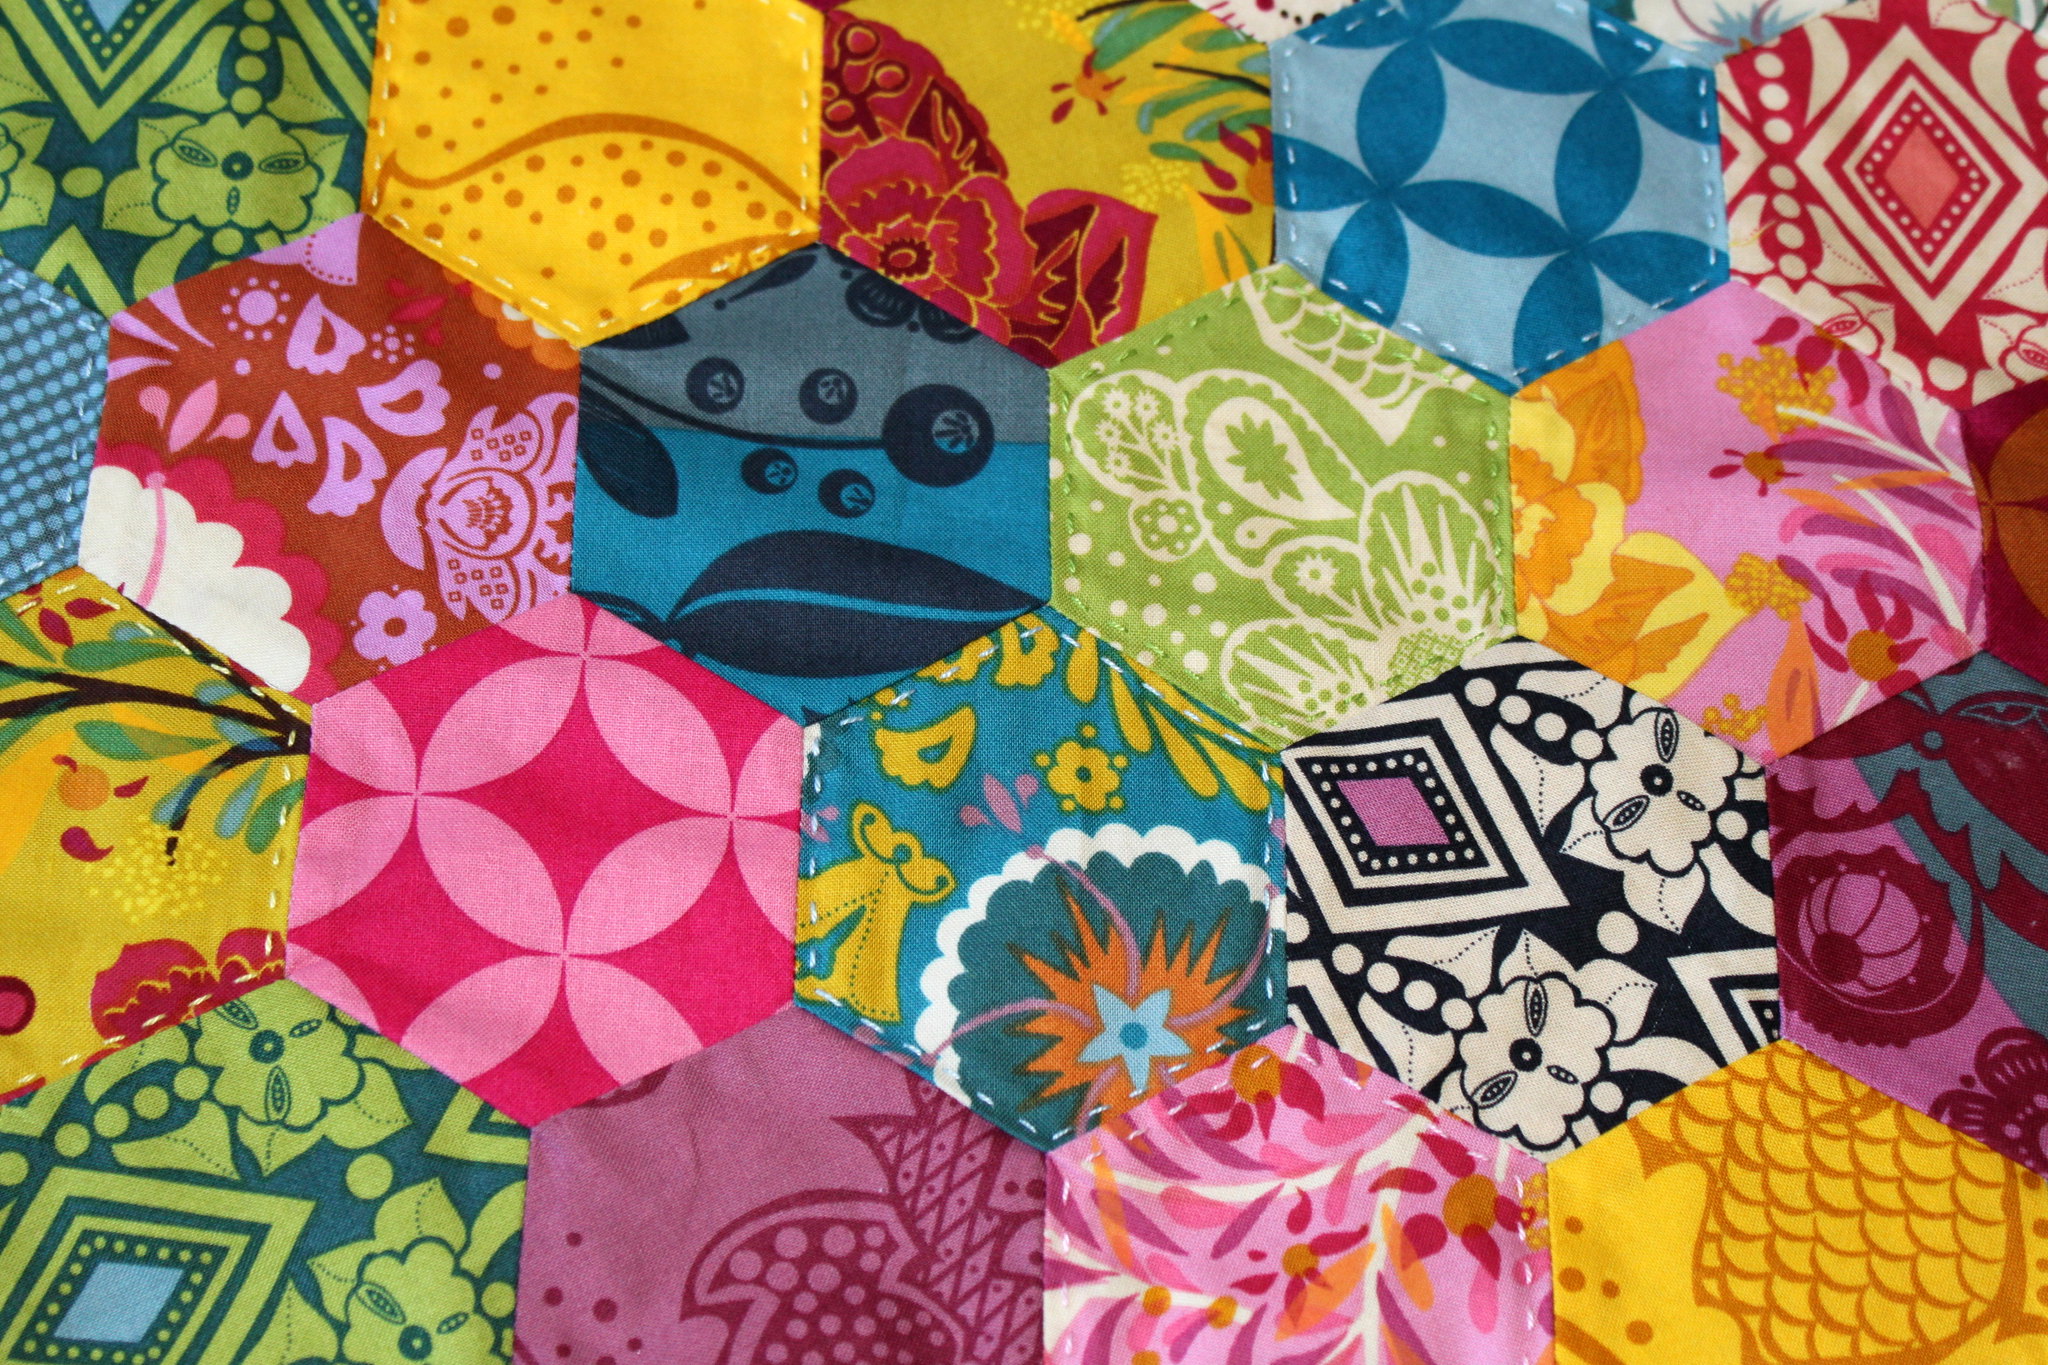
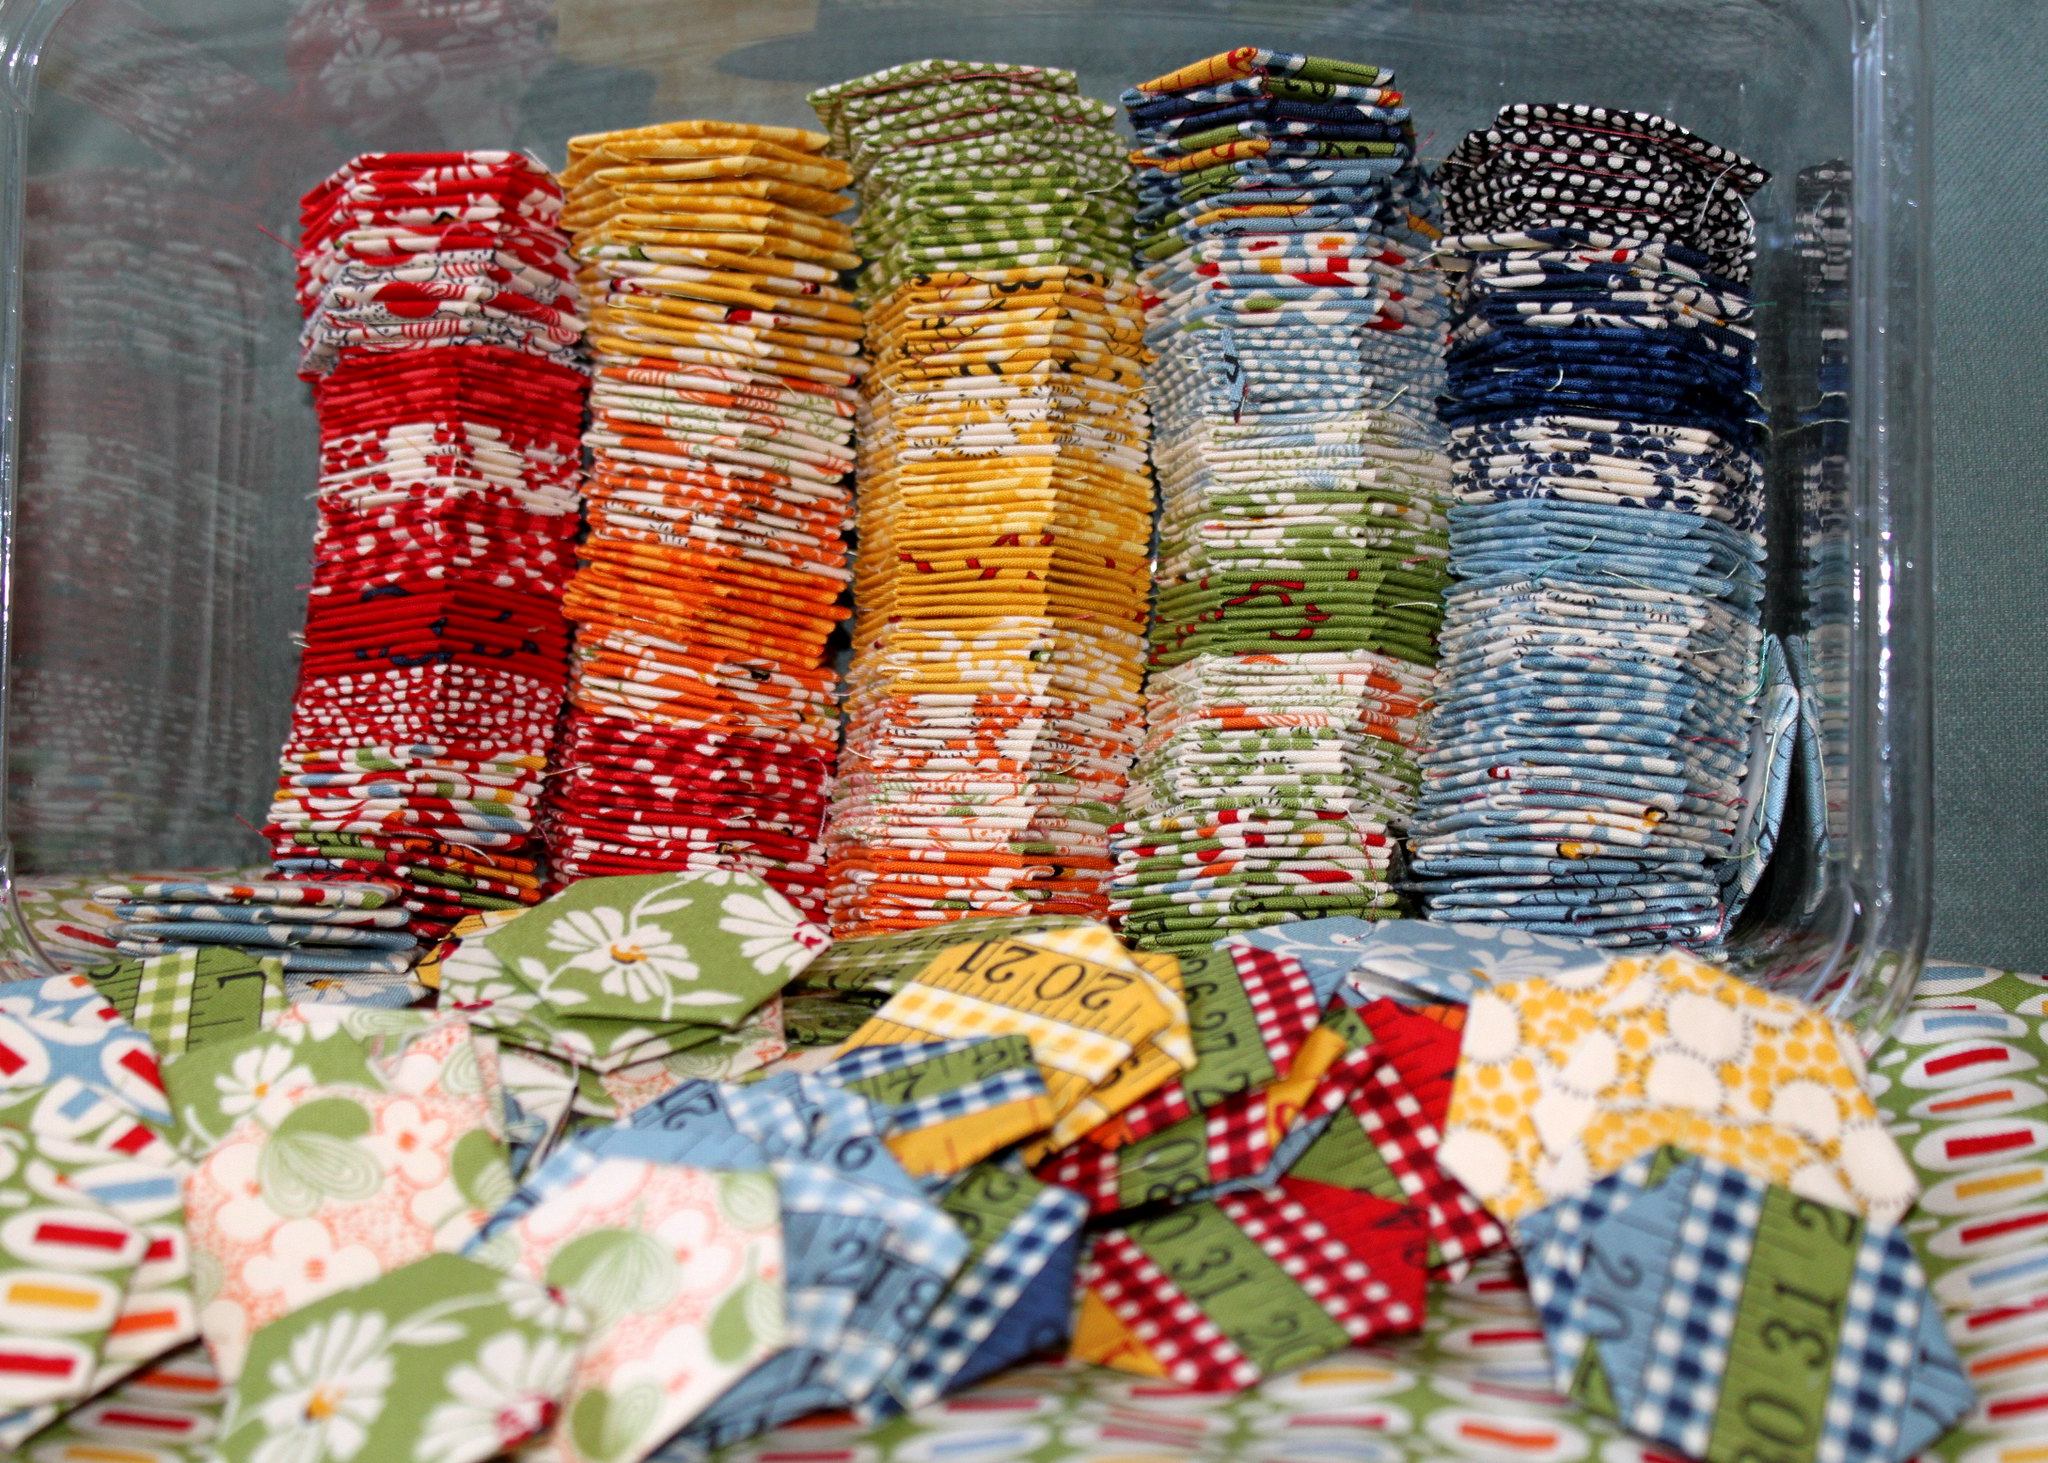
It is amazing how we collect things. The latest rage is paper-pieced hexagons. I see them organized every which way and they remind me of the sticker books we had as kids.
I remember trading for the best stickers which were shiny or had that Strawberry Shortcake smell. Now it's FMF and HR pink bicycles, but much more productive and lasting. It's downright fun to collect but when it comes to those tiny whip stitches on those hexagons it can get tedious. However, the results of these quilts are absolute knockouts.
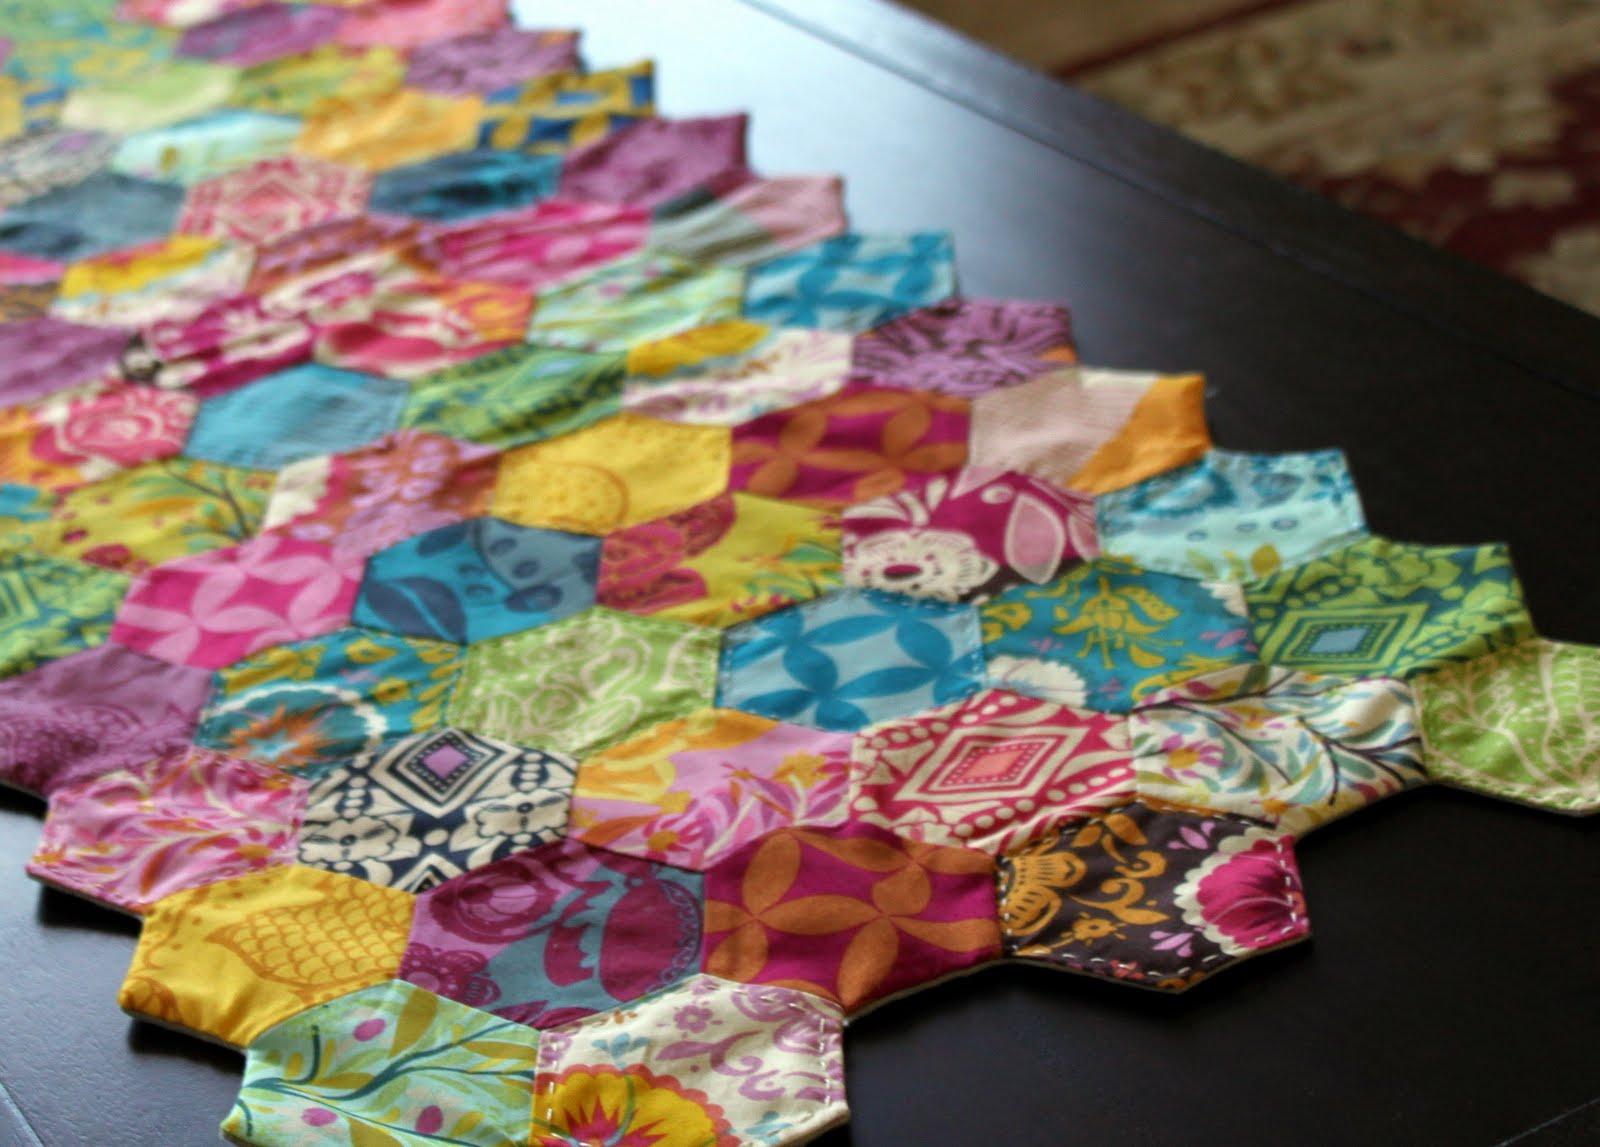
So here come the question: Can I sew hexagons by machine instead? I don't have the patience to make them by hand... Oh Yes! This runner, with over sixty 3 inch hexagons, was pieced in a weekend.
First cut your hexagons. Trace the template using a permanent marker and some clear plastic. Sewing shops have plastic template material if you want to use that. Paper doesn't work so well. You need the accuracy and the paper template precision will degrade over time.
Next mark a quarter inch seam. Only the intersections are needed to let you know when to start and stop your seam.
That is the most time consuming part of the process. While it was pieced in a weekend, the cutting and marking, even with a template, took a while.
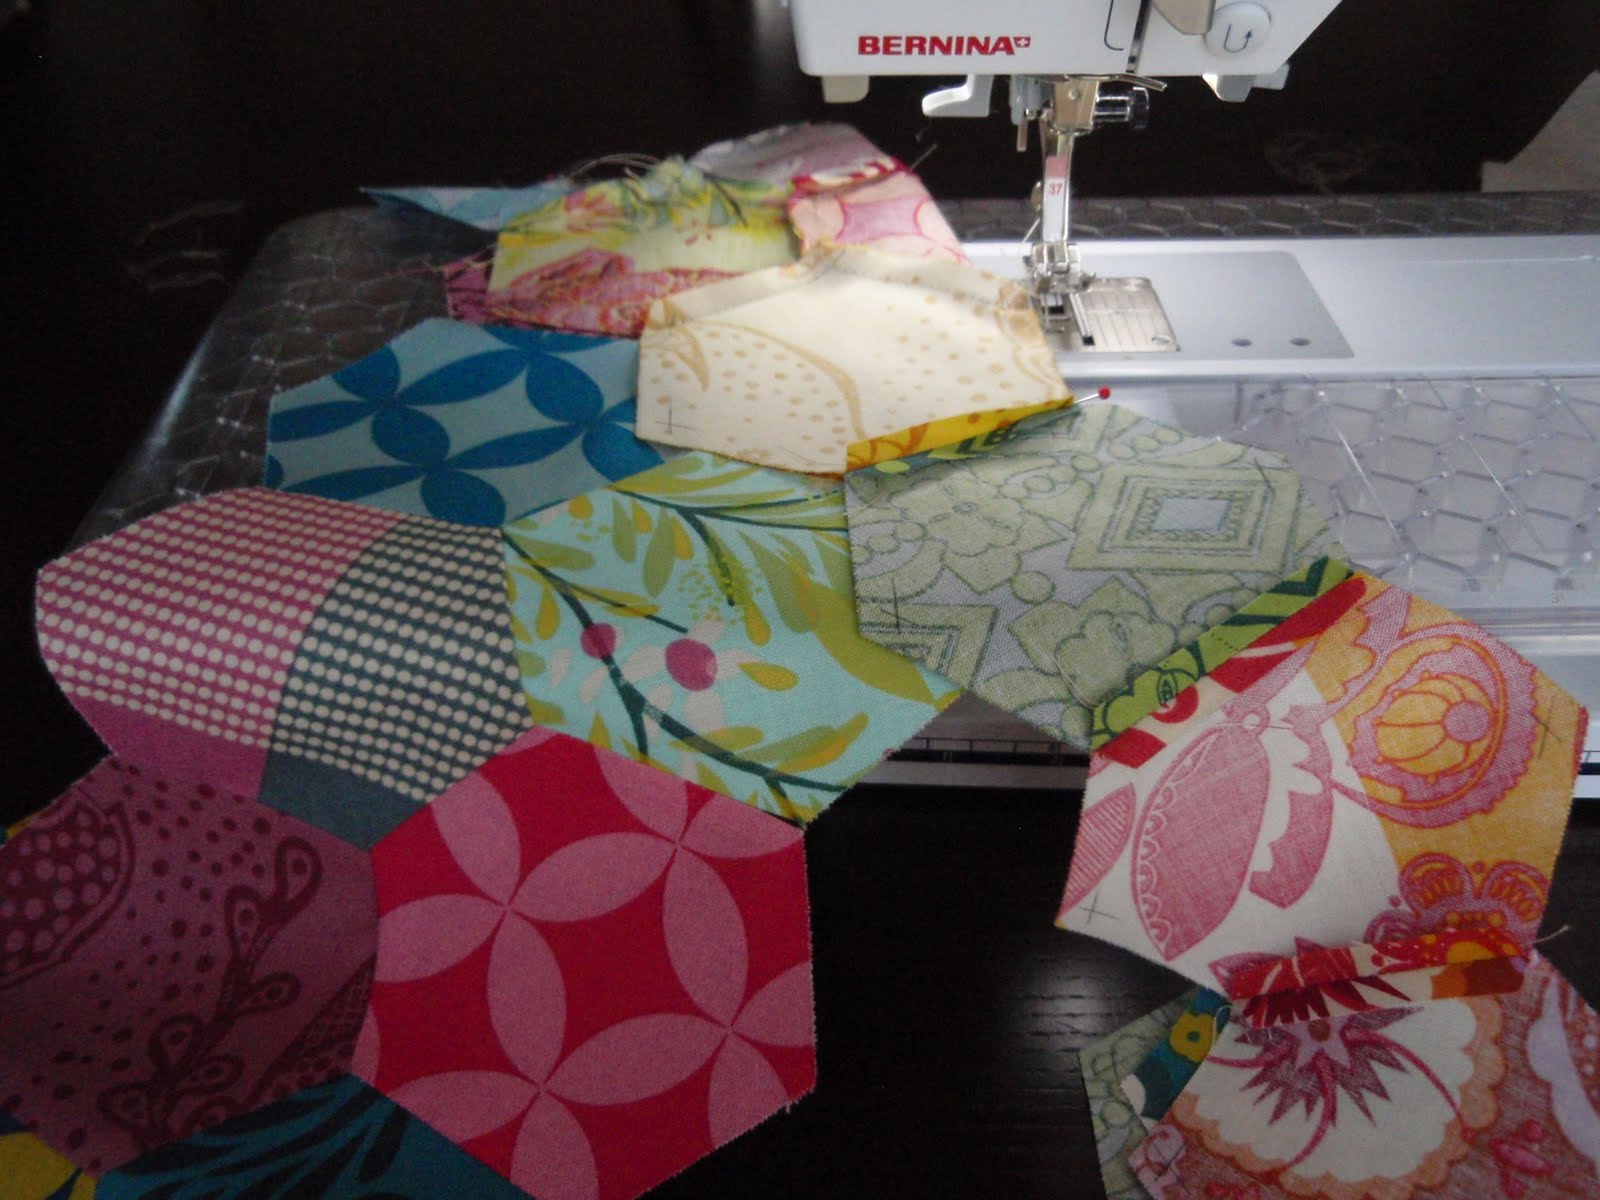
Sew a chain of these together and open your seams. Lay the rows together to see how they will fit together and what edges match together. They will rest at a 60 degree angle from each other like this. You can see I opened the seams here, but the rest of the pressing was random and to one side.
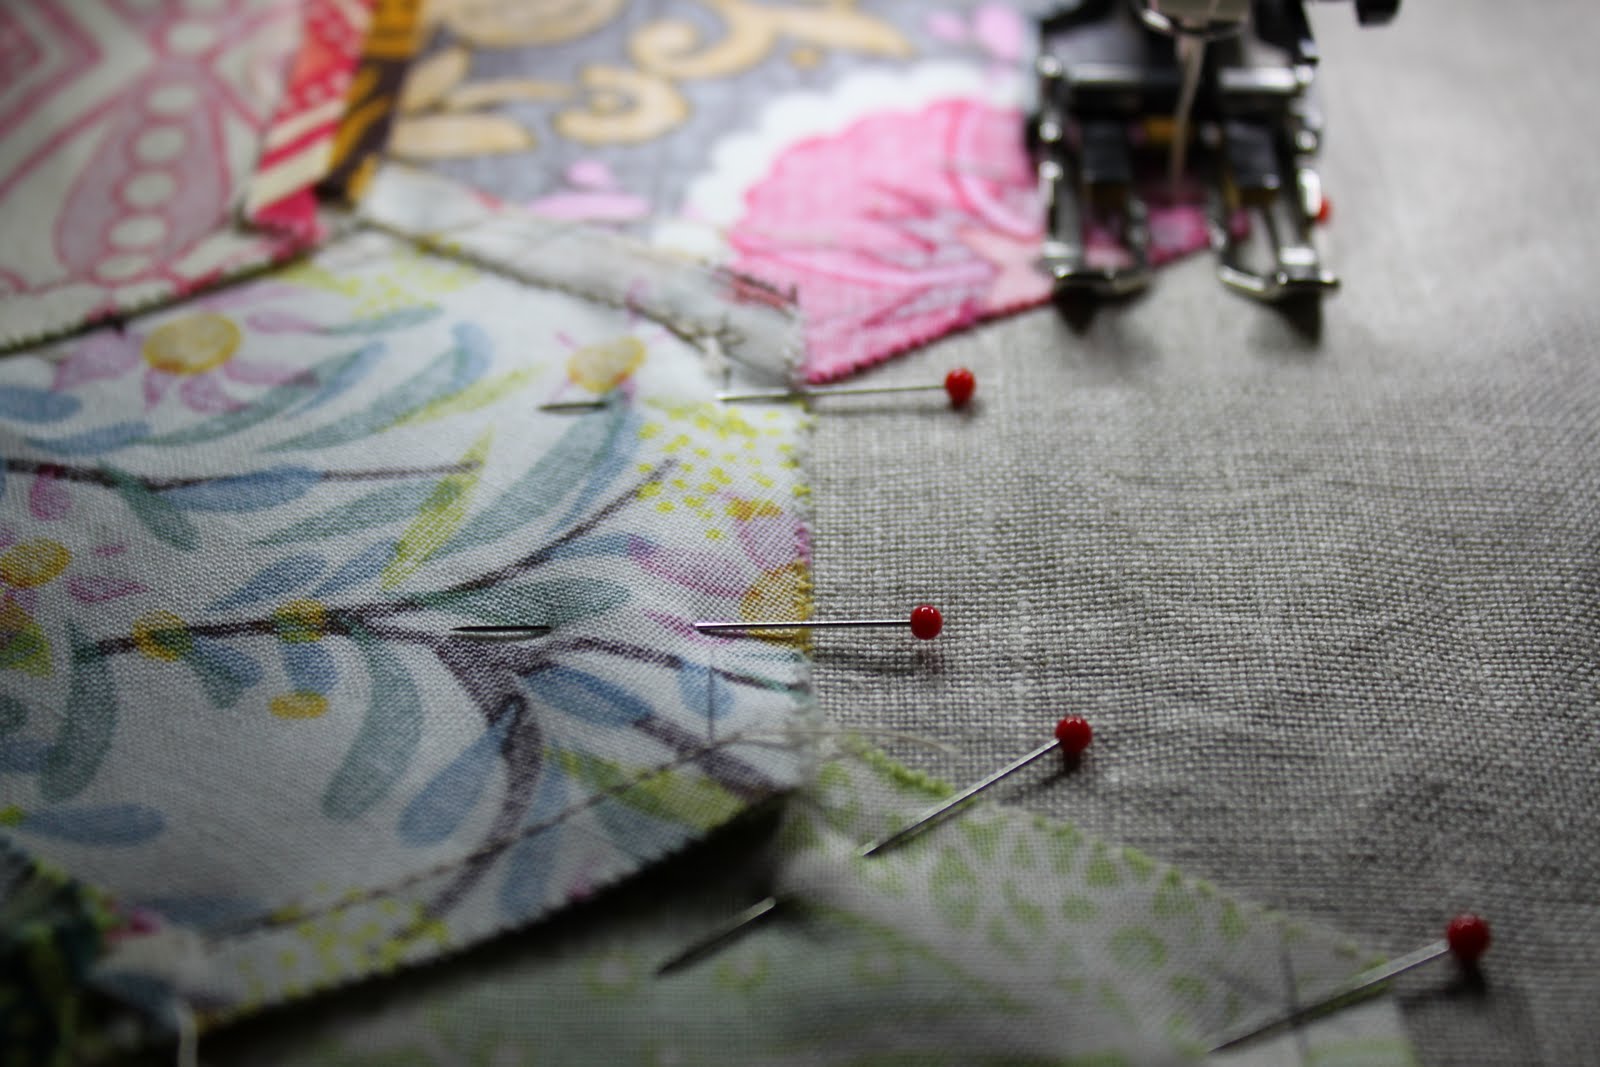
Start the needle through the penciled intersection and end exactly on the next intersection. It is helpful to reduce the size of the last stitch to make it work! Use a pin through the intersection to hold these seam allowances in the right position.
Always backstitch to lock the stitches in place. I hope you can see the little baby stitch I made here to accurately end at the intersection.
Open your seams to check if it looks like this. Don't catch/bite the next fabric.
If you don't sew too far, your points will look like this. Happy day!
If you do go past the intersection, the points will look like this. See the extra stitch, past the intersection? It puckered an adjoining hexagon. Pull out the last inch and resew.
The best part is, if your project needs more hexagons, you can add and extra row or column like hand quilting. I also didn't seem to have any holes where the corners met or see my stitches from the finished side.
Lay the finished top on the uncut backing, and batting. The backing and the top should have right sides together.
I decided to use the ugliest flannel in my fabric stash for the batting and linen for the back. The ugly flannel was on sale a while back. What can I say? Do you have those, "What the 'l was I thinking fabrics" too? It should come in handy with other projects.
Trim the corners and intersections to a 1/4 inch seam allowance. The batting, my flannel here, should be trimmed as close as possible to remove bulk.
After leaving an seam open, about two hexagons wide, I turned it inside out. The opening, unfortunately started me in the face for a while. It looked like a lot of folding and pins and I hate pins! I can suggest whacking off those pesky corners to make a straight seam if the edge is too intimidating. I'm in the process of finishing the quilting with perle cotton 8.
Try it. It is so much quicker. Make bigger hexagons. Who said they had to be small? Try some coasters or a place mat! Don't be shy.
You could always print this out, tape it to your sewing machine and meditate a bit.








0 comment:
Post a Comment