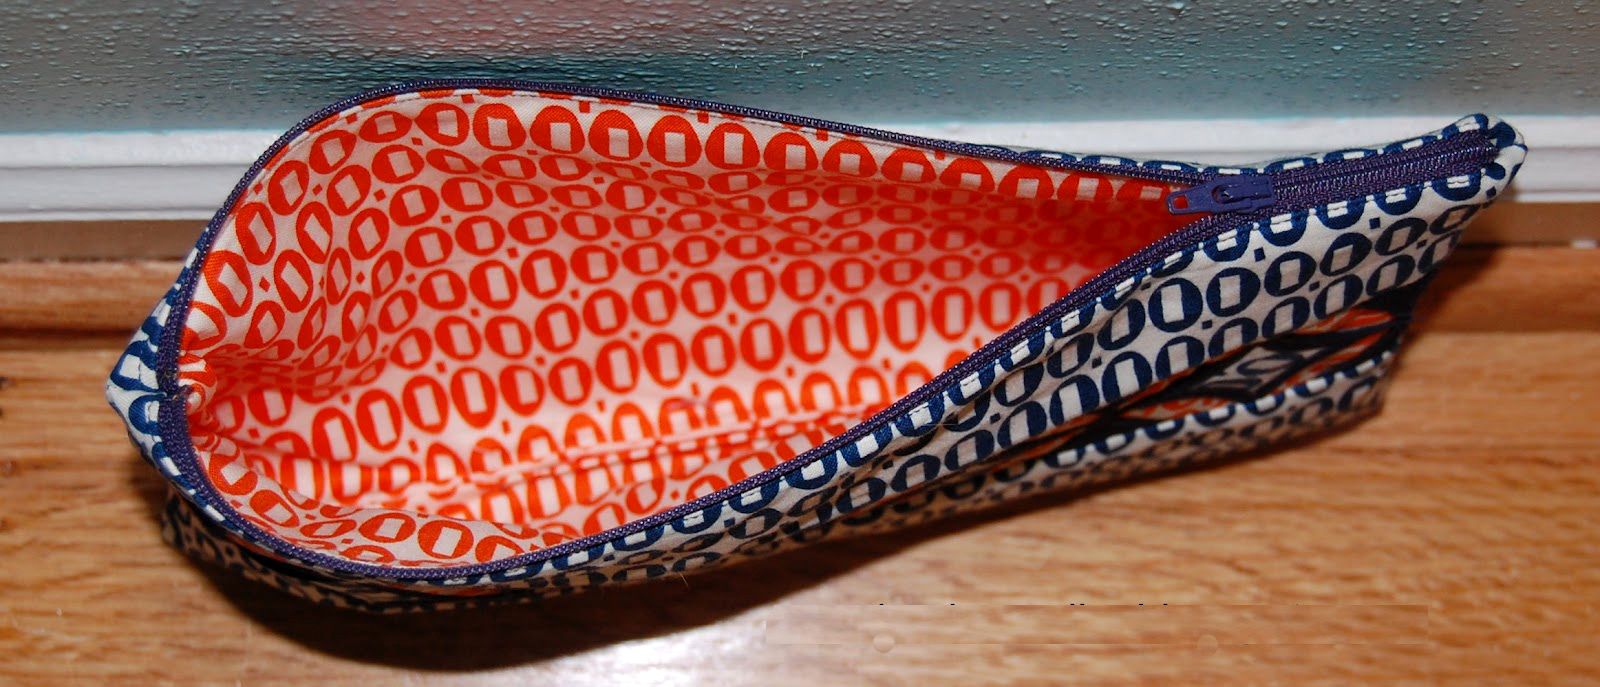
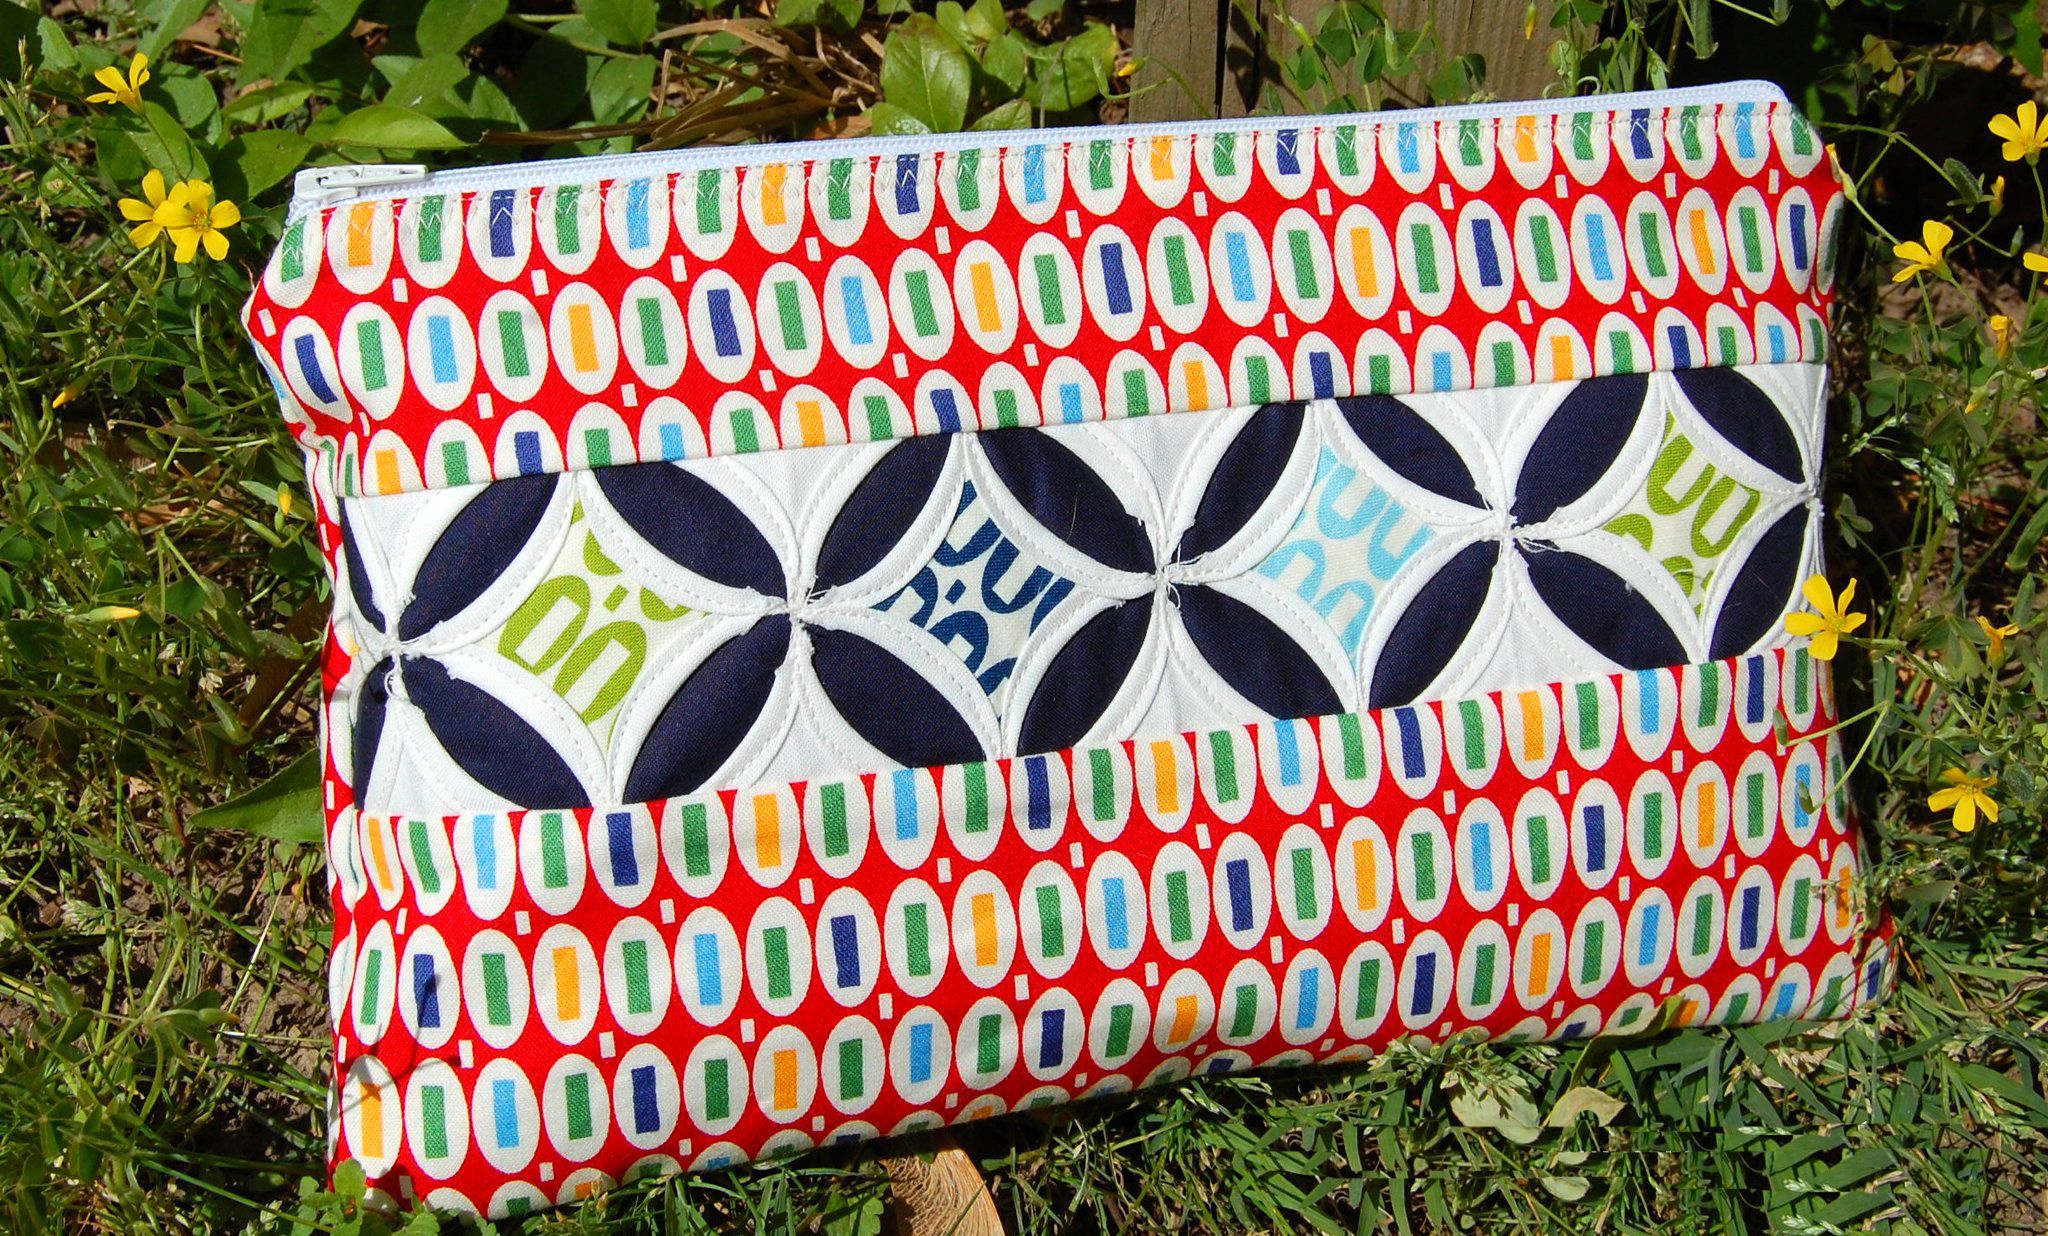
Cathedral Windows Pouch. Free Sewing Tutorial
*1/4” seam allowance
Supplies:
5-5” solid squares
5-1 ¼” window squares
5-2 ½” inner (peak-a-boo) squares
1 FQ Outer Fabric (blue Pez)
1 FQ Lining Fabric (orange Pez):
Woven Fusible Interfacing (I recommend Pellon SF101)
12” coordinating zipper
Matching thread
Directions:
1. Cut from the following:
Outer Fabric:
1-2 ½” X 12” piece
1-3 ½” X 12” piece
1-7 ½” X 12” piece
Lining Fabric:
2-7 ½” X 12” pieces
Woven Fusible Interfacing:
1-2 ½” X 12” piece
1-3 ½” X 12” piece
3-7 ½” X 12” piece
2. Iron on all woven fusible interfacing pieces onto the wrong sides of matching size outer and lining fabric pieces.
3. Follow the Cathedral Windows Basics Tutorial HERE including the sewing embellishment (peak-a-boo) using the size requirements listed below:
*Size Requirements for Cathedral Windows Pouch
5” solid squares
1 ¼” windows squares
2 ½” inner (peak-a-boo) squares
*Instead of making a four patch like you do in the Cathedral Windows Basics tutorial, you will sew 5 folded squares together in a single row. See photo:
4. Sew 2 ½” X 12” piece of fused outer fabric to the top of cathedral window piece. Press towards outer fabric.
5. Sew 3 ½” X 12” piece of fused outer fabric to the bottom of cathedral window piece. Press towards outer fabric.
Assembling Pouch:
*TIP: A zipper foot will make installing zippers much easier. If you don’t have a zipper foot, it’s no big deal, you can still install a zipper with a regular foot. If you’re not using a zipper foot, keep the zipper open, this will help you get closer to the teeth.
1. Take one outer piece and place right side up. Place the zipper on top, teeth side down, evenly with the top. Then take one lining piece and place wrong side up on top of zipper. Pin in place.
2. Sew along the edge of the pinned piece, getting as close to the zipper teeth as possible.
3. Flip pieces so that the sides are wrong sides together.
4. Repeat with the other side. Take the outer piece and place right side up. Place the other side of the zipper, teeth side down, evenly with the top. Place the lining piece wrong side up, sandwiching the already done piece from before in the middle). Pin in place and sew along the pinned edge. Again, getting as close to the zipper teeth as possible.
5. Flip pieces so that the wrong sides are together for both outer and lining pieces.
6. Press both outer and lining pieces away from the zipper. (This will make topstitching much easier and will allow your zipper to open nicely and not get caught).
7. Out your regular sewing foot back on if you were using a zipper foot. If you didn’t use a zipper foot, then just ignore this step!
8. Topstitch on both sides of the zipper. This will secure your fabric and give it a professional look!
9. Now, open your zipper at least halfway. **DO NOT forget this step, otherwise you won’t be able to turn your pouch!!
10. Place the outer pieces right sides together and the lining pieces right sides together. Pin in place.
11. Sew around the entire pouch, leaving a 3” opening at the bottom of the lining piece for turning.
12. Clip the corners being careful not to cut the stitching.
13. Turn the pouch right side out through the opening in the lining and push out corners.
14. Stitch lining opening closed and push the lining into the outer part of the pouch!
Your pouch is finished! I hope you enjoyed making your pouch!


0 comment:
Post a Comment