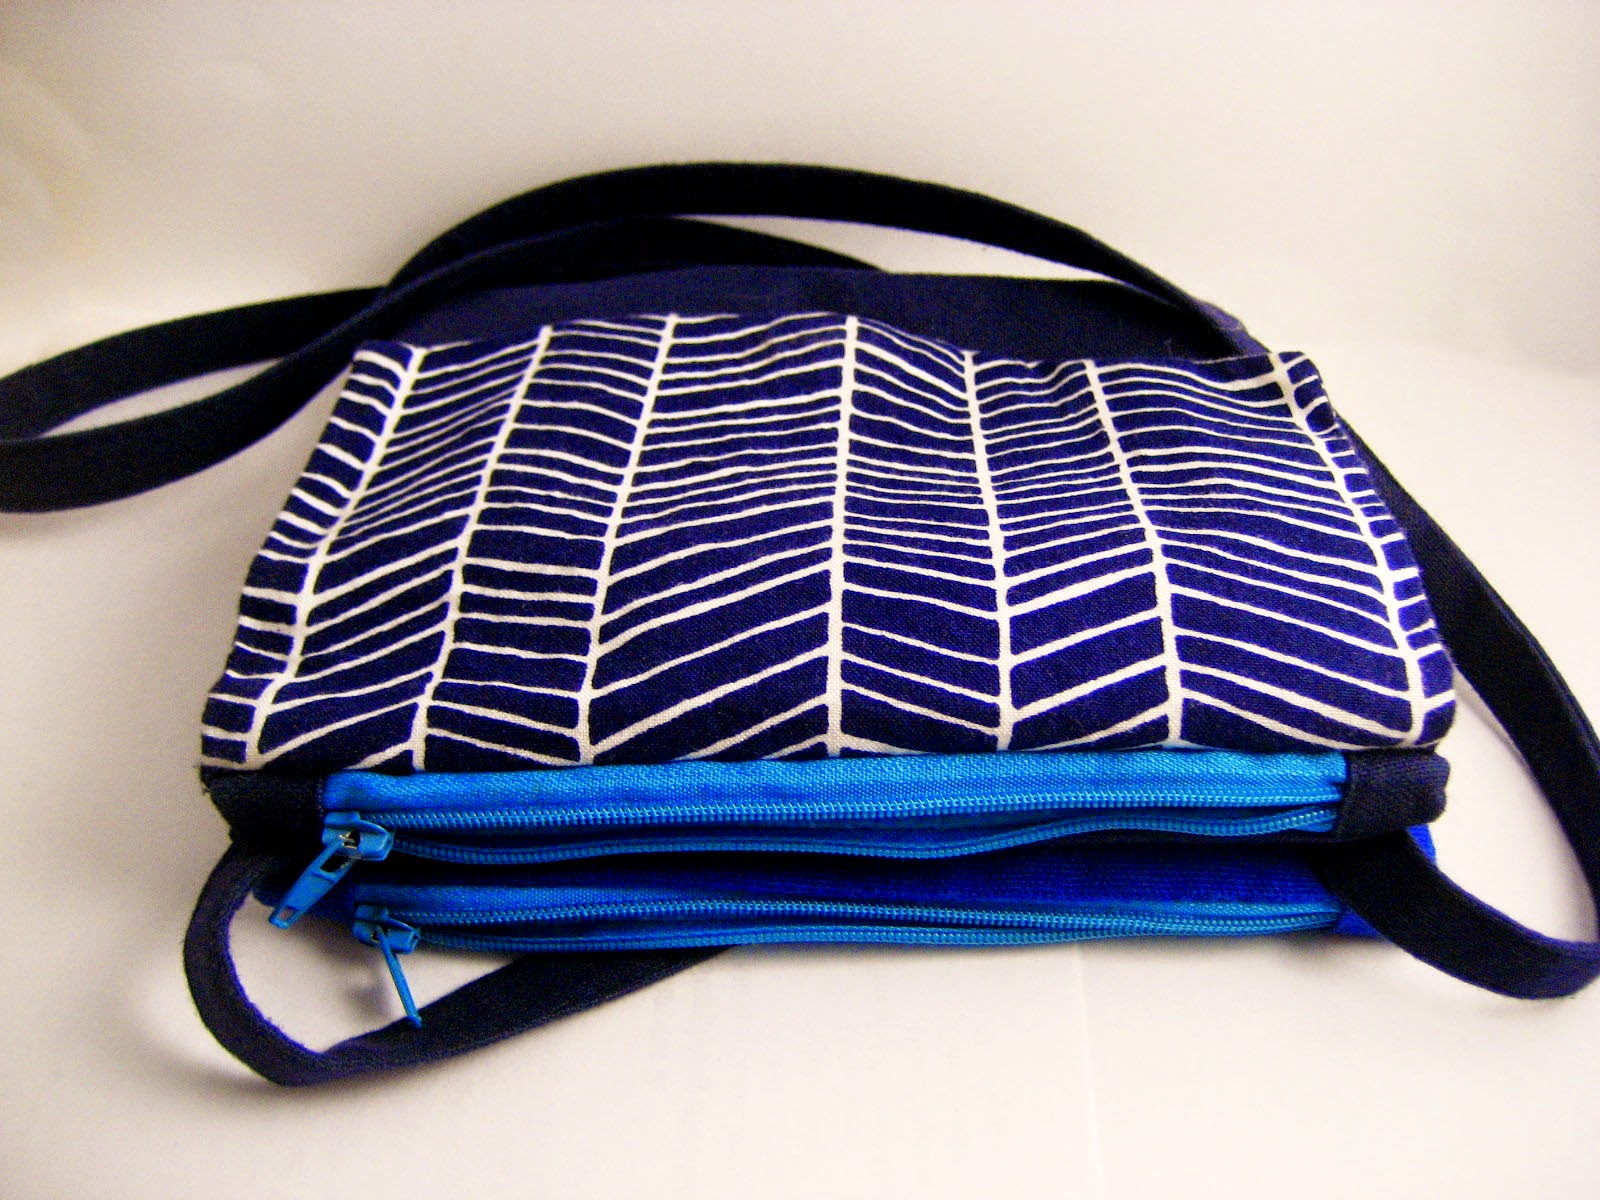
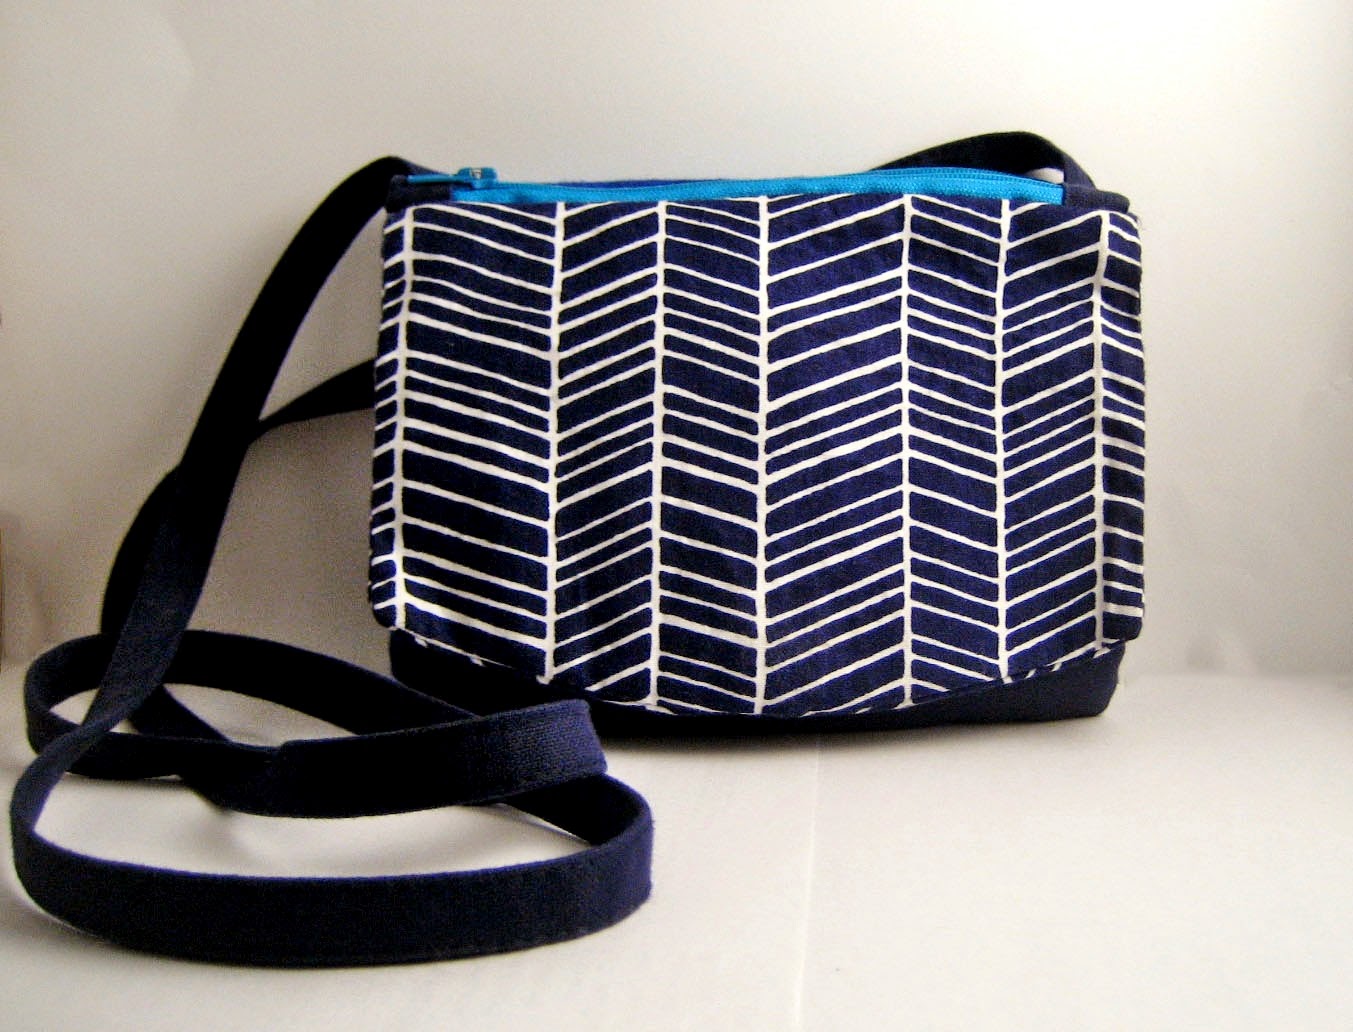
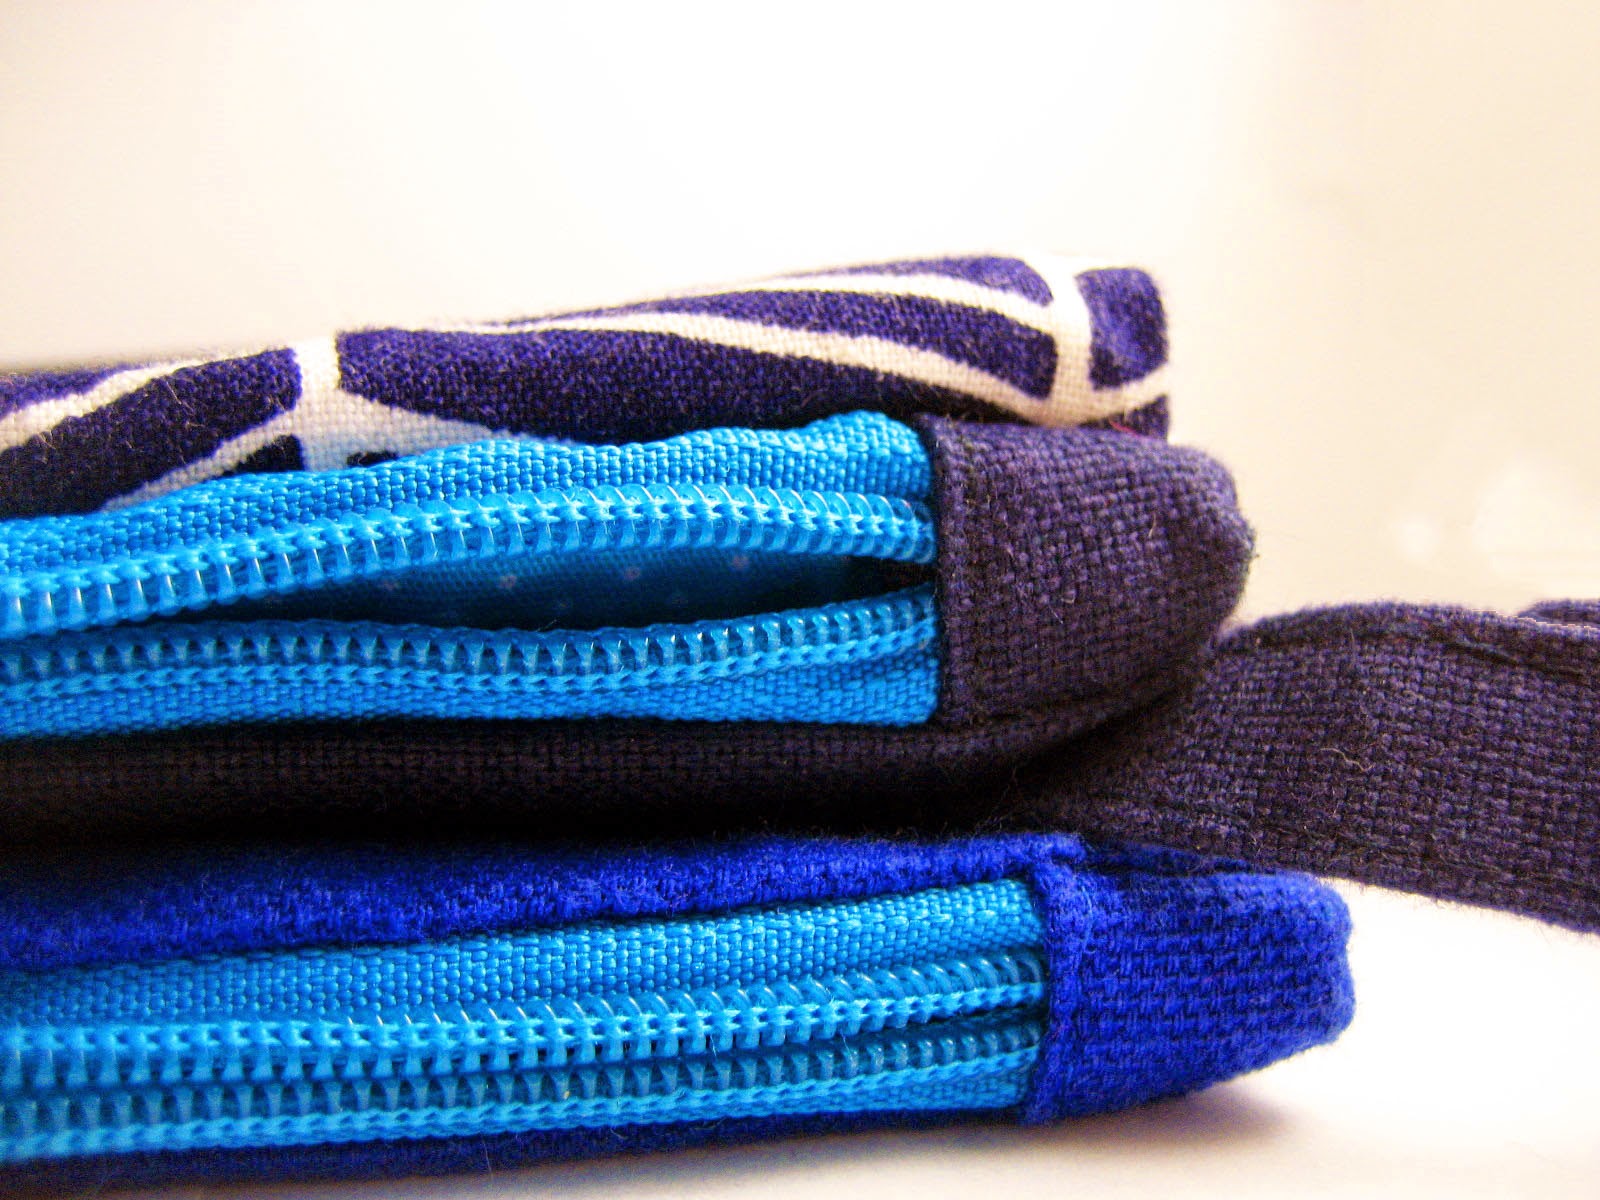
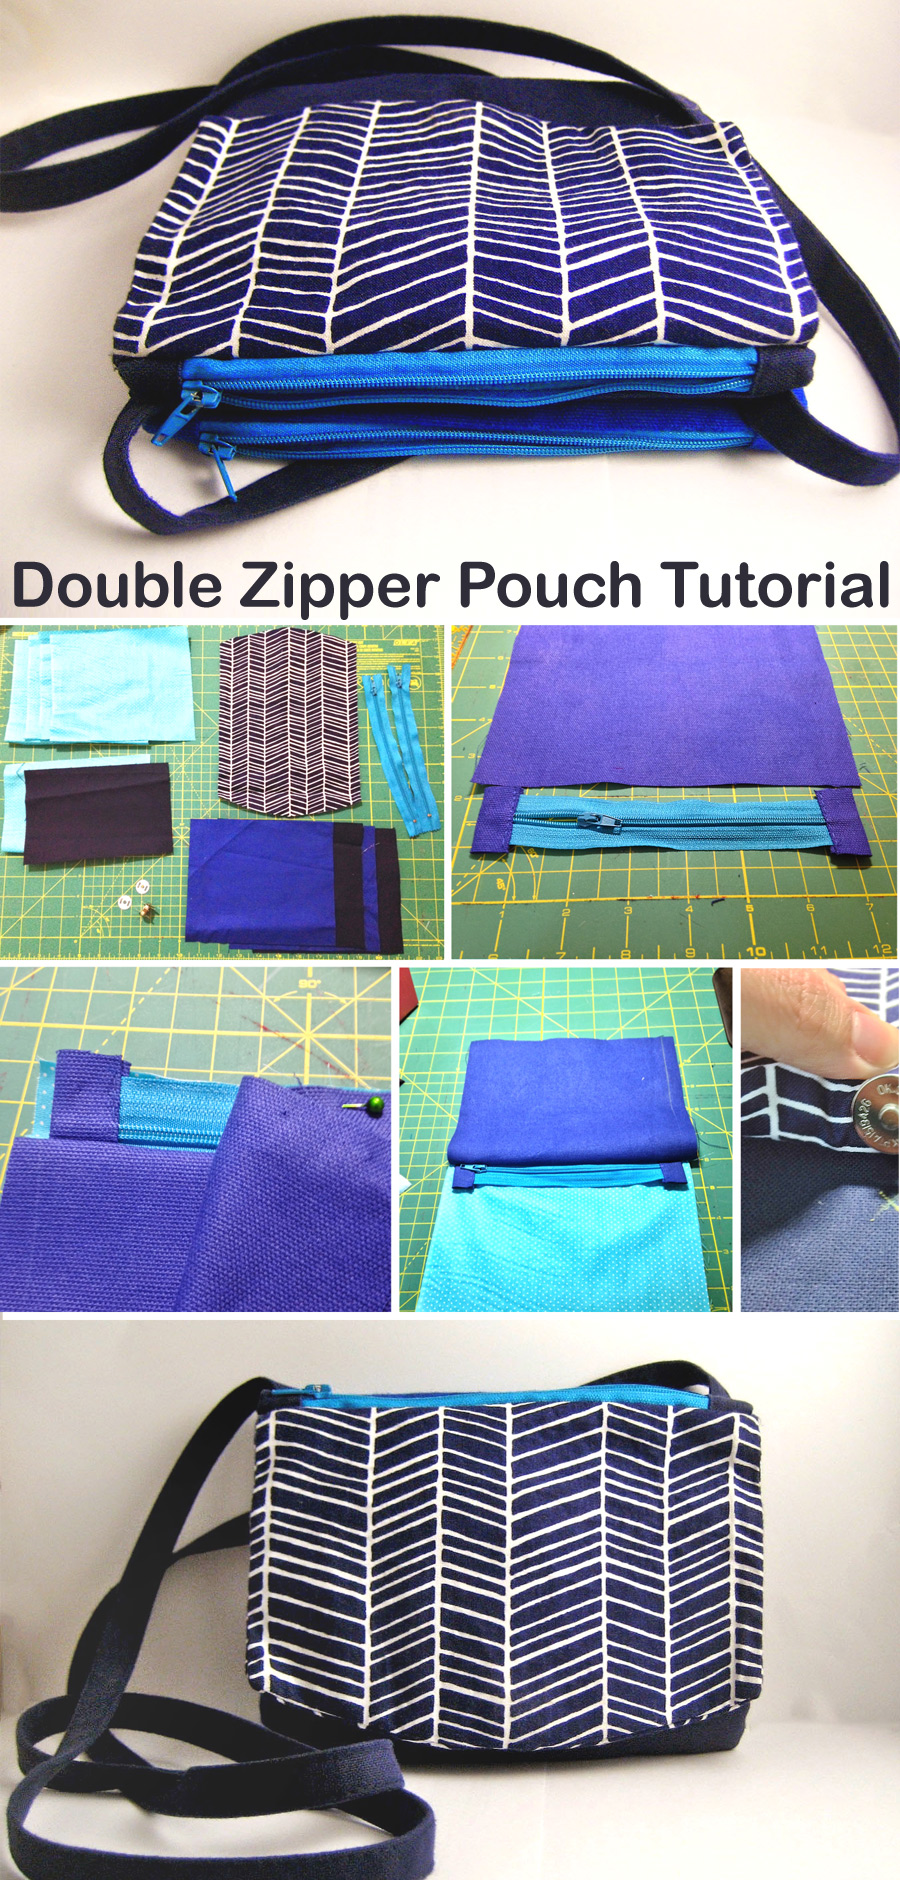
This is basically a tutorial for two zip pouches with a flap secured together with a rivet that makes a very cute and functional bag.
What you'll need
Exterior fabric
4 x rectangles for pouches [7" (width) x 6" (height)]
I used a different exterior fabric for each pouch because I couldn't decide which I liked best but I'm sure most people are less indecisive than I am
1 x rectangle for front pocket [7" (width) x 4.5" (height)]
1 x rectangle for bag strap [52" (length) x 4" (height)]
4 x zip ends [1.5" x 1.5"]
Interior fabric
4 x rectangles for lining pouches [7" (width) x 6" (height)]
1 x rectangle for front pocket lining [7" (width) x 4.5" (height)]
Contrast fabric
Trace flap template on the fold - Print the template at actual size
Flap Front Double Pouch Pattern
Notions + other things
Iron on interfacing for flap - cut flap template 0.5" smaller around the edges
2 rivets
2 x 7" zip
1 x magnetic snap
What to do
* please excuse the poor quality iphone photos, was testing it out but my old point and shoot digital is definitely better
Grab the fabric for you bag strap and pop it on the ironing board. You'll need to iron the whole thing in half length ways. Then fold in both sides towards the ironed creased.
Then fold in half lengthwise again and give it all another good iron.
Grab the fabric for you flap. Iron it in half and iron the interfacing for the flap onto one of the sides.
Sew around the flap leaving an gap along the side to turn it through. Sew with an 0.25" seam allowance.
Grab a scrap bit of interfacing and iron on at the midway point at the base of the flap to reinforce the fabric.
Using the washer for the magnetic snap, mark the two vertical slits.
Using a seam ripper open up both the vertical slits. Make sure you have not accidentally caught the other side of the flap.
I prefer to sew the flap before adding in the magnetic snap as the sewing machine foot is metal and the magnetic snap can make it difficult to sew a narrow seam allowance.
Squeeze your hand through the side opening to get the magnetic snap down and in through the slits.
Use a pair of pliers to fold the prongs inwards (I have tried folding them outwards once but found that the ends of the prongs wore down on the fabric and eventually poked through).
Turn the flap inside out through the gap. Grab a needle and thread to slip stitch the opening closed.
Give it a good iron and set it aside.
Trim both zippers down to 6.5". Use pliers to pull out the zip stop. If you cut too close to the zip stop you often end up trying to sew through it and end up with a broken needle, this I have learnt through very violent needle spits from the sewing machine.
Grab the zip end fabric and iron it down on both sides by 0.25". Iron in half and wrap it around the zip end.
Sew across the zip end. Repeat for other side and zipper.
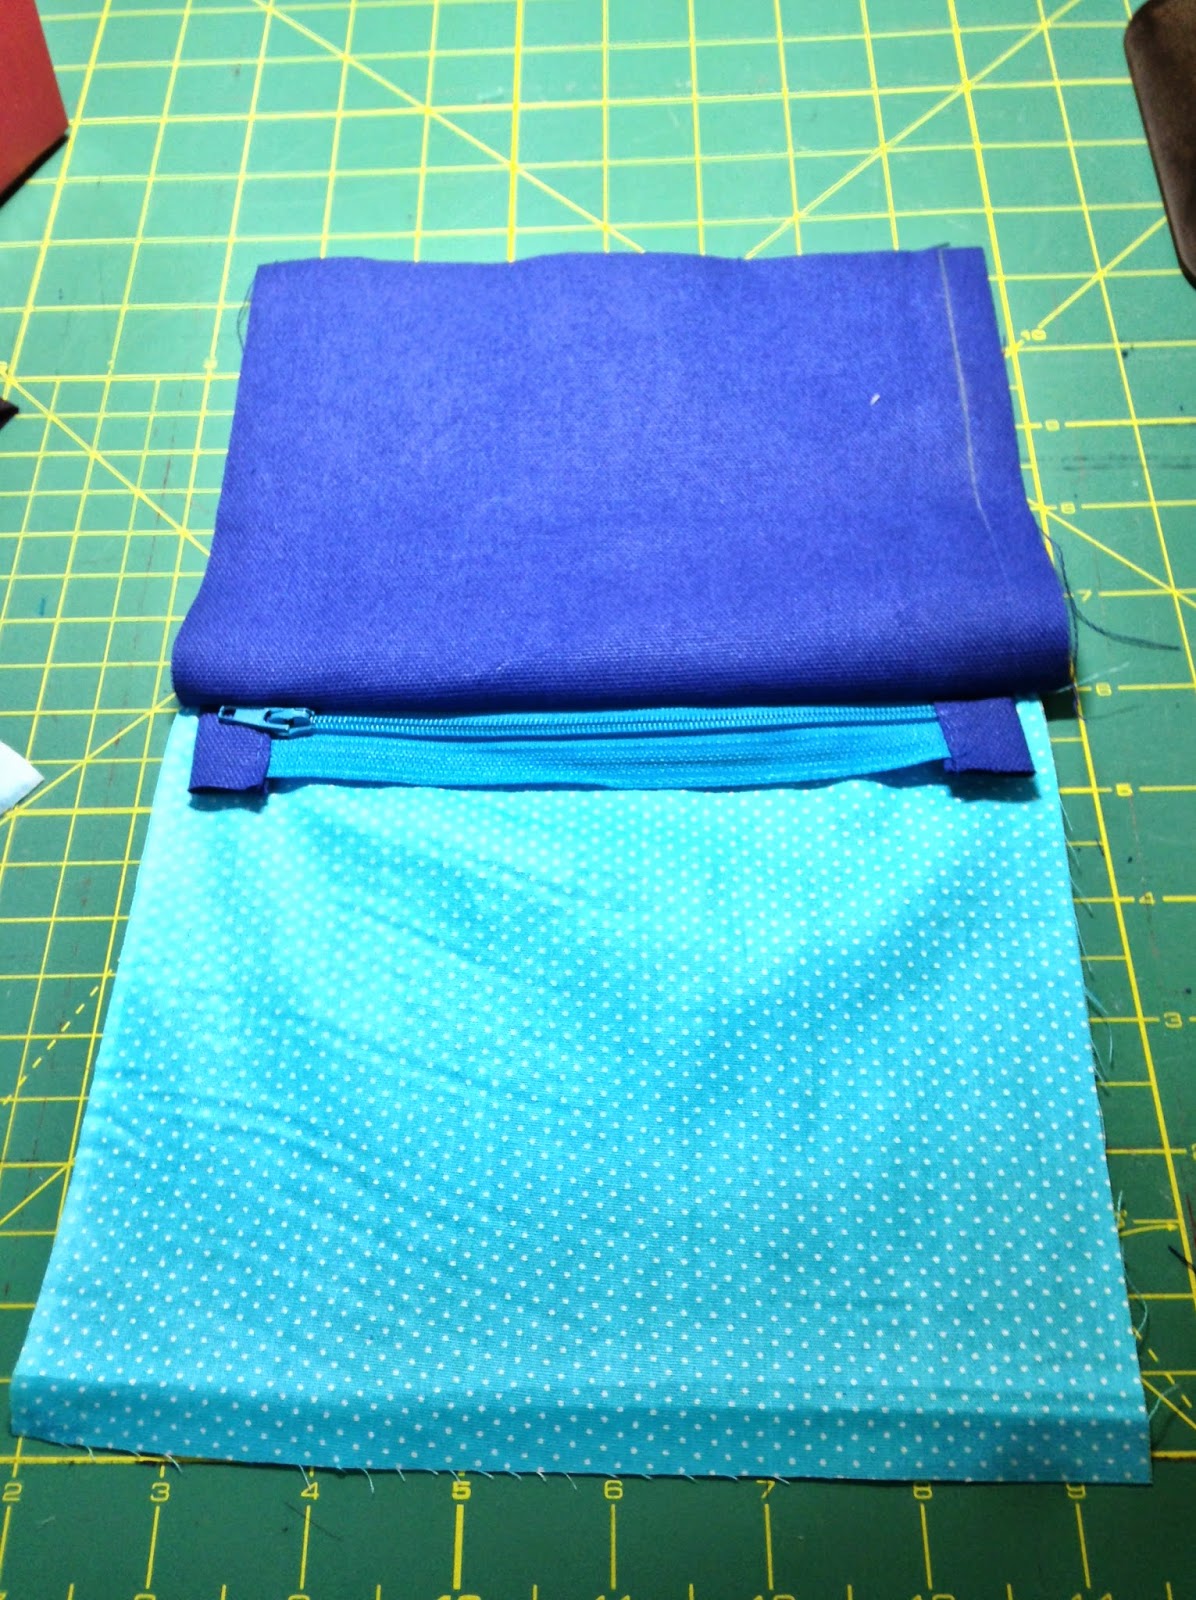
This is what the zipper should look like once the zip tabs are attached.
Place the zipper on the lining and pop the exterior fabric on top. Centre the zipper about 0.25" from the edge. Make sure when you sew up the zip pouch that you do not catch the edge of the zipper tab or you won't get nice square edges.
Sew the zip in place using lots of pins. I find it easier to 3/4 unzip the zipper and sew until I hit the tab and then lift the foot and zip the zipper back up before continuing.
With your zipper secured in place it should look like this flipped over. Fold the lining under the exterior fabric as it will be when it is finished and pop a pin in the middle somewhere to hold it together.
Flip the zip pouch around and again sandwich the lining, zip, exterior.
This is what the near complete zip pouch will look like.
Match the exterior and lining fabrics to each other and sew them together with a 0.25" seam, remember to leave a gap to turn the whole pouch through at the base of the lining. Remember not to catch the zip tabs when sewing the pouch, leave the zip half unzipped and push the zipper teeth towards the lining.
Pull the pouch through the gap. Iron, fold and sew the gap shut.
The pouch ends are nicely formed with this zip tab method.
Grab the exterior and lining fabrics for the pocket. Face them right sides together and sew along the top with a 0.25" seam allowance.
Attach the pocket to the exterior pouch fabric, leave a gap along the middle bottom to sneak the magnetic snap into.
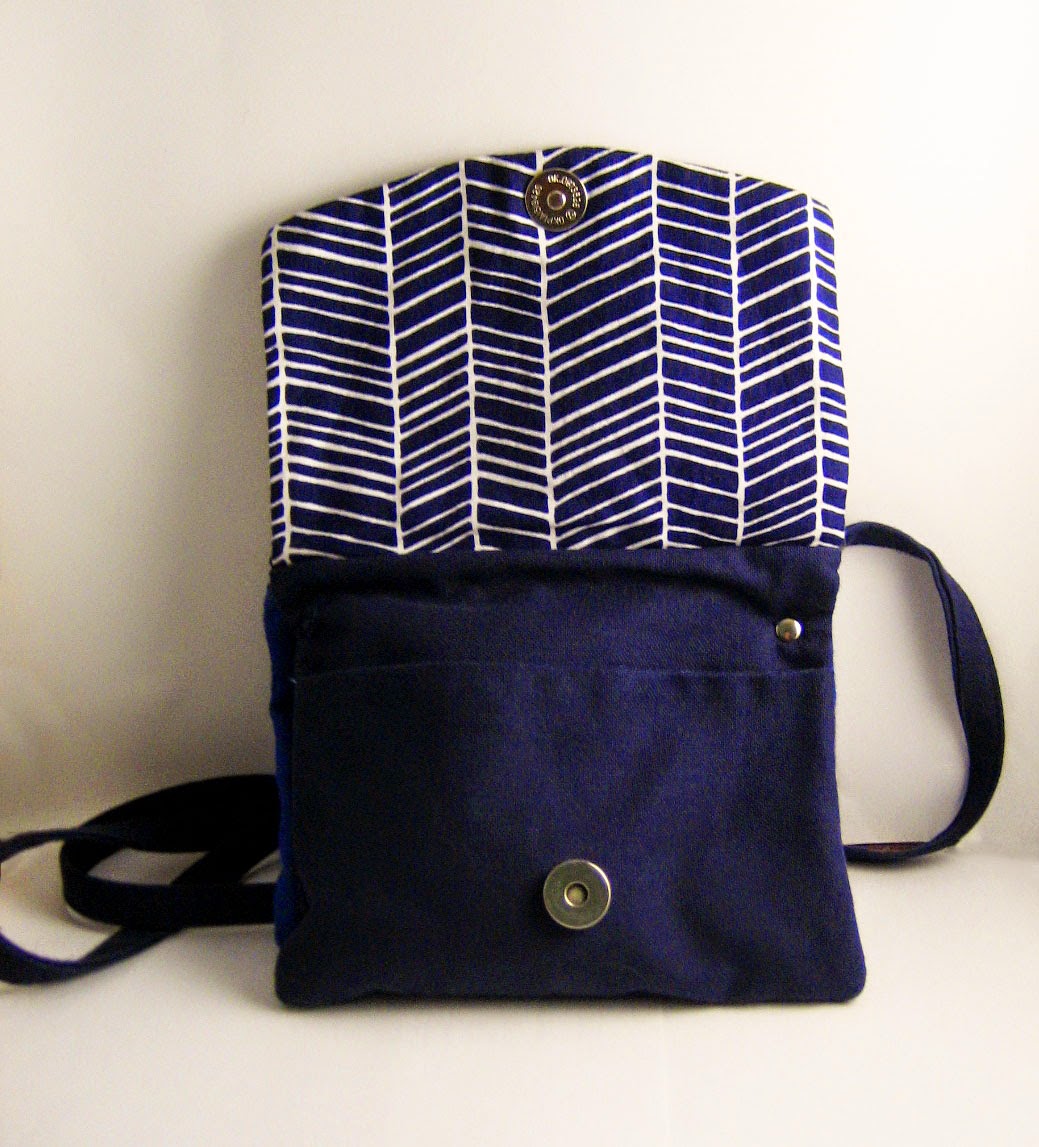
Baste the top of the flap to the top of the exterior pouch/pocket fabric. Now the magnetic snap for the flap should line up with where it's partner needs to go. X marks the spot.
I prefer this method of sneaking the snap in so I know it will line up exactly. Use the washer to mark where the two slits need to be and as above use a seam ripper to open them up.
Use a spare bit of interfacing to protect the fabric inside along with the washer when securing the magnetic snap. Then proceed with making the zip pouch exactly as before. I would recommend using more pins when attaching the zipper because of the added thickness of the flap.
You should have two zip pouches - one with a flap and one without. If you wanted you could make both with a flap and make it double sided in that way. You'll need to grab your strap and some rivets to attach it all together.
And leather hole punch is also a good idea to get through all the layers. Just need a hard surface and a hammer to attach them all. You could definitely attempt to sew through the layers, very very slowly or alternatively hand sew them together.
A quick and easy sling bag from two zip pouches with endless variation and possibilities.
Happy Crafting!






0 comment:
Post a Comment