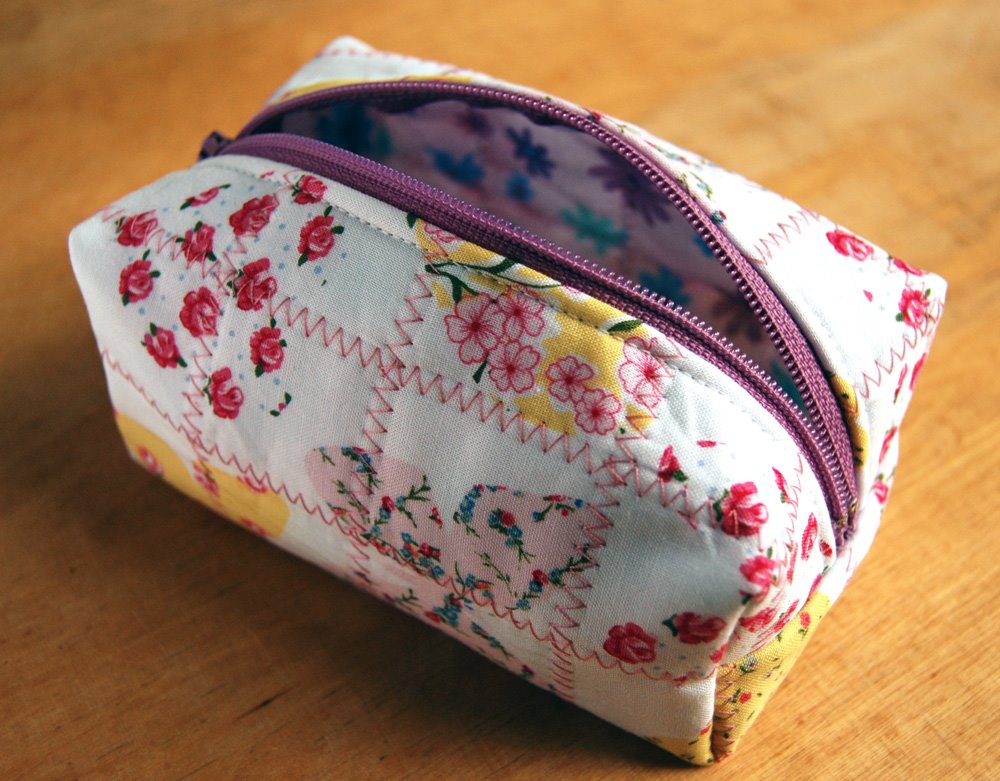
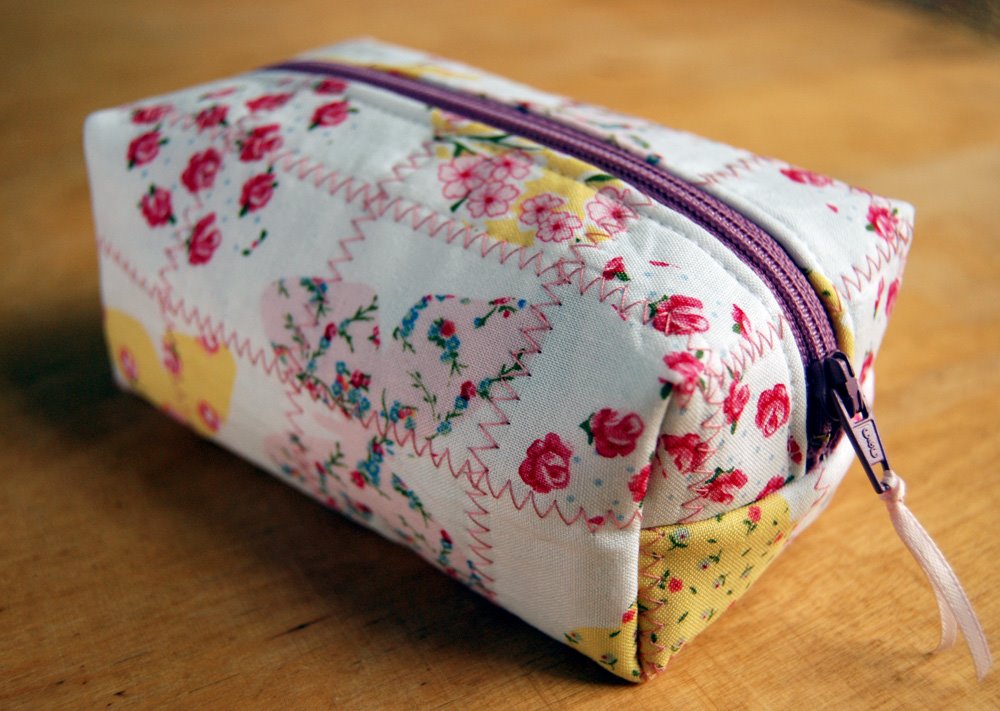
I hope this tutorial will help you make a simple cute cosmetic little boxy pouch bag.
Materials:
-Cotton Fabric ( two different colors and designs ) Fabric A and fabric B
-Batting
-Zipper
-Thread
How to:
- Cut the two pieces of fabric ( I cut my pieces 10" by 8" )
- Cut a piece of batting the same size.
- Put the three pieces together. One will be your front and the other will be your lining. Put fabric B wrong side up, batting in the middle and fabric A right side up. Hold the pieces in place with some pins.
- Set your sewing machine in zigzag stitch or just use a free form style. And start quilting your piece.
- After quilting the whole piece, overlock or zigzag the short ends of the fabric.
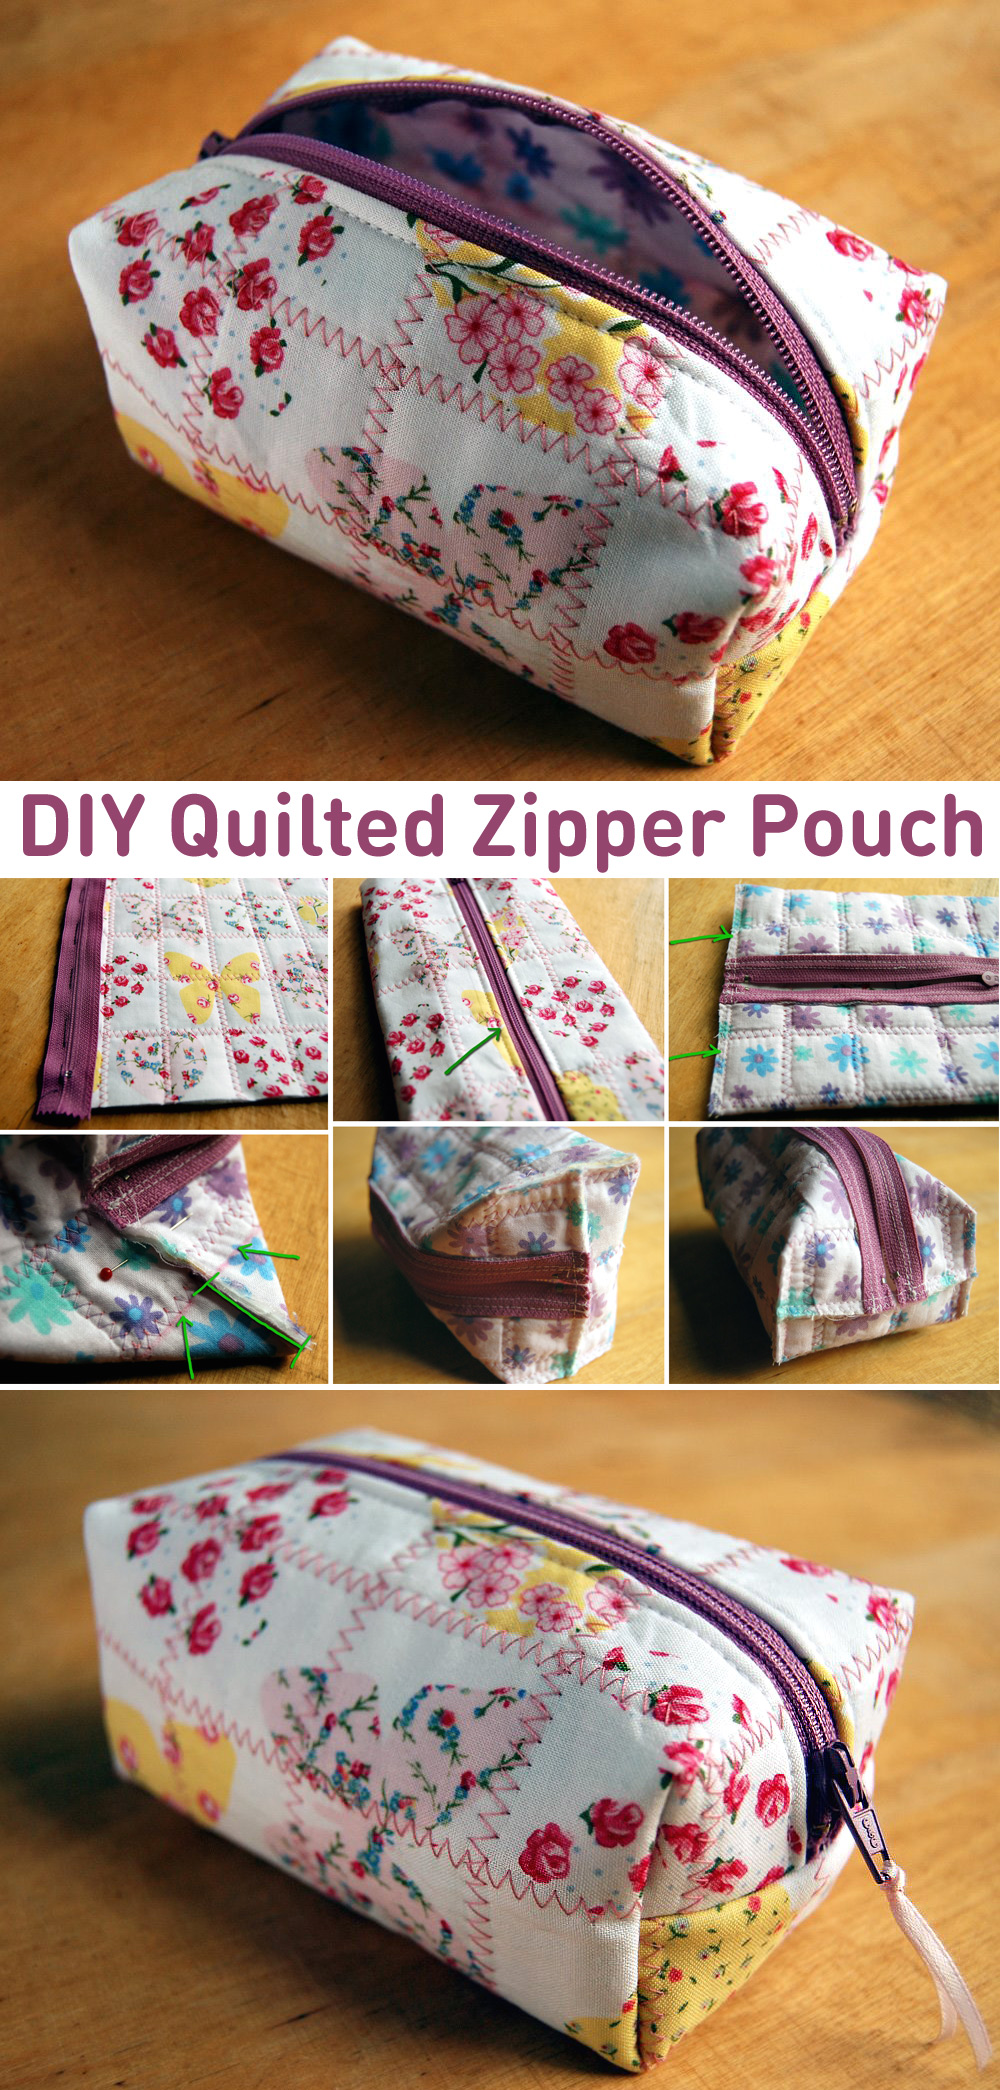
- Baste the zipper to the short side of the fabric. Then sew the zipper using the zipper foot in your sewing machine. Do the same thing for the other side. Don't forget to stitch near the zipper.
- If you want, you can topstitch on the right side of your fabric. Here I show you the result.
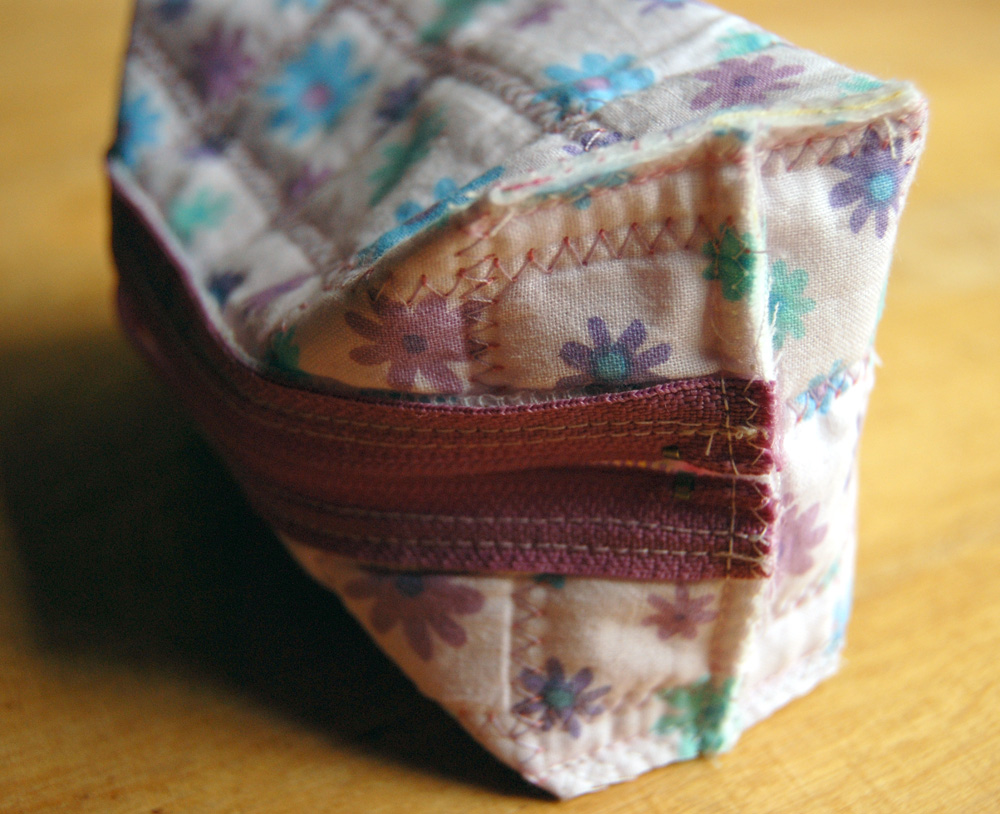
- Turn your piece inside out. Baste the short ends of your little case. Like in the picture.
- Sew the shorts ends of the pouch. Then zigzag the ends of the fabric.
- Pin the four corners and use a pen to mark a line to stitch. Measure from the pen-line to the tip of the triangle so that all four sides come out equal.
- Sew the four corners over the pen-line.
- Trim the remaining fabric from the four corners. Zigzag the edges.
Turn your little boxy pouch inside out. Voila! You finished your little cute cosmetic box pouch. :-)
If you have any problem or doubt just let me know! Have fun!!!


The finished product is adorable! If I made it, I'm not sure that the finished product would look anything like that though. ;-)
ReplyDeleteAwesome tutorial! IF I could pull a needle... I would run and make this-- *sigh* still: what an awesome and well made tutorial..and what a great result!BRAVO! :)
ReplyDeleteThank you for this tutorial. I am busy learning to make boxy bags and this will help me definitely.
ReplyDelete