How To Make Your Own Rolled Fabric Pen Holder - DIY Crafts Tutorial
It was going to have to be pretty big to hold all the Sharpies.
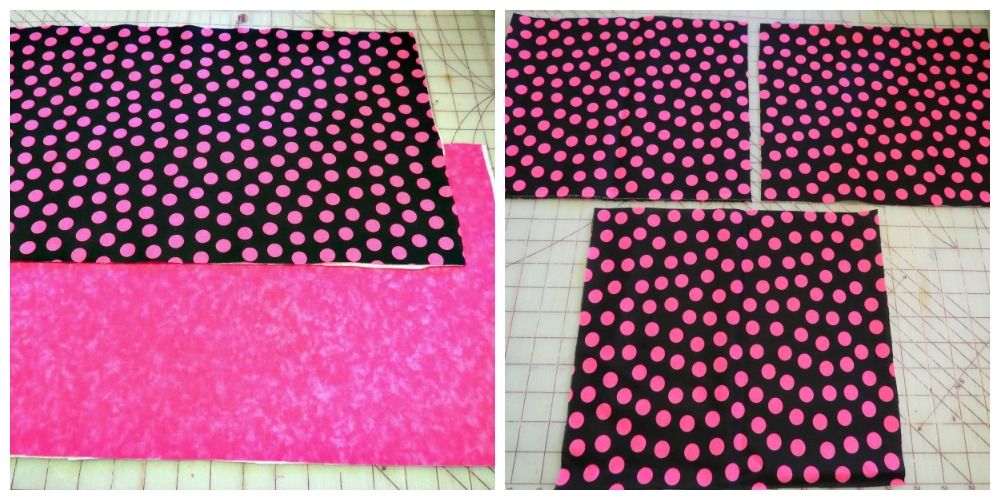
I cut the front and the lining both 19 1/2" x 12" and ironed on a medium weight interfacing.
For the dividers, cut 3 pieces 10 1/2" x 12".
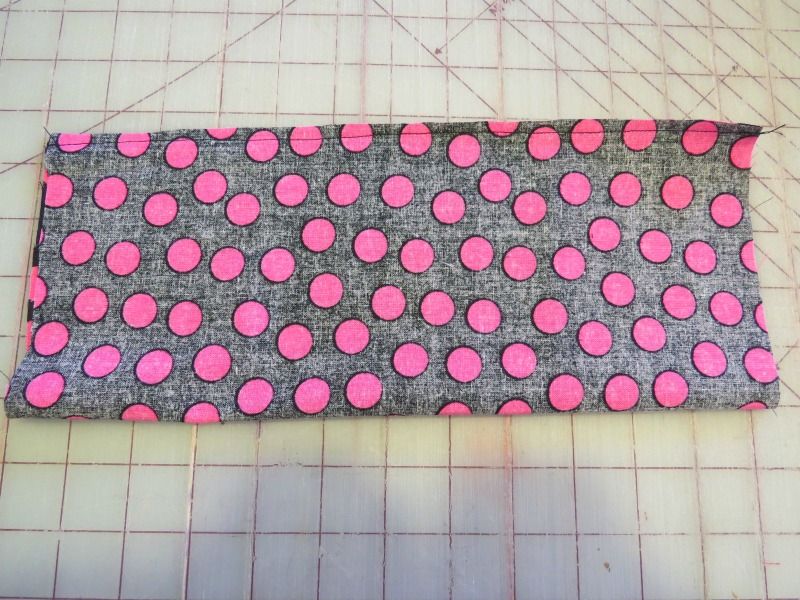
The middle section needs to be turned in half and sewn along the long side to make a tube.
Turn and press.
The other 2 sections just fold in half and iron.
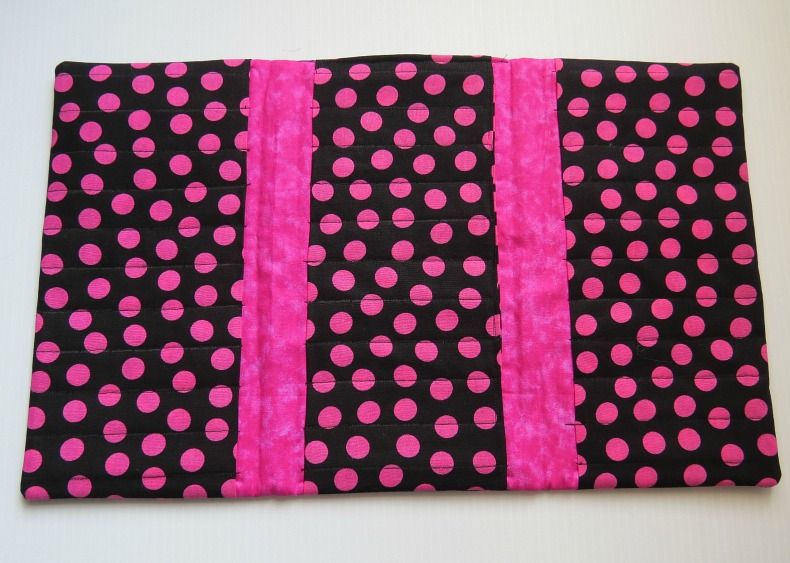
On the lining, stitch along the short sides of the top and bottom sections (to help hold it on). Be sure that your folded side is facing in.
The middle section needs to be sewn not only along the 2 short sides, but also across the bottom.
Then sew down each piece where the markers will go in. I think I did mine about every inch. It really depends on the size of your markers so you can lay it on there to get the size.
Now it's time to put the whole thing together by sewing the lining and the front, right sides together, and leave an opening in the middle of one long side to turn.
Turn, press, and sew your opening shut.
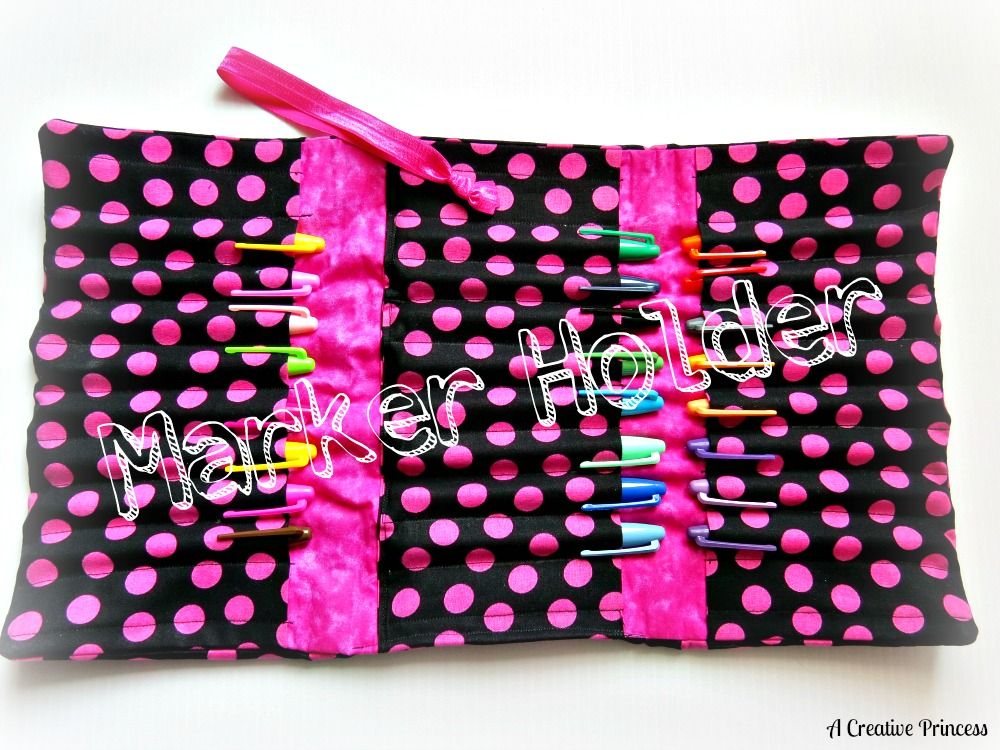
It tri-folds up and I used an elastic ribbon to hold it.
(You can find this elastic ribbon at Hobby Lobby now in lots of colors.)
Now we're ready to create something marvelous!
Oh, and colorful!


0 comment:
Post a Comment