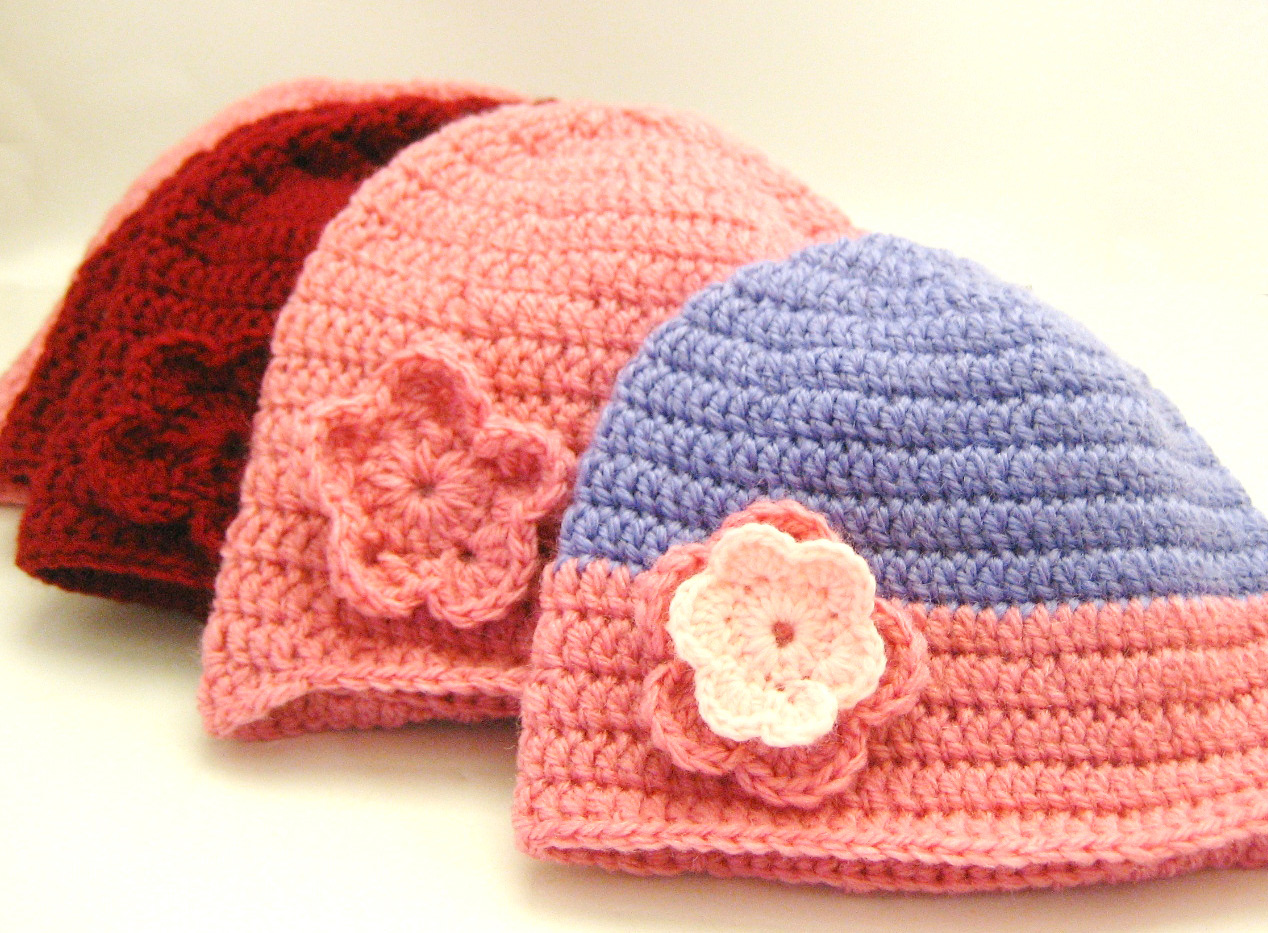
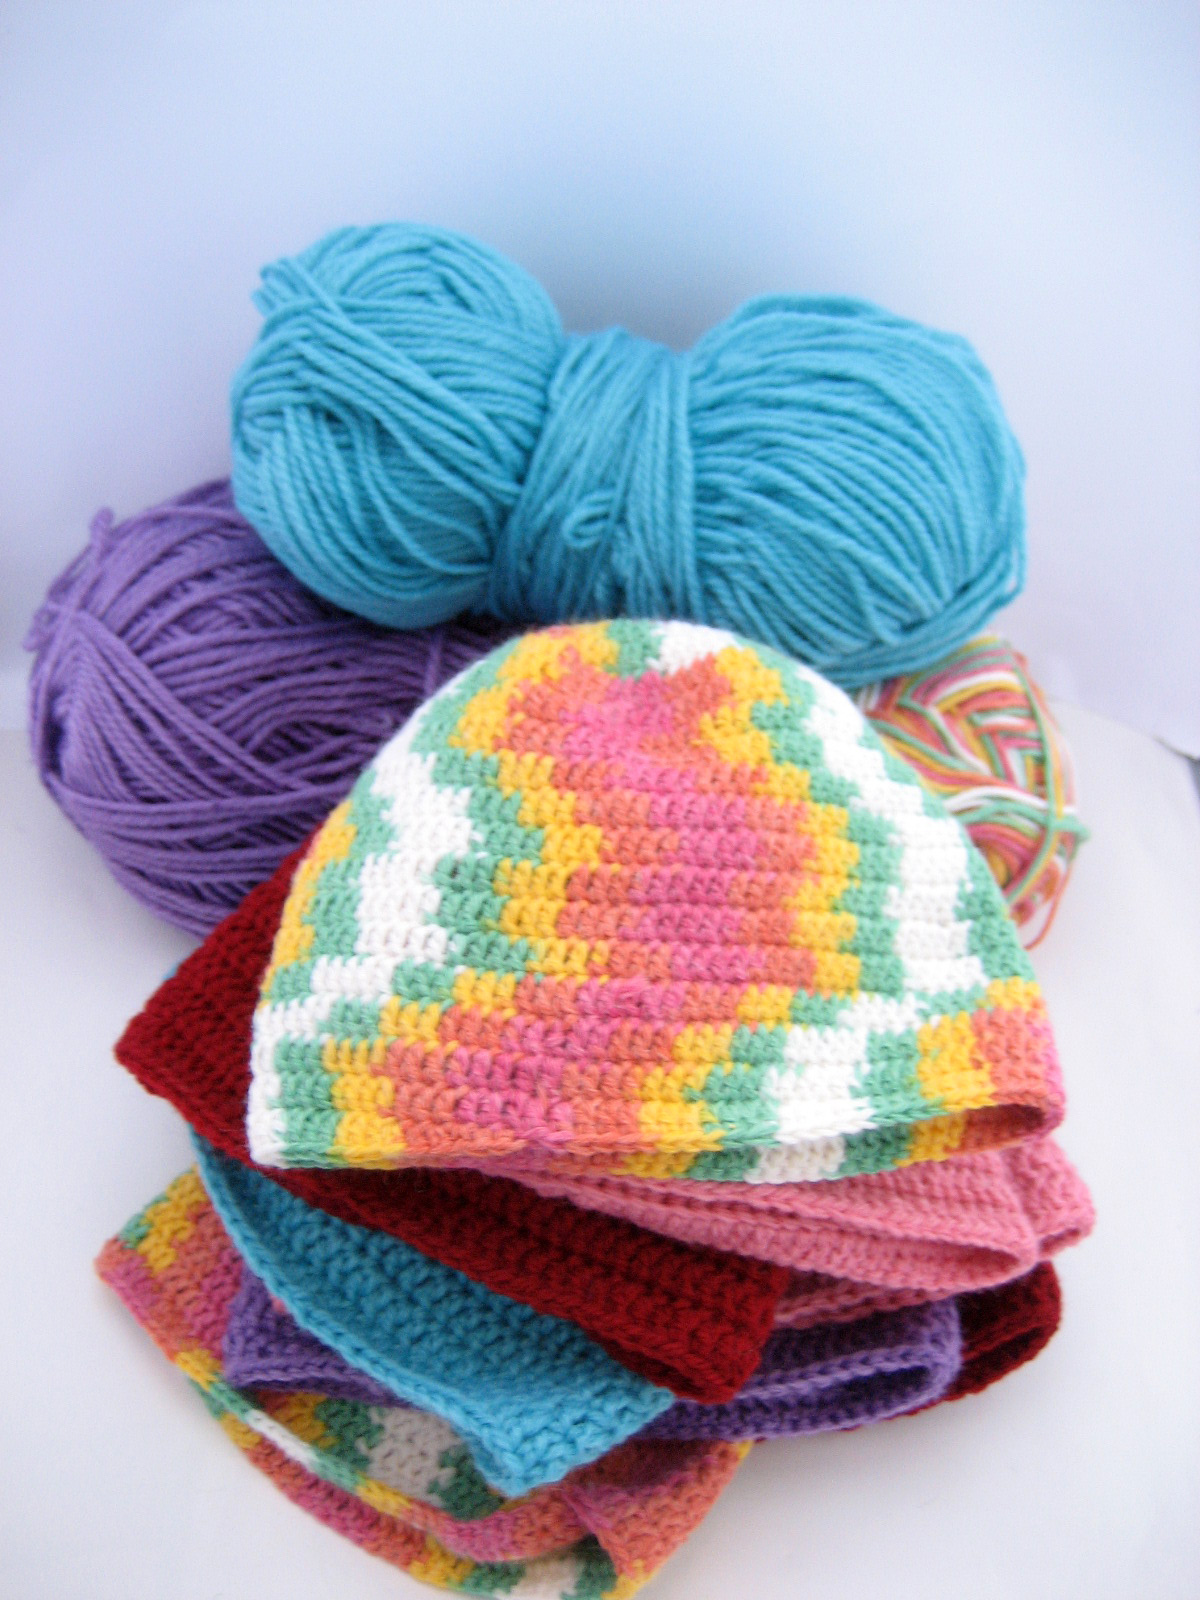
For those of you who would like to learn how to crochet, for the charities or you actually know a baby who would like a beanie the step-by-step is right after the jump.
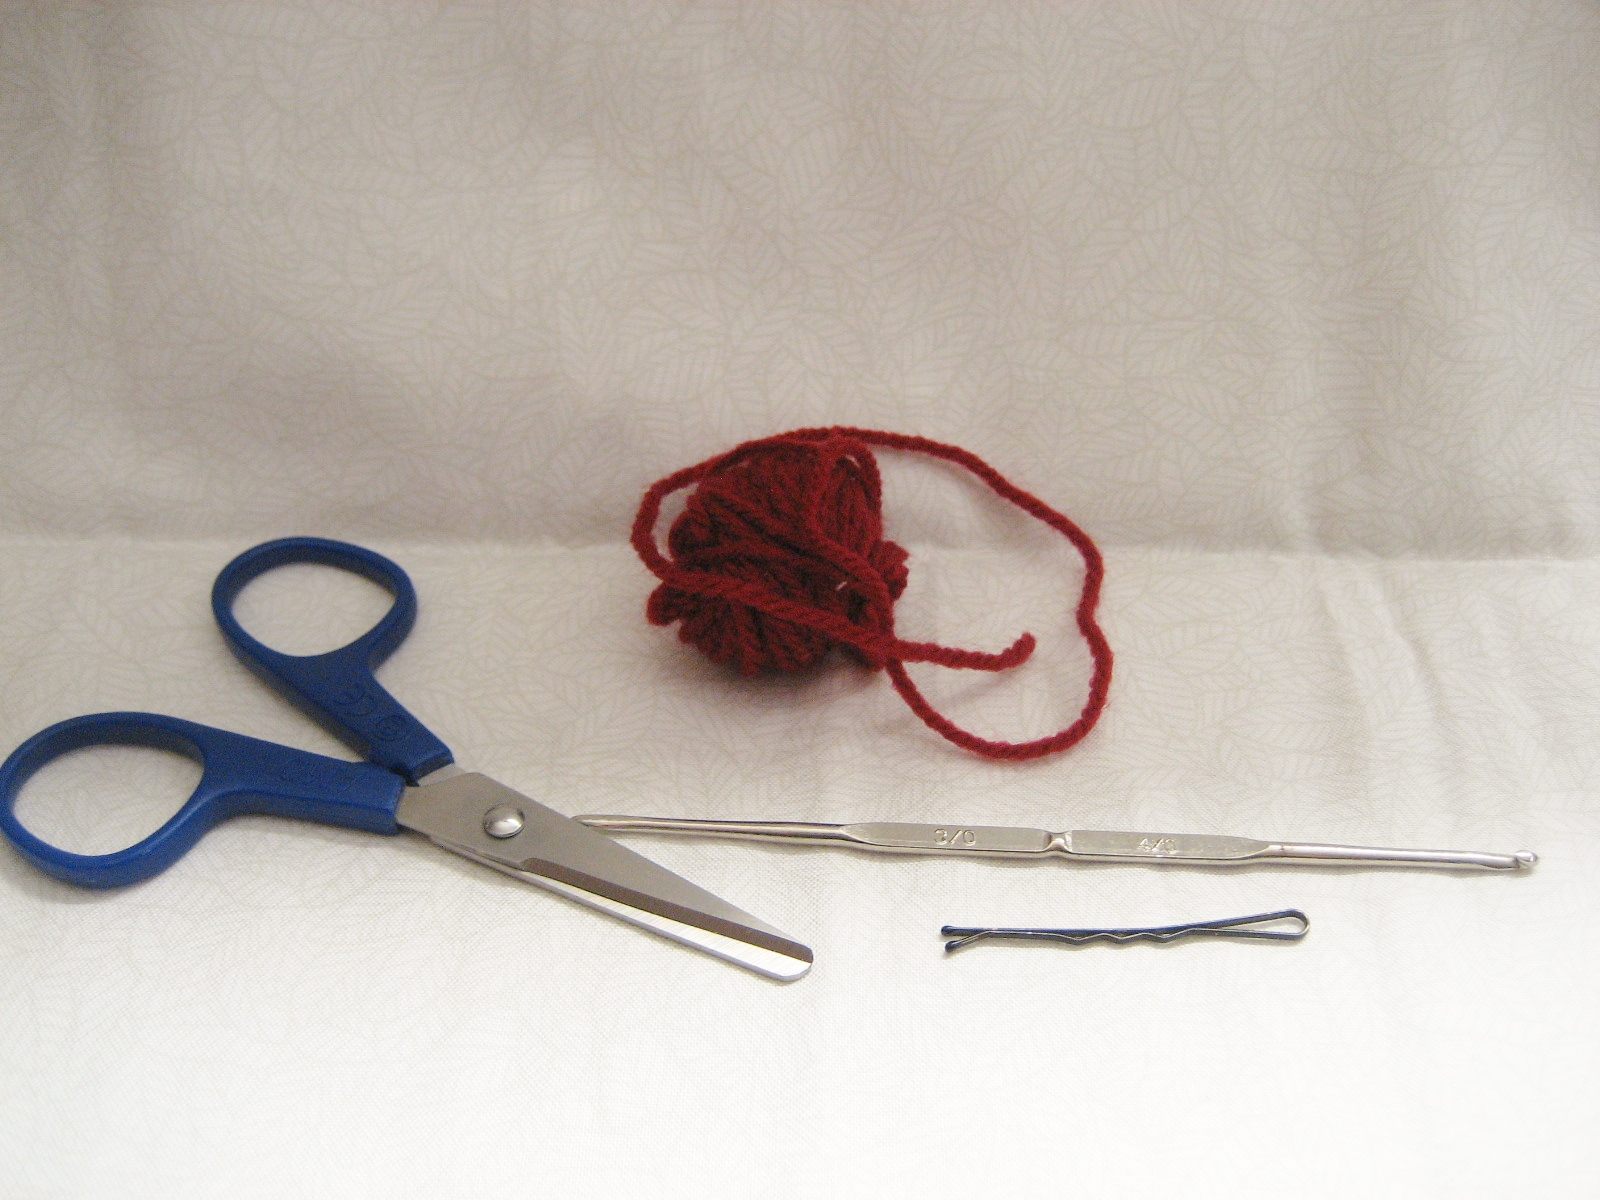
What you'll need
crochet hook - I used a 4mm hook (G hook)
wool/ yarn - medium weight
scissors
hair pin
What to do
Tying the knot
Drape the yarn over your left index finger
Loop the yarn behind the first loop
Turn your finger to face you
Pull the second loop under and through the first loop
You should now have a knot (of sorts)
Put the loop of the knot onto your crochet hook - pull the long end of the yarn to tighten it, then pull the short end to ensure the knotted part of the yarn is under the hook.
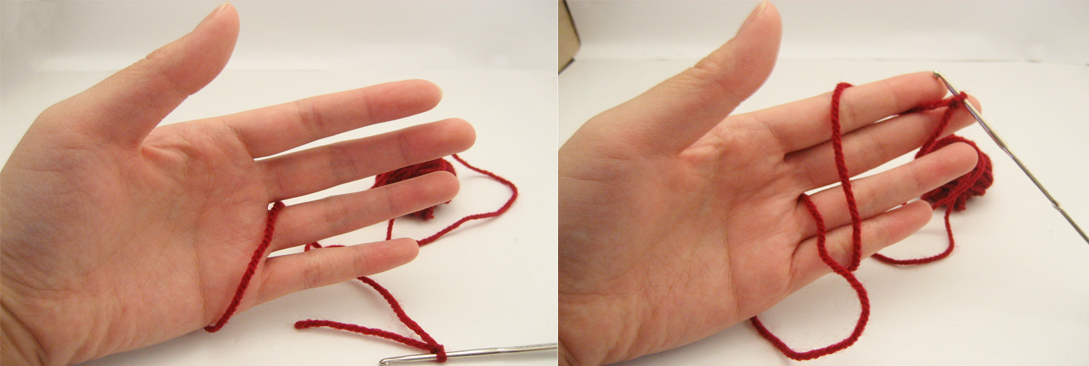
How to hold the yarn
- gave my hand some cramps by doing this weirdly - as you do
Pull a length of yarn loose from the ball
Grab the crochet hook in your right hand and loop it around your 4th and 5th fingers than loop it over your index finger
To hold the yarn you need to clasp your 3rd, 4th and 5th fingers to your palm, and straighten your index finger.
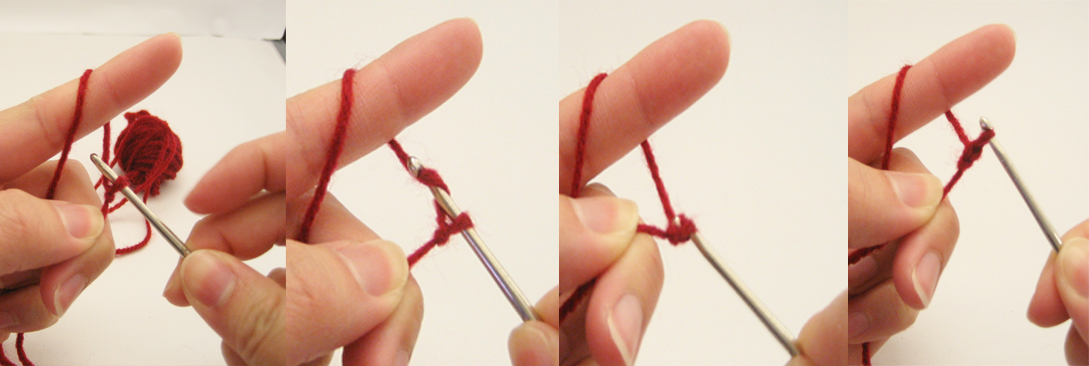
Chaining
- click on the picture to enlarge it; I thought I was being clever by showing them all in a row
Use your thumb to hold the loose end of the yarn from the knot against your 3rd finger
fold in your 4th and 5th fingers to your palm to hold the yarn taunt
straighten your index finger
Loop your yarn over your hook (2nd pic)
Pull the loop of yarn through the looped knot already on the hook. (3rd pic)
You should now have 1 loop on your hook. This is the first stitch you count on your chain.
Chain 5 loops onto your hook.
The arrow is pointing between the stitch where you need to insert your hook for the next step.
Insert the hook into the 5th chain from the hook (where the arrow was pointing)- top left pic
Loop the yarn over the hook - top right pic
Pull through both loops on your hook - bottom left pic
You should now have one loop left on your hook - bottom right pic
That was a slip stitch - pulling through all the loops on your hook so your left with one
Double Crocheting in the Loop
Pull the circle down so you have something to grip as you maneuver the hook
Loop the yarn over the hook (2 loops on the hook now) - 1st pic
Pop the hook inside the hole in the circle (the loop - where my thumb is pointing to) - this will make '3 loops' on the hook; now loop the yarn over the hook again = 4 loops on the hook - 2nd pic
Pull the yarn through two stitches on the hook (through the circle and the stitch before it) = 2 loops on the hook
It can be hard to maneuver the loops so you have enough space - it gets easier as you move outwards, for now use your nails to pull it through
Now loop the yarn over again = 3 loops on the hook
Pull through 2 of the loops on the hook = 1 loop
You have just completed your first double stitch
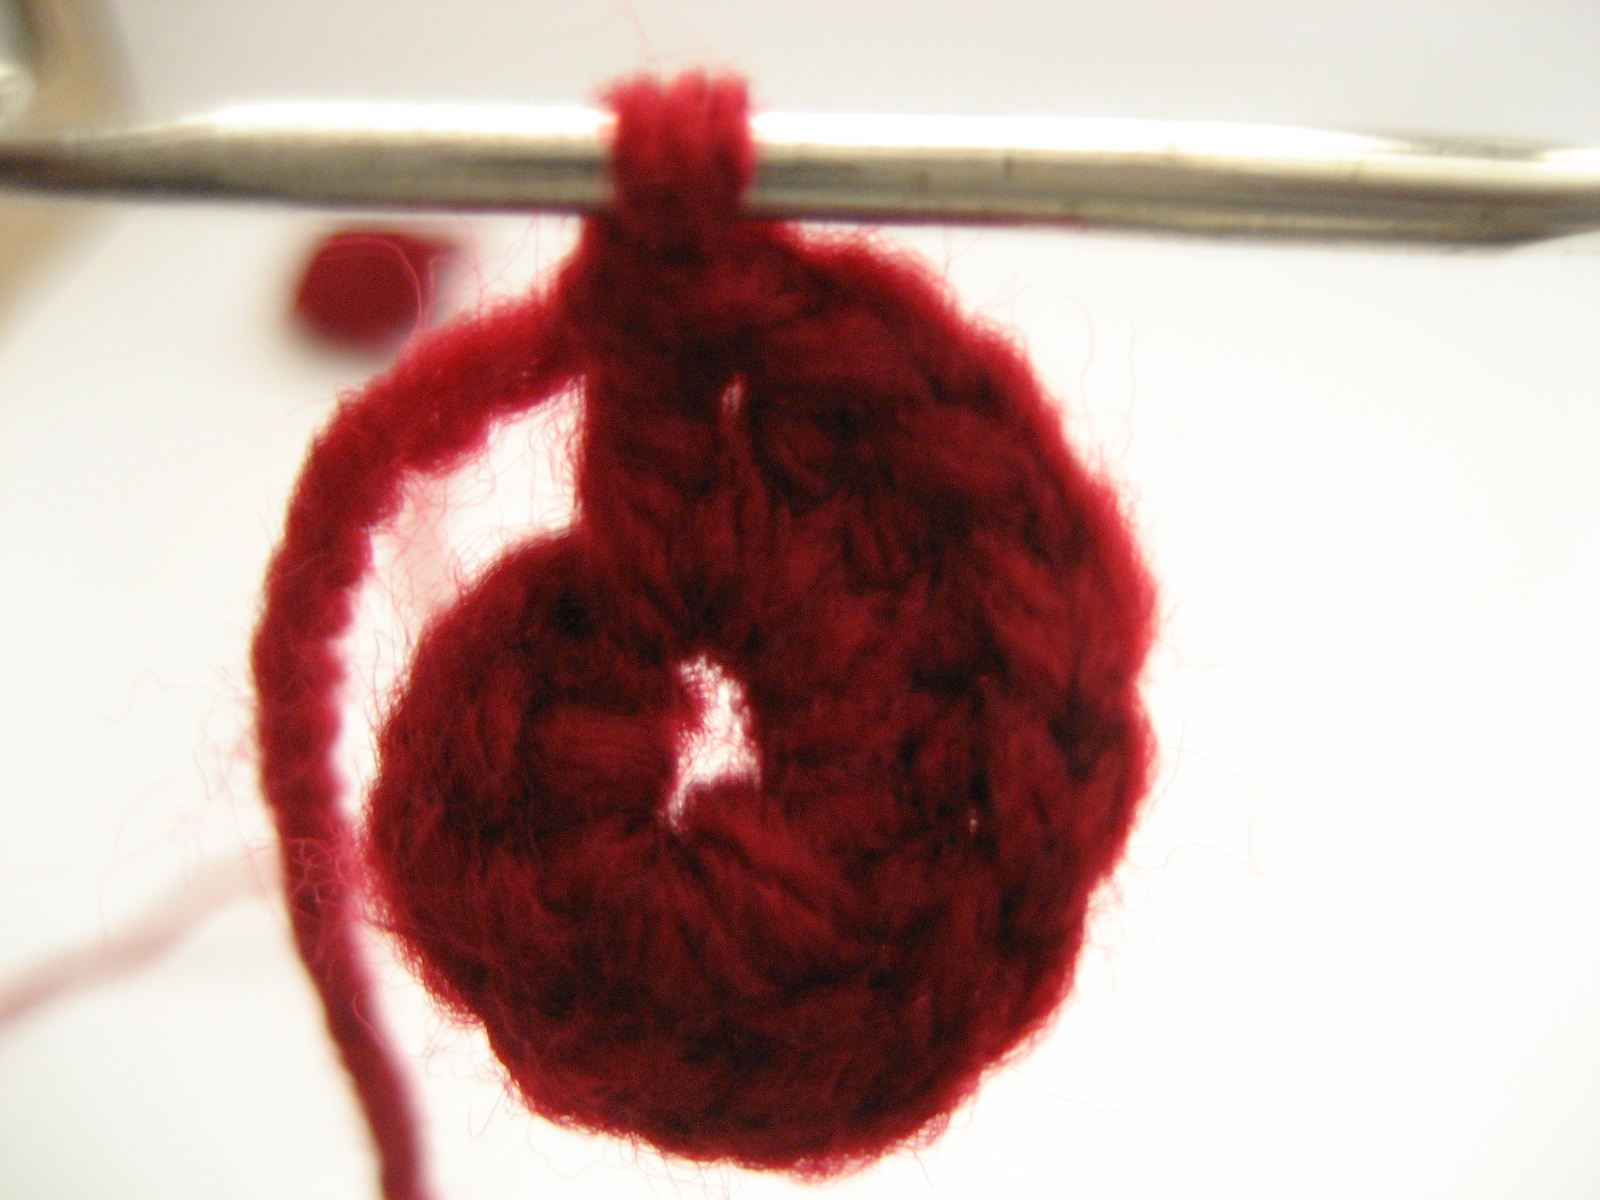
Complete 10 double stitches in the loop - it will look like a spiral
Double stitching in the Round
The needle is looped under the stitch - when it says to dc (double crochet) you need to go under the stitch as the hole to go through - same for when you sc (single crochet)
I got rather confused and went between - it worked but probably not how it was meant to
When I count the stitches of a double crochet I like to think of it as:
Start with 1 loop
Loop yarn over = 2 loops
Put through hole = 3 loops
Loop yarn over = 4 loops
Pull through 2 loops = 2 loops
Loop yarn over = 3 loops
Pull through 2 loops = 1 loop left!
BASICALLY - you need to pull through 2 loops always
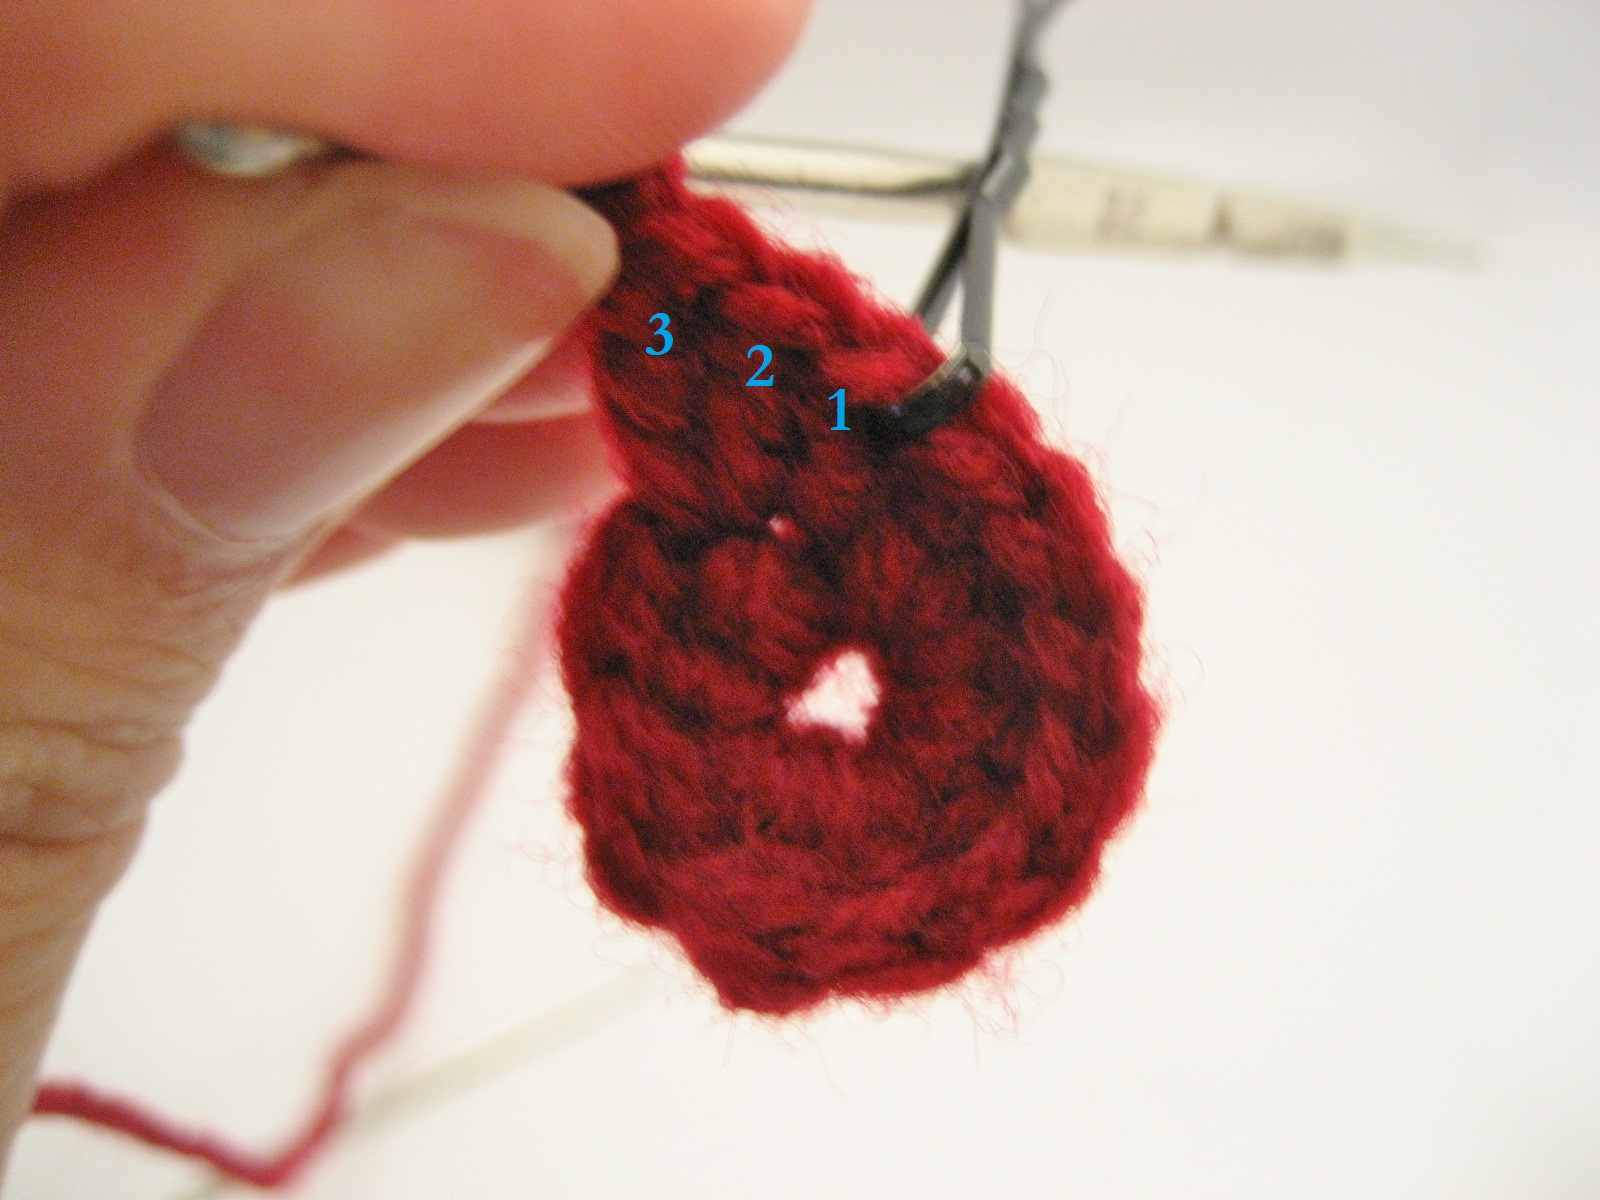
Now you need to double crochet 3 times in the same stitch (at the end you should have made 30 stitches)
The blue arrow is pointing at the stitch you need to go through - if you pull your crochet hook upwards you should see the place to go through
Placing a marker
The idea of a marker is so you know where the start of each row is so you can keep count
I found a hairpin with the rubber tips works well - it's easy to remove and move out of the way
This is the 30 stitches from Round 2, now back at the marker you start counting from one again.
A few notes on the pattern
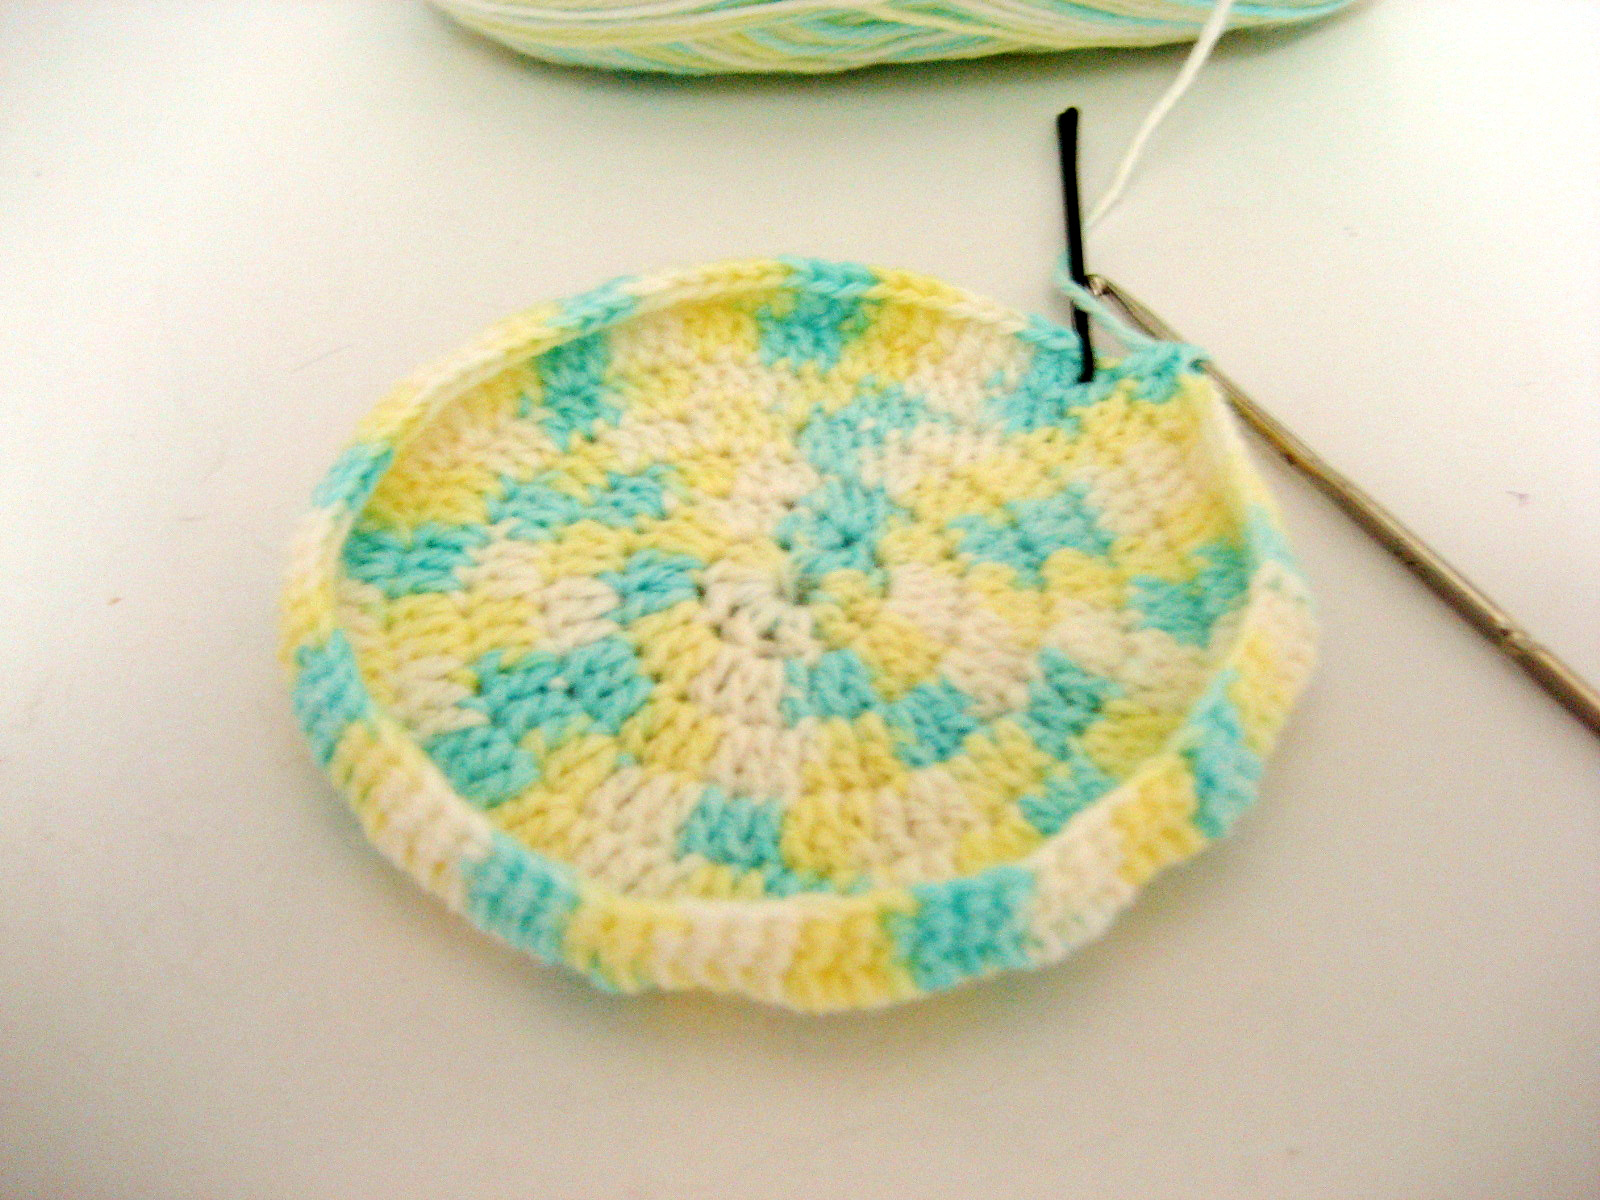
So I got very very wary of whether or not my beanie would turn out anything like what it was meant to, but once you get to round 10 it starts to curve down and look like beanie; before that it looks like a flat spiral
17 stitches should measure 3 inches as a rough guide
UPDATE - it does curve up naturally once you start doing 1 dc in each dc
Crochet Pattern: Beanie
Round 1: ch 5, sl st in 5th ch from hook, 10 dc in loop, place marker
Round 2: 3 dc in each dc around = 30 stitches
Round 3: (2 dc in next dc, dc in next dc) around = 45 stitches (12,3,45,6,78,9...)
Round 4: (2 dc in next dc, dc in next 2 dc) around = 60 stitches (12,3,4,56,7,8,9...)
Round 5: (2 dc in next dc, dc in next 3 dc) around = 75 stitches (12,3,4,5,67....)
Round 6: (2 dc in next dc, dc in next 4 dc) around = 90 stitches (12,3,4,5,6,78...)
Round 7 – 15: dc in each dc around
Finish off.
Finishing off
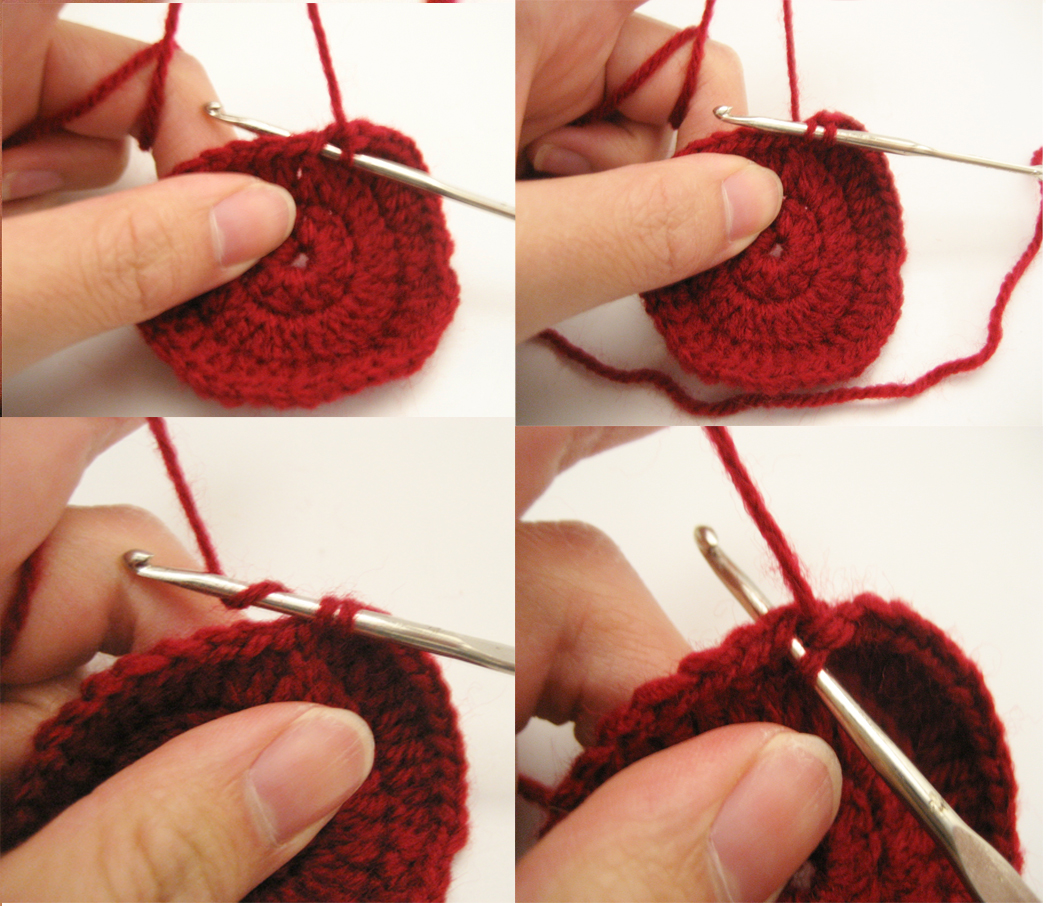
Once you get back to your marker after the 15 rows, pull it out
You should have 1 loop on your hook
Pop the hook into the next stitch (2 loop)
Loop the yarn over the hook (3 loops)
Pull through 1 loop (2 loops)
Loop yarn over (3 loops)
Pull through 2 loops (1 loop)
This is a single crochet
Repeat this in the next stitch
Now perform a slip stitch
You should have 1 loop on your hook
Pop the hook into the stitch (2 loops)
Loop yarn over (3 loops)
Pull through 2 loops (1 loop)
Cut the yarn leaving a 10 cm tail
Loop the yarn over hook and pull the tail through
Thread the tail onto a yarn needle
To avoid a massive jump down in the stitches as you have made a spiral, thread the needle through the next few stitches in the last row of the beanie
Thread the needle towards the centre leaving 1 - 2 cm of the tail free and take off the needle
Stretch the beanie so the tail can stretch out, cut off the reminder.
It turns out fine I promise
So when the first few rounds are folded in half it looks bits suss but once you commit yourself and keep going it turns out fine
I promise you the one on right turn into a fully fledged beanie
The 3D beanie
The mistake
You know how I said I popped the hook into the wrong part of the stitch, well the beanie on the bottom was the result. It does look like a beanie so I didn't realise anything was off for a while, and by then I had 3 beanies, anyways I like that crochet is forgiving.
Happy crafting!











0 comment:
Post a Comment