How To Add Magnetic Snaps to Any Bag. Free Sewing Tutorial
And like I've said before - the lining is the most functional part of the whole thing. There are multiple ways to close a bag, but one of the more popular and widely available ones involve magnetic snap button closures. You could even sew a normal button or a contrasting fabric covered button with a buttonhole as a closure. But today I'm going to show you how to put a magnetic button into the Soy Envelope Clutch and basically for use in other bag closures.
Keep reading after the jump for the tutorial.
Just a note that for the purposes of this tutorial I will be advising when to put the magnetic snap into different parts of the Soy Envelope Clutch Tutorial but the technique for the insertion of magnetic buttons is the same. If you are planning on creating the clutch with a magnetic closure you will need to add 2.5c (1") to the flap template so it is taller.
What You"ll Need
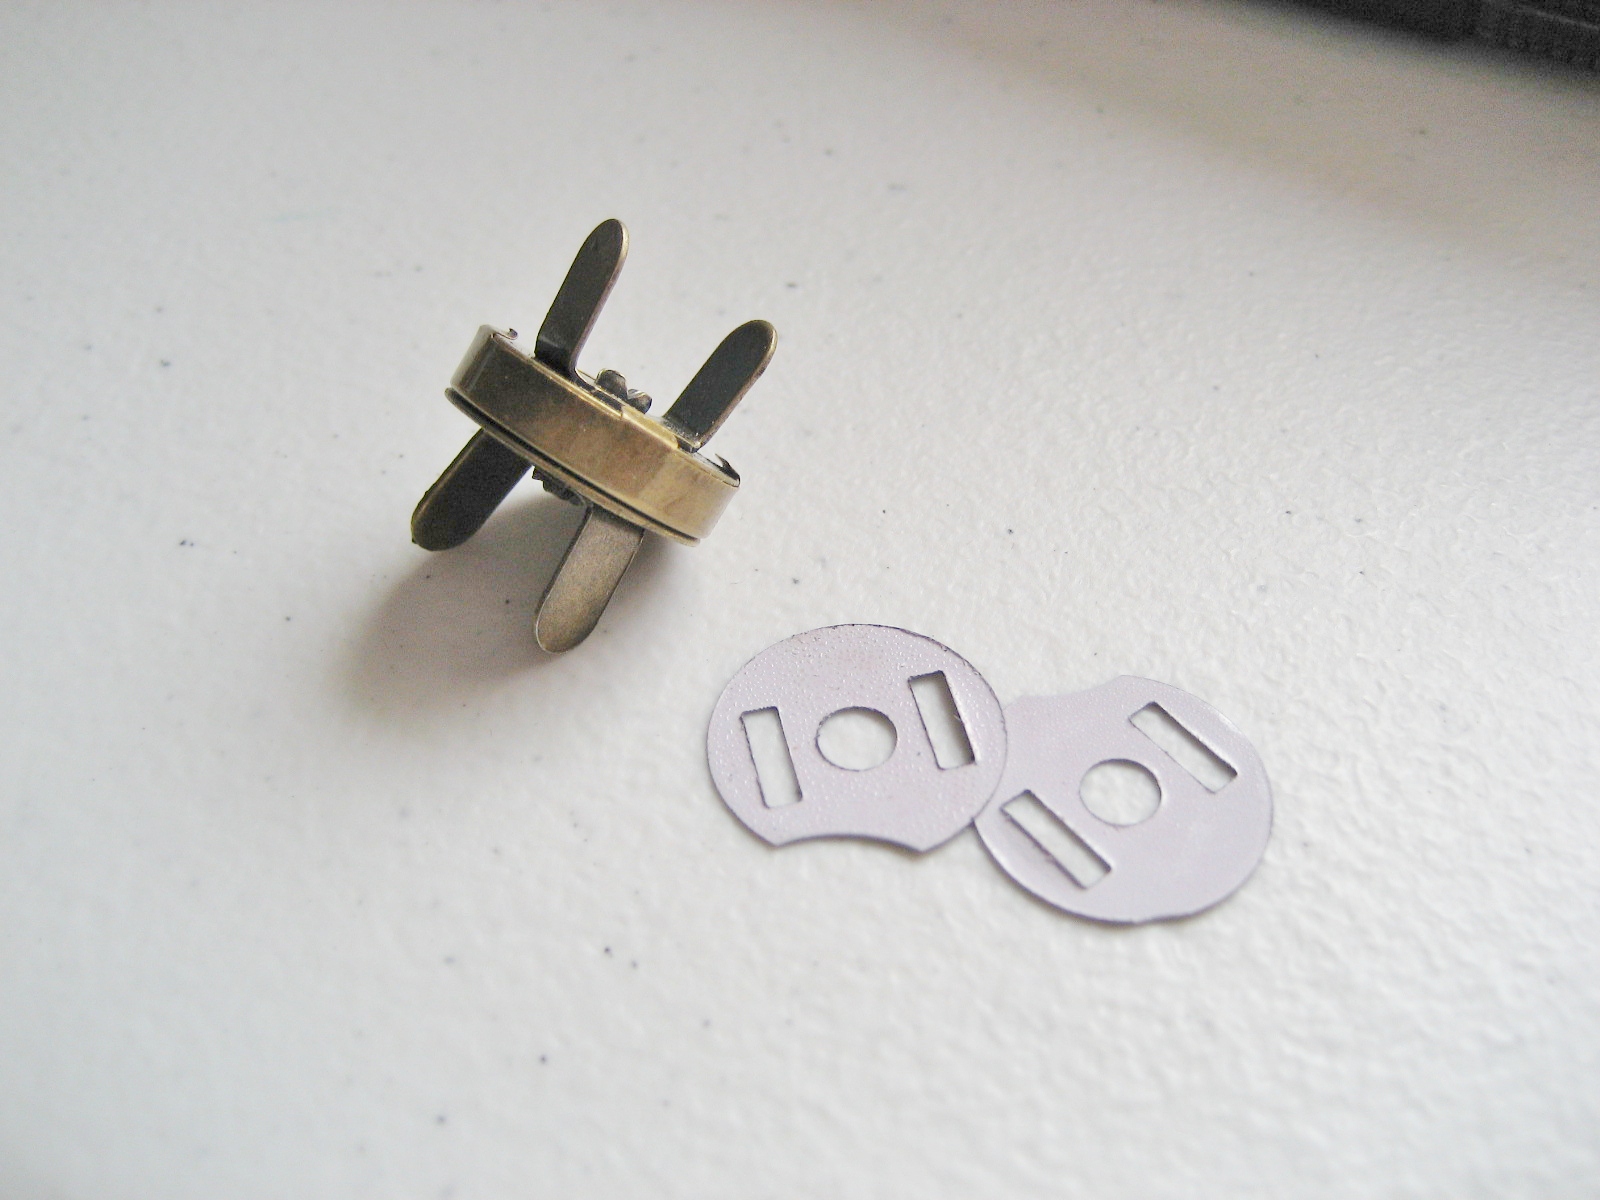
- magnetic snap button - female + male parts and 2 washers
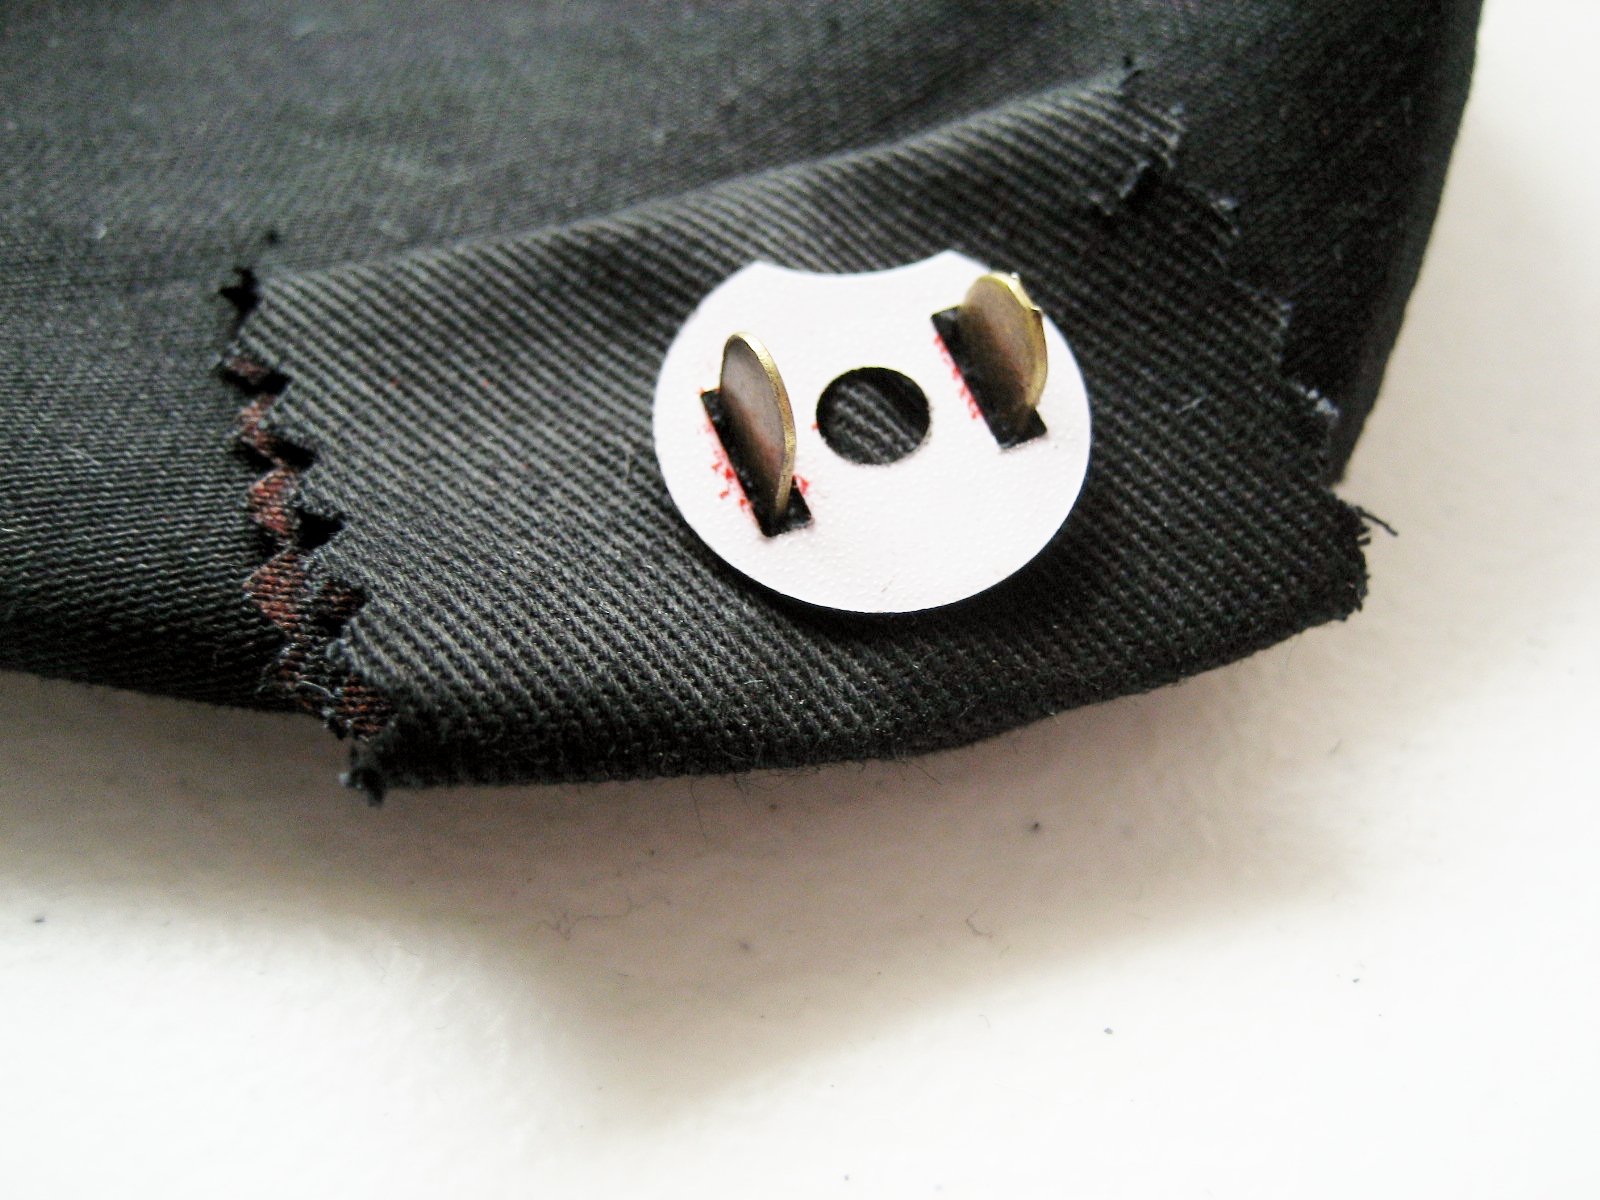
The two circles with punched out lines + circle are washers
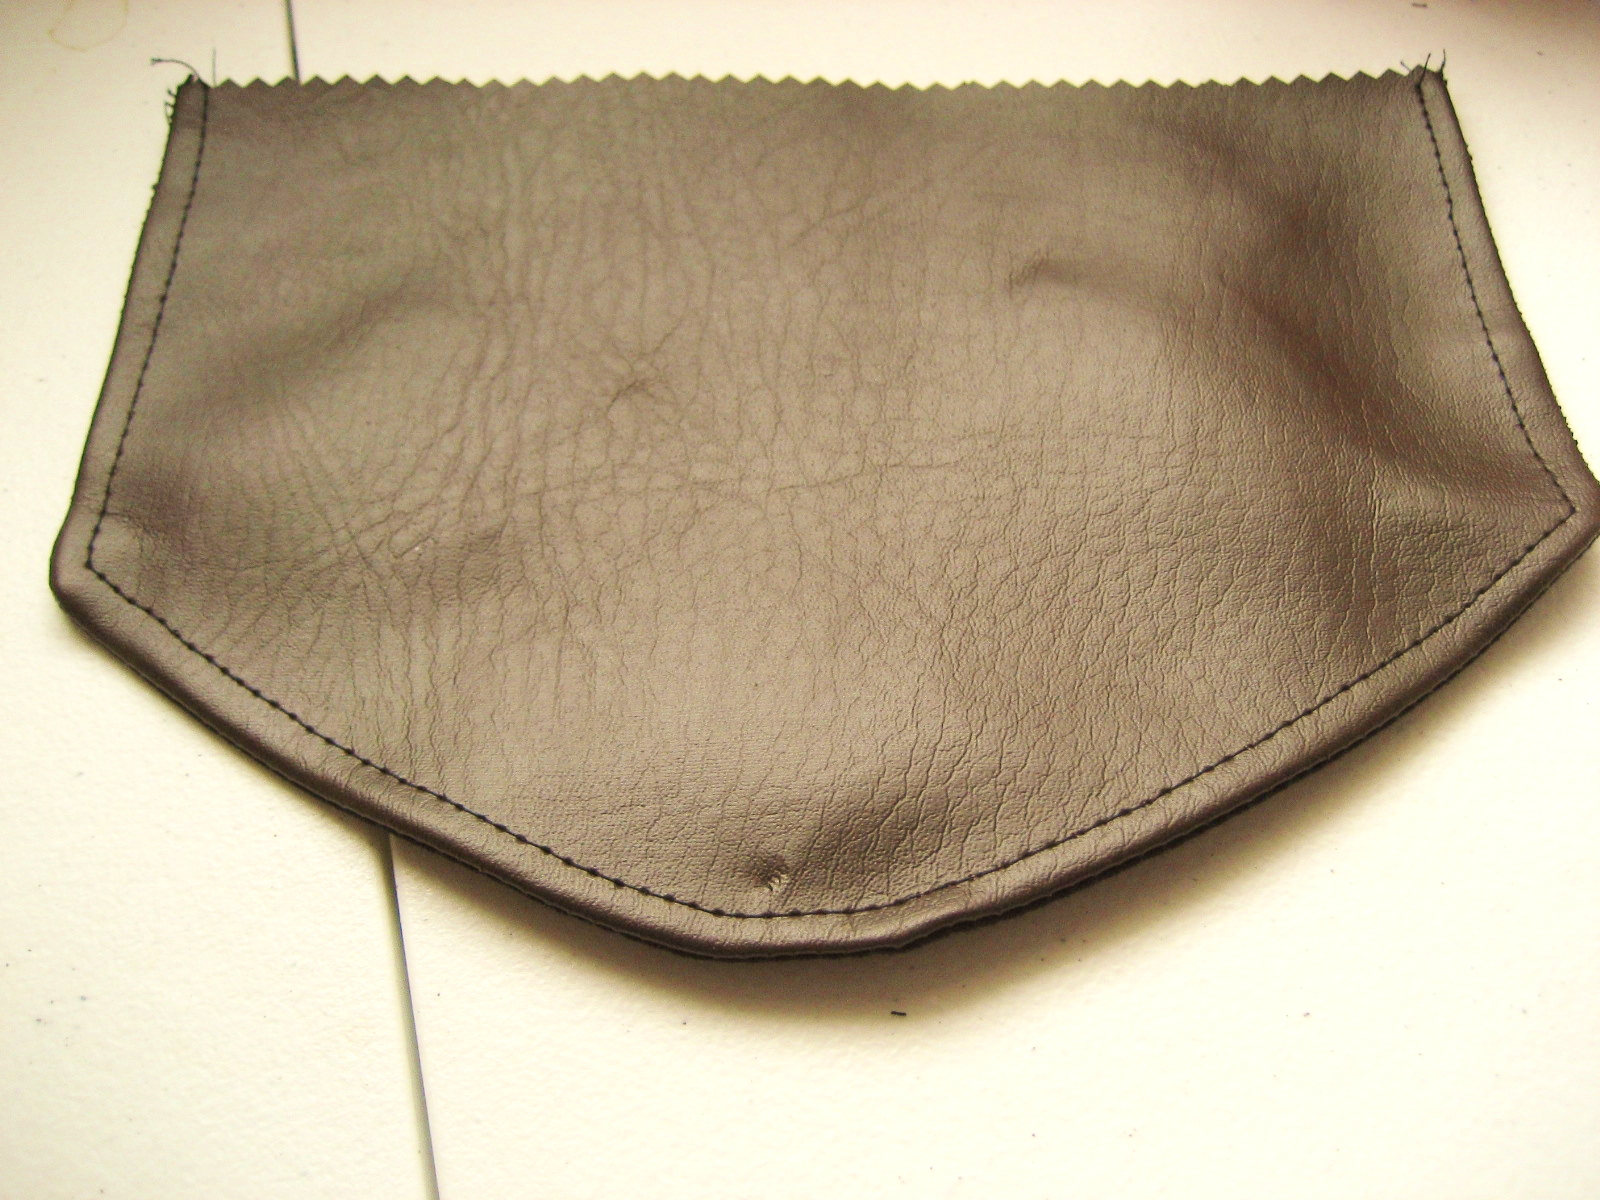
- sewn and topstitched flap of the Soy Envelope Clutch
- sewn faux leather vinyl body pieces of the Soy Envelope Clutch
- extra fabric/ interfacing
- pliers
What to do
- Grab the bag flap and a washer. Place the washer 2.5cm (~1") from the edge of the flap in the midline.
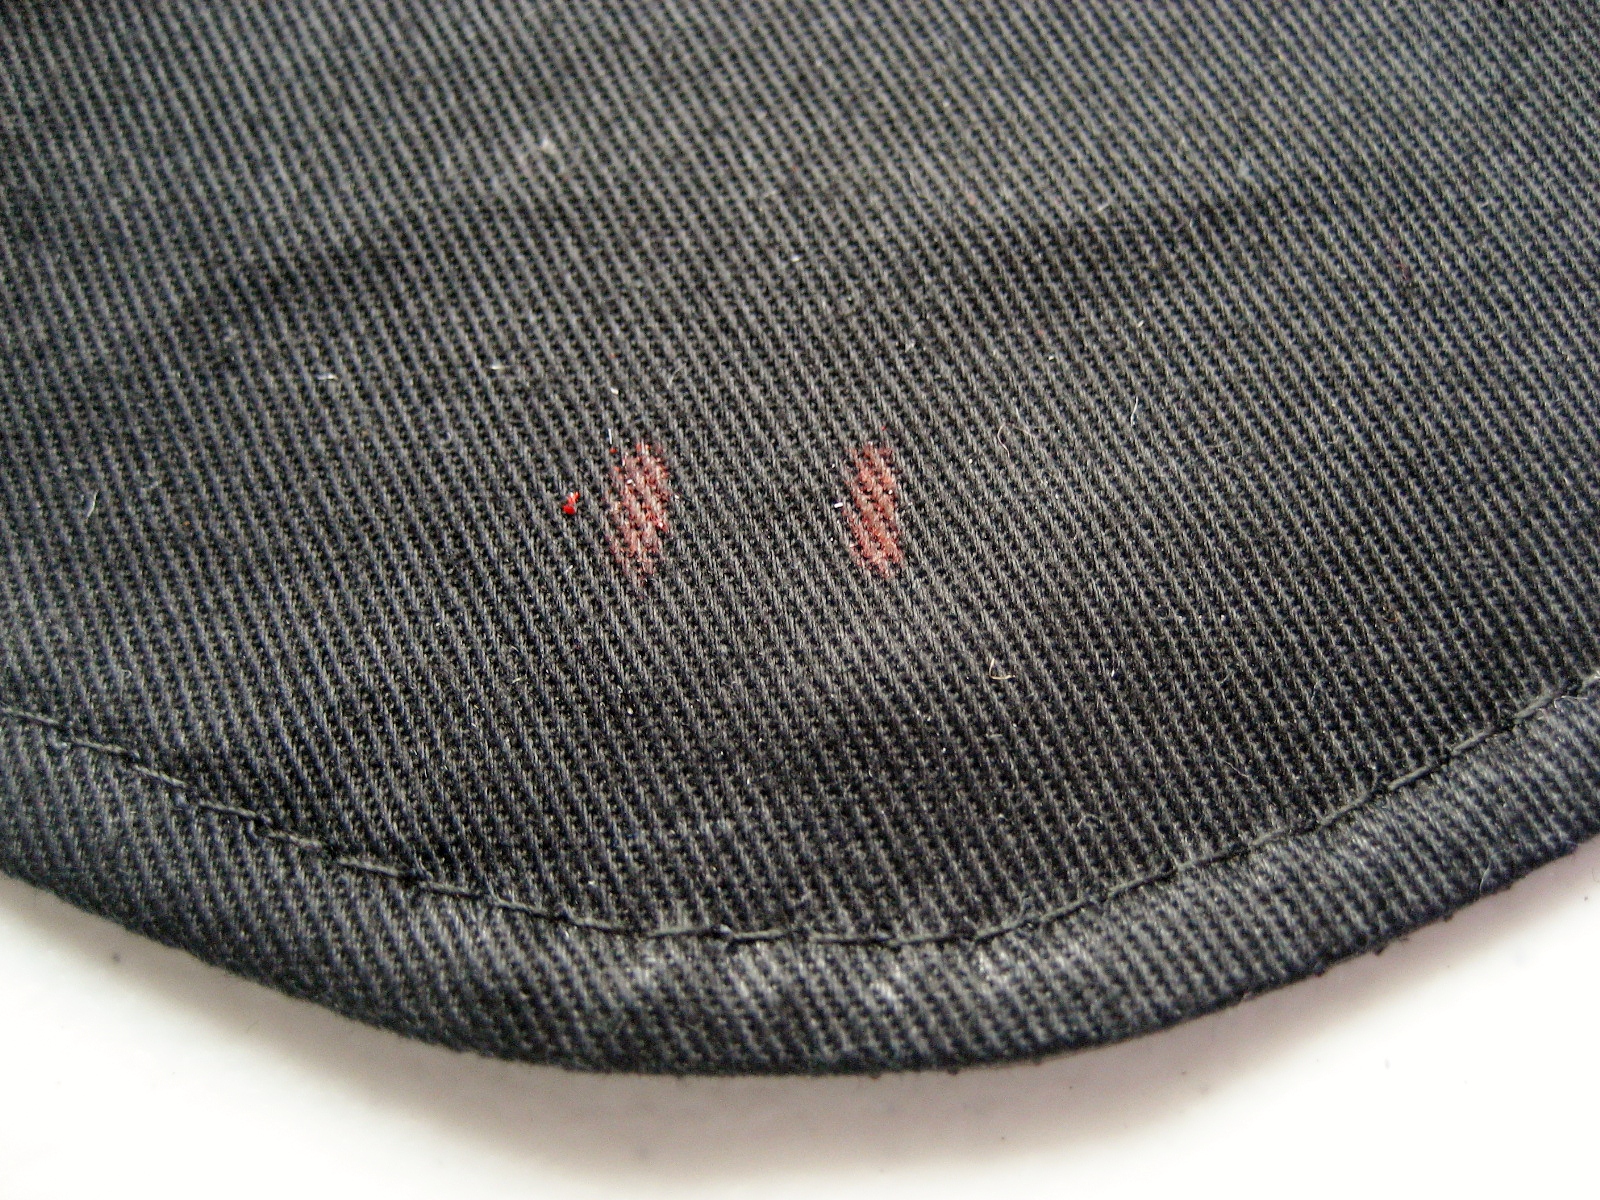
- Using a marker to draw 2 lines through the washer, either side of the circle.
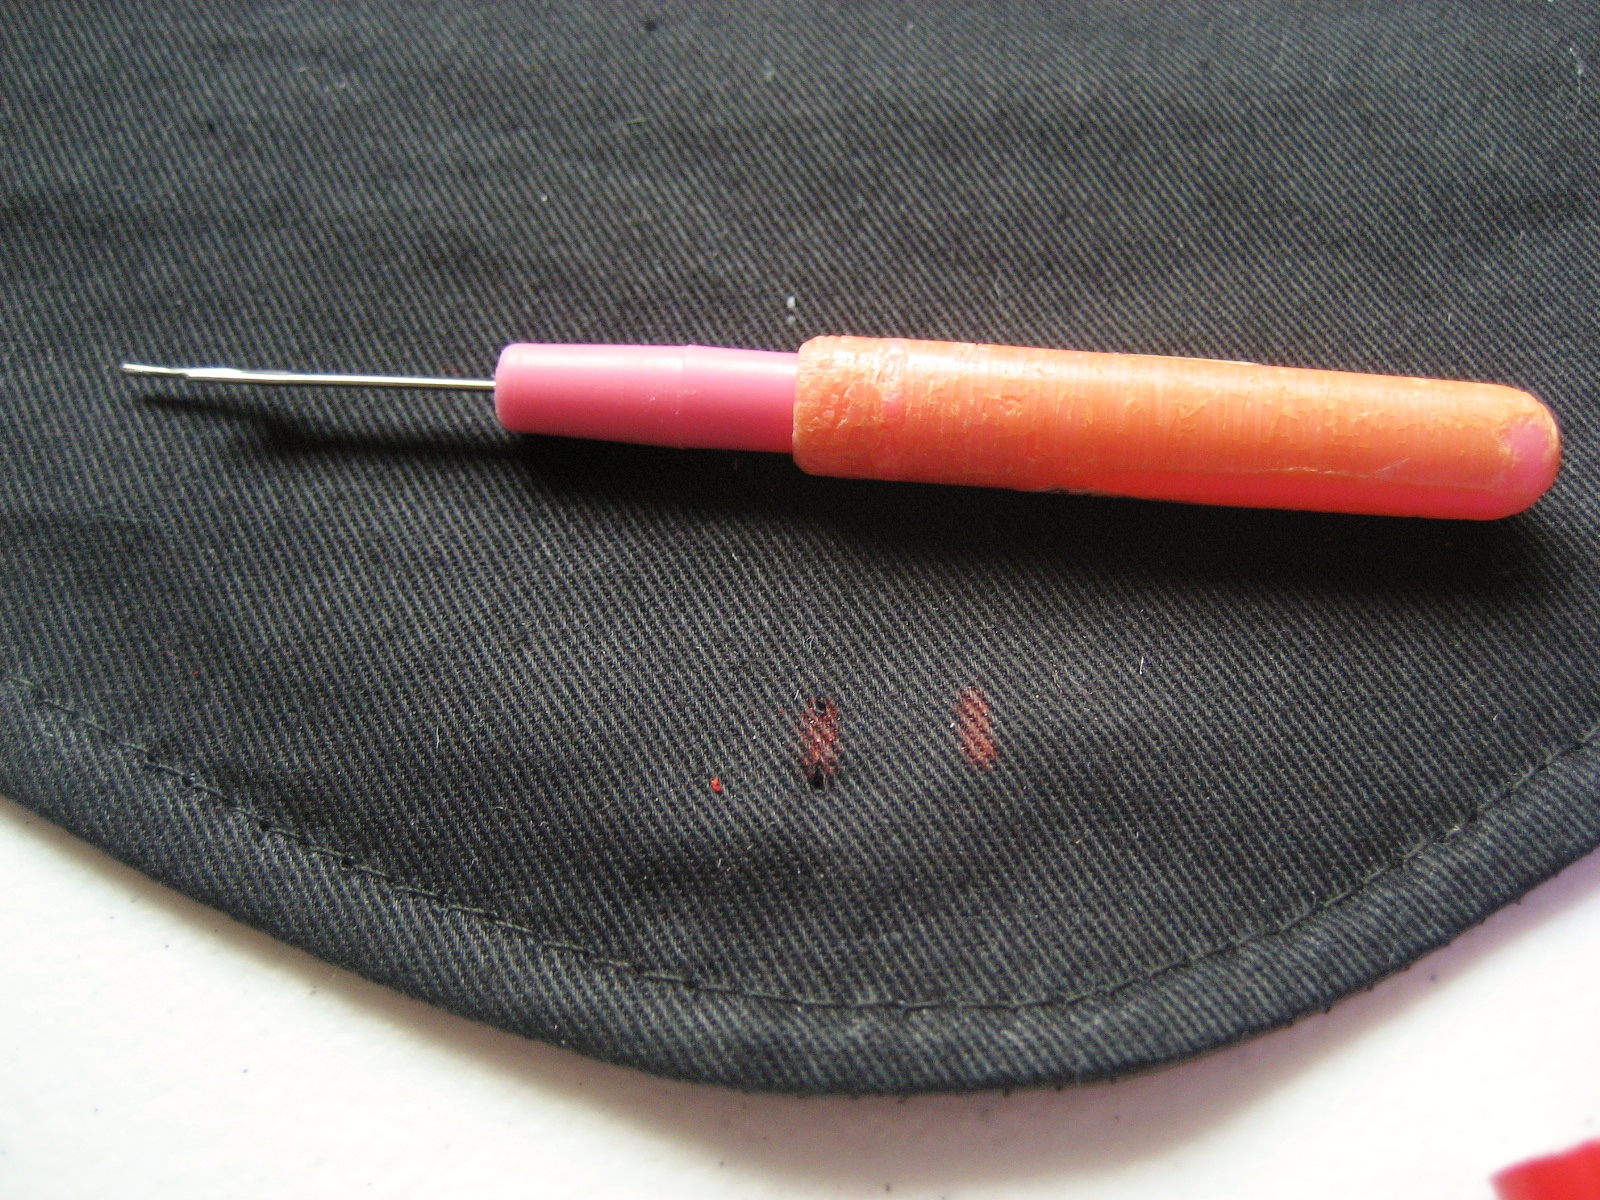
Remember how I always sew with a seam ripper in hand? Well it's not just because I can't sew (or walk!) straight, but because it is such a handy tool for things like this.
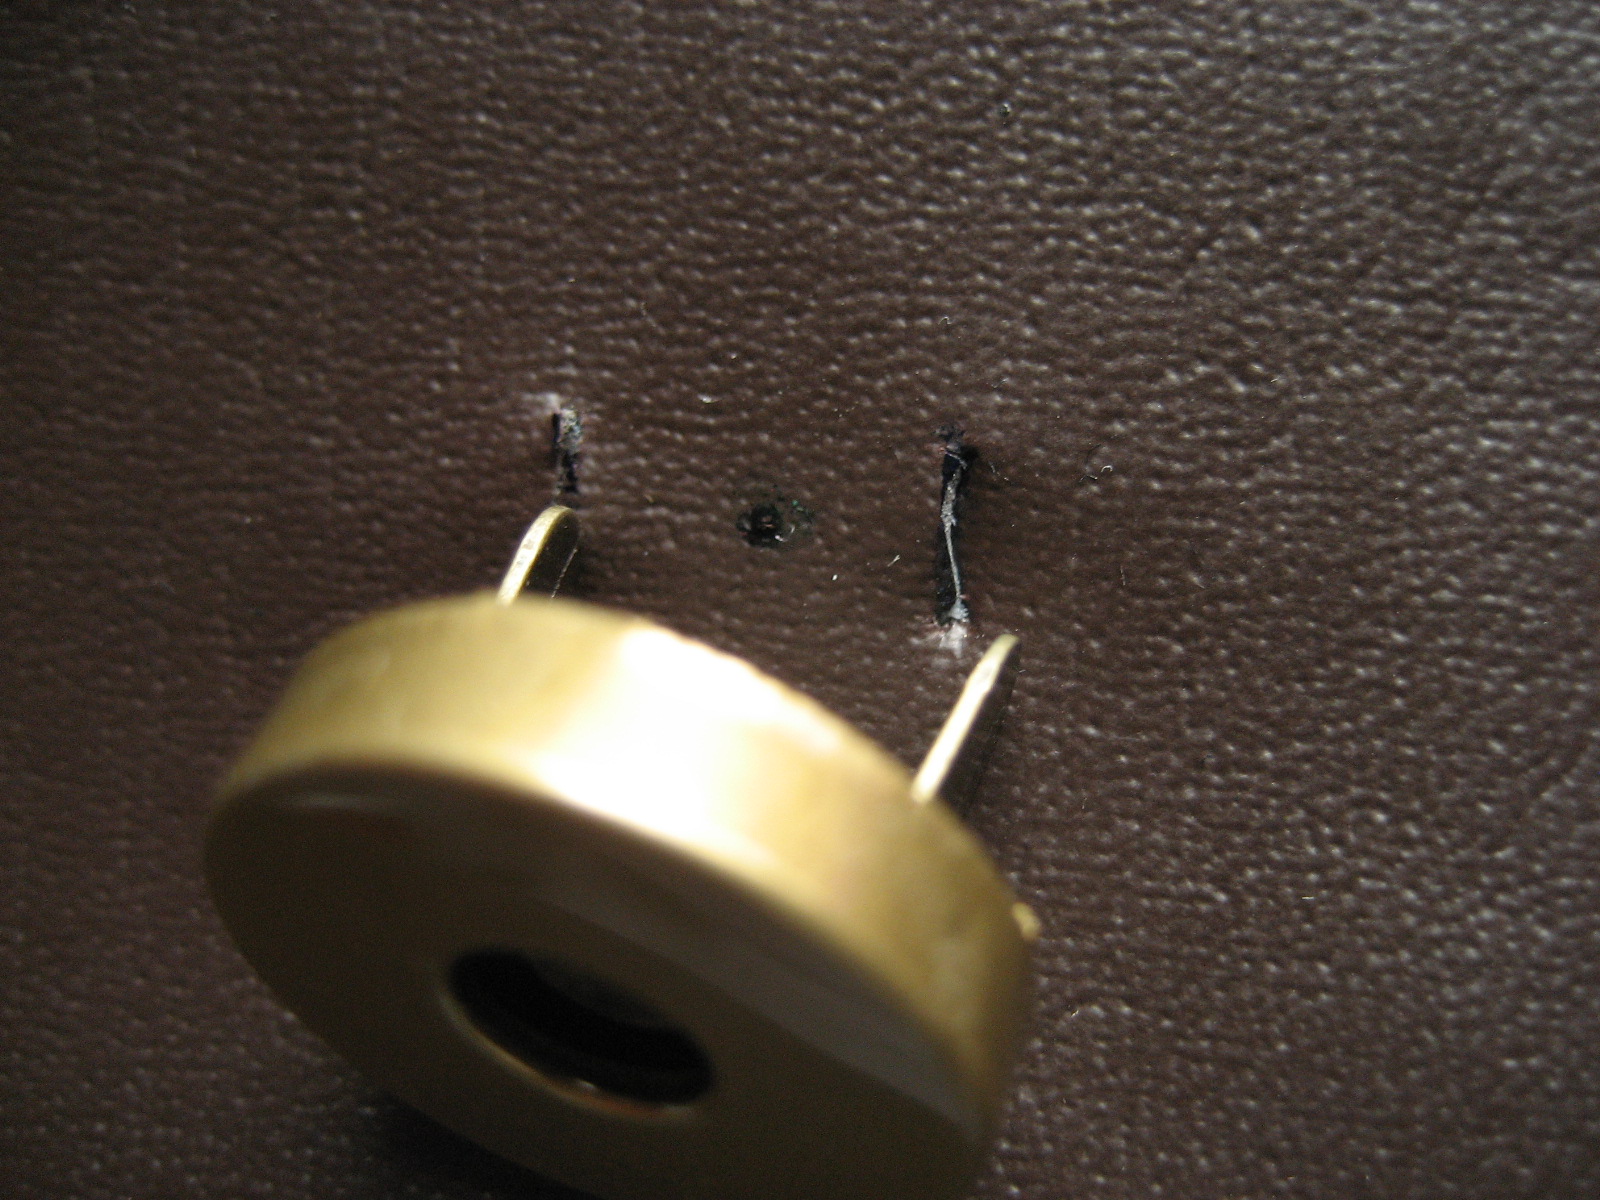
Using the seam ripper, place the longer end at one end of the line that you have drawn, and bring it up at the other end.
Grab the male part of the magnetic snap button (it has an extra appendage in the center which is why it is called the male part) and poke the prongs through the holes you have just made.
If it is easier turn the flap inside out first and then poke them through. Or poke them through first and turn the flap.
Now grab a spare piece of fabric or interfacing. Fold it in half or better yet into thirds.
Pop your washer on top of your spare fabric, and like before draw two lines through the template. Grab your seam ripper and open these lines up, through all three layers.
Grab the spare fabric and slip the prongs of the snap button through the holes you have just made.
Now pop the washer on top of the prongs.
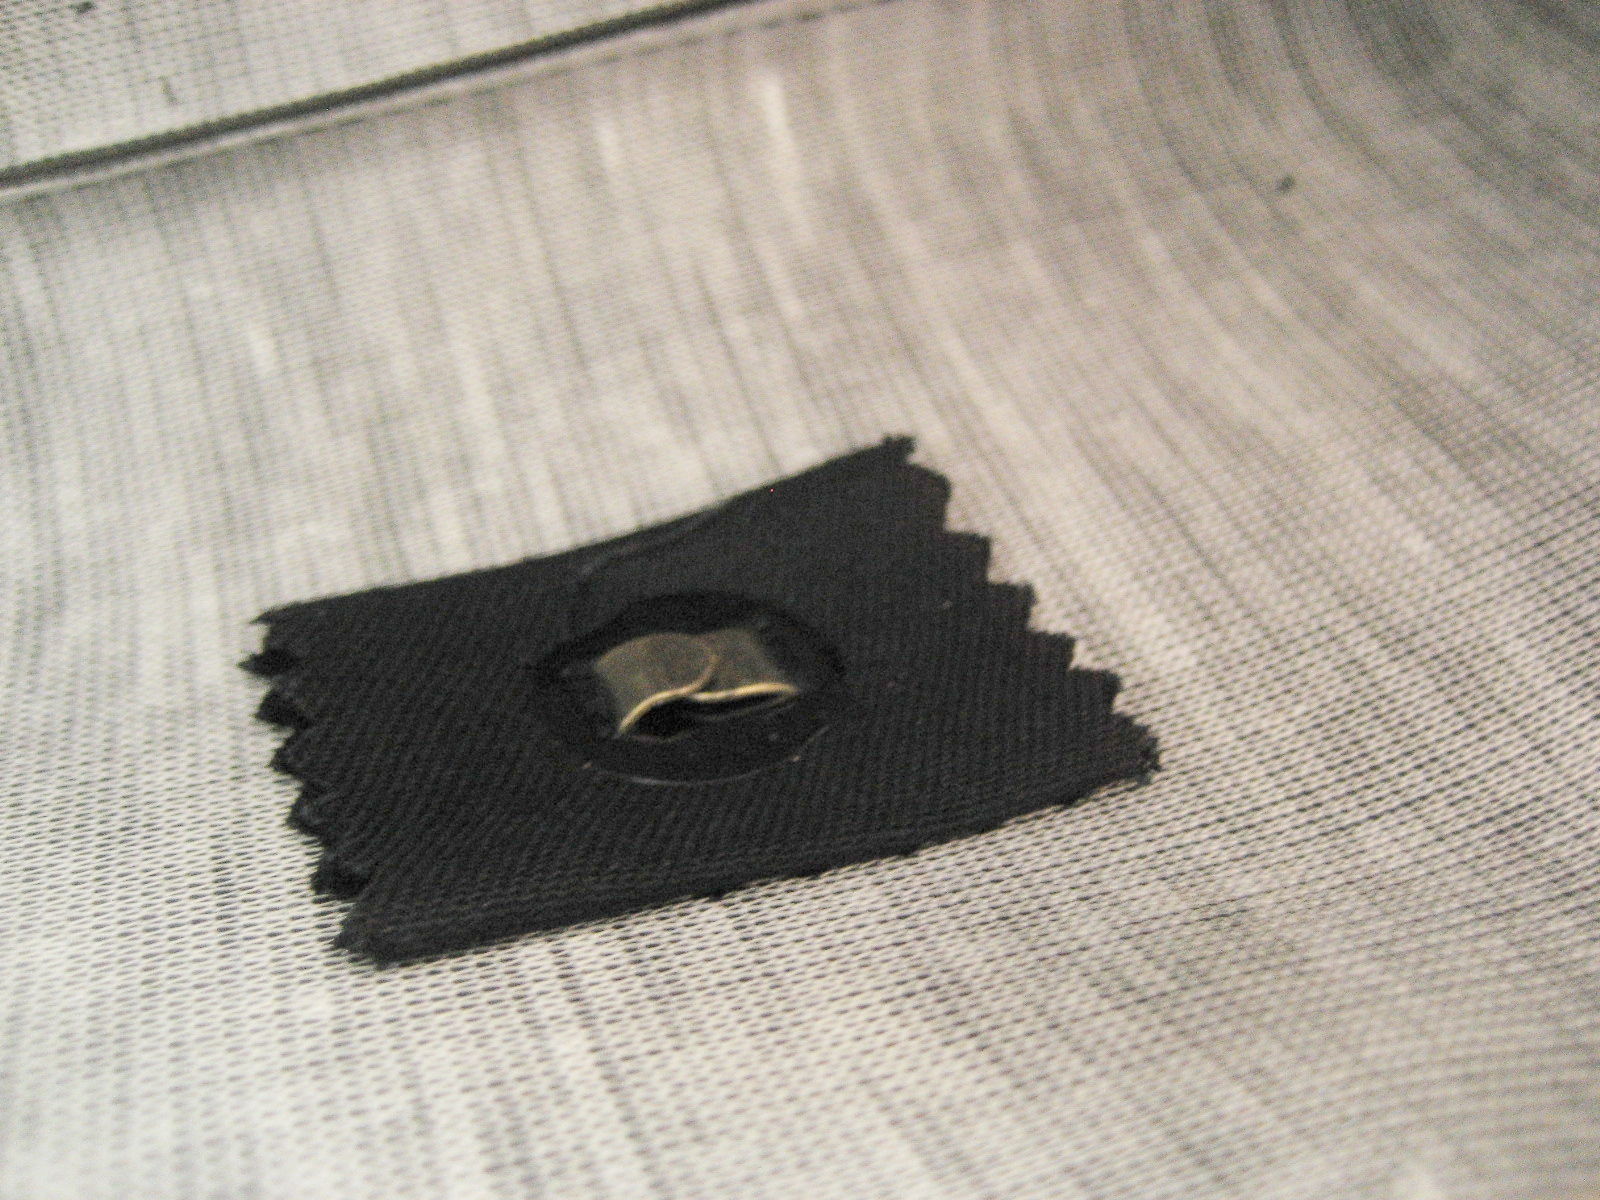
Using some pliers bend the snap prong inwards. You may choose to bend it outwards as is your preference. With faux leather I would advise bending inwards as the pressure of the prongs if turned outwards on the fabric, can cause it to weaken and tear.
If bent inwards the prongs will overlap. You can use your pliers to press both down on each other as much as possible.
Now turn your flap right side out again.
- If you are attaching the female part of the magnetic snap to a flap, you will need to estimate where on the external body part of the bag it should go.
- Grab the flap of the bag, and the external body parts of the bag (should already be sewn together)
Fold the flap over about 2.5cm (1"). Hold the flap here with pegs/clips but not pins as they will mark the fabric.
Using the male magnetic snap button part as a guide press it against the body of the bag. pressing hard to make an indent. Grab a pen at the same time and mark the point where the centre of the button touches. Gel Ink pens work best.
Grab the washer and centre the middle circle around the mark you have just made on the bag. As before mark the two lines of the washer template as well.
Using your trusty seam ripper open the two lines. Push the female part's prongs through the holes
Grab some extra fabric as before and open two lines for the prongs. Slip the prongs through the extra fabric than slip on the washer.
This may be a bit trickery but using your pliers bend the prongs as far inwards as you can.
When you get stuck, use the handles of your pliers to push it down. Repeat for the other side.
And for good measure push the two overlapping prongs down again.
Now continue with the rest of the construction of the Soy Envelope Clutch or your bag as usual.
And when finished you should have something pretty like this:
Happy Crafting!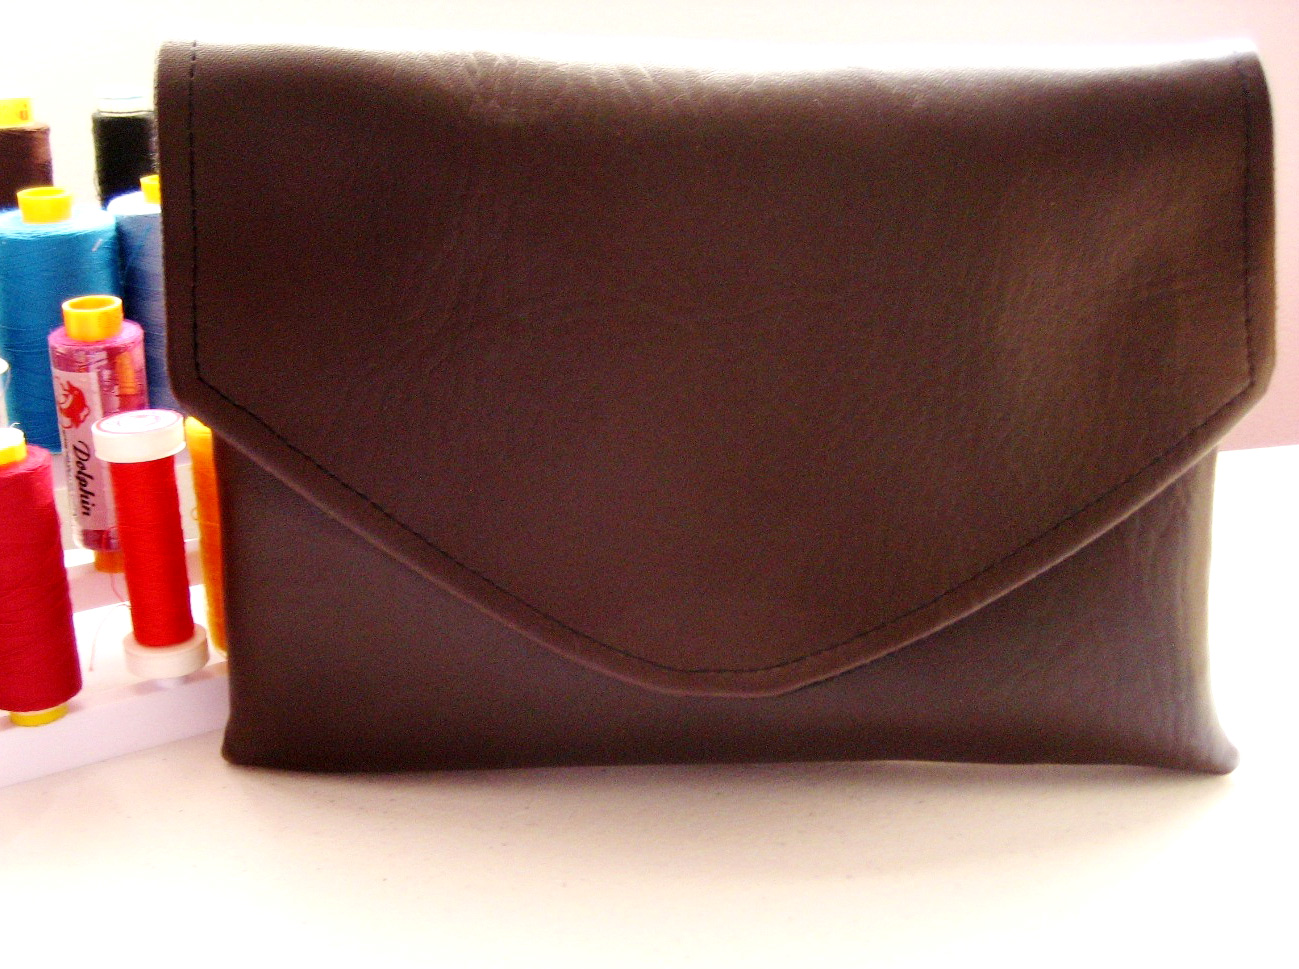











0 comment:
Post a Comment