DIY tutorial: How to make an envelope clutch. Free Pattern
What you'll need
So all the rulers I own have inches along one side and cm along the other. So I tend to use inches for larger measurements, but if I need more accurate smaller measurements I tend to use cm. Which may seem weird to most people, well everyone. So I have kept my measurements in inches to be consistent but for some parts, cms is easier so I have also added those in.
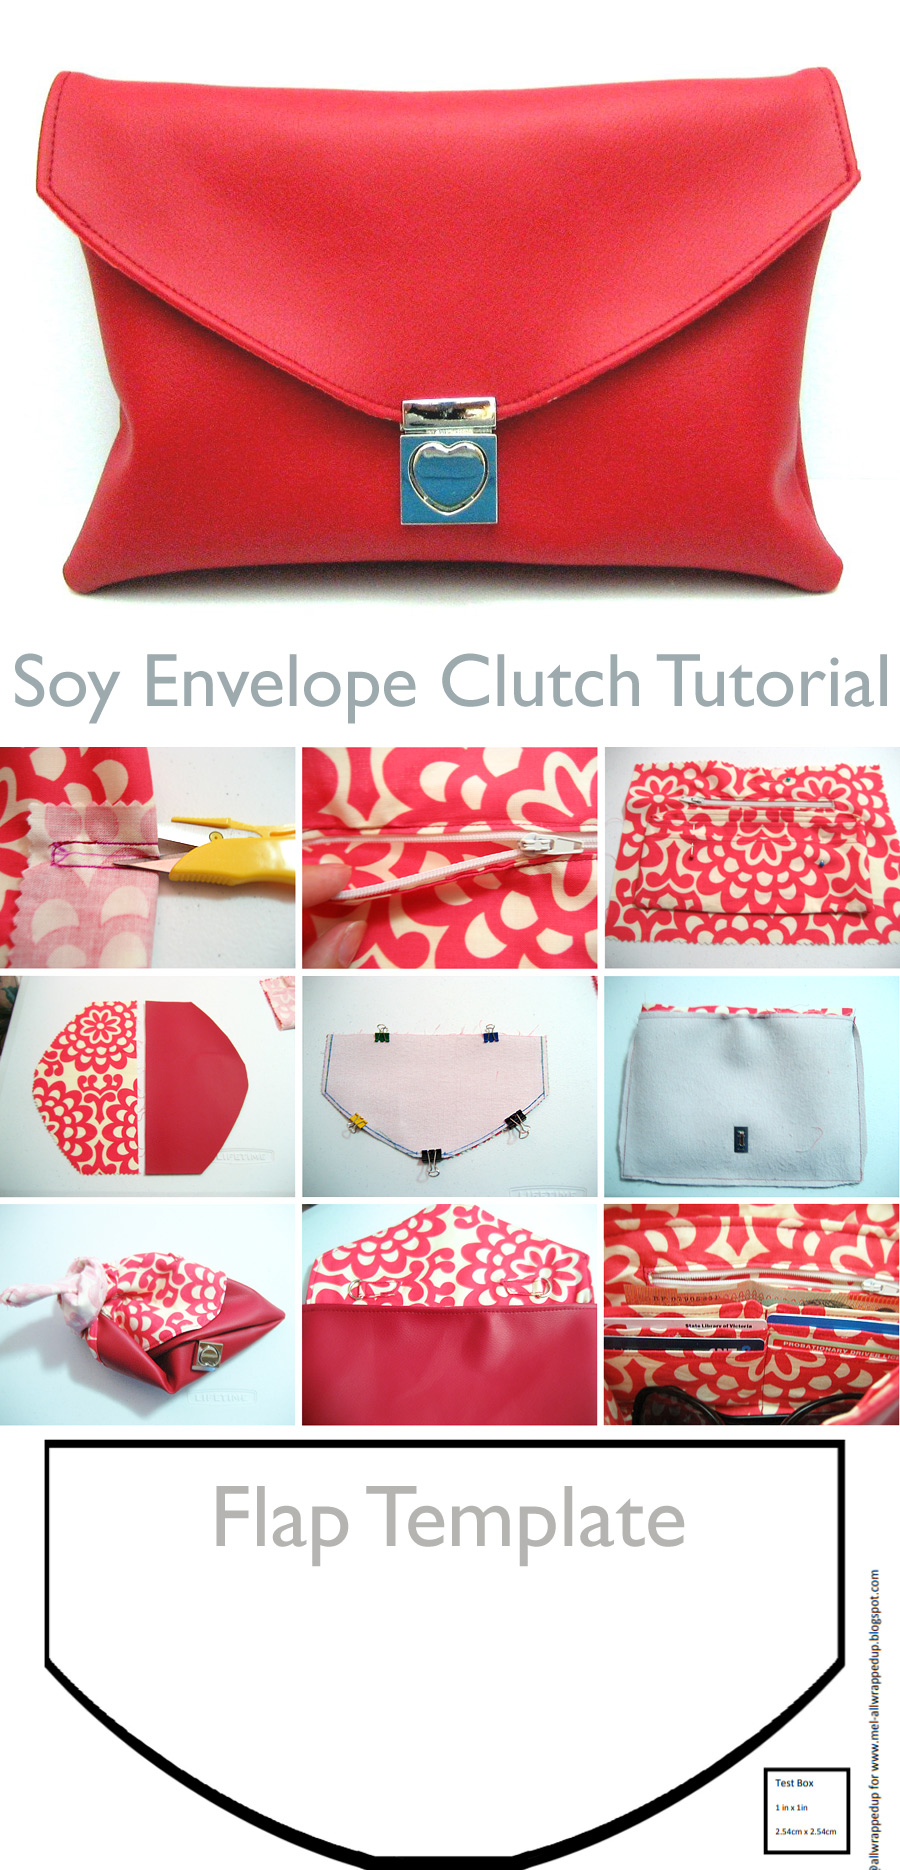
Soy Envelope Clutch Flap Template
For the outer bag
2 x outer fabric rectangles: 9.5"(l) x 6.5"(h)
1 x outer fabric flap
For the lining
- 2 x lining bag rectangles: 9.5"(l) x 6.5"(h)
- 1x lining fabric flap
- 1 x lining fabric phone pocket rectangle: 6"(l) x 7"(h)
- 2 x lining fabric zip pocket rectangle: 6"(l) x 3.5"(h)
- 1 x lining fabric credit card pockets rectangle: 8.25"(l) x 15"(h)
- 1 x lining fabric strip for D rings
Hardware
1 zip - 8in
1 heart shaped push lock (+ washer + 2 screws)
2 small D rings
1 bag chain
What to do:
So before we start just a heads up about working with vinyl/PVC/faux leather. My new fancy Janome has a walking foot- which I am in love with. But some older machines will not have them, so an easy way to get around this is to get a piece of freezer paper and pop it between you normal sewing foot and the fabric. This means that your normal sewing machine foot will have an easy time trying to thread the fabric through and once you've finished your stitching, you can just rip off the paper.
Also don't pin your PVC if you can help it, or unless it is in the seam allowance as those holes remain. It is an unforgiving fabric in that you can't just iron the holes to get rid of them! I tried with a pressing cloth - still did not help. So if you are like me and sew with your seam ripper in hand, go real slow like I did, to avoid silly mistakes/wonky lines that need unpicking. Finally, it is a good idea to length your stitch as the stitches themselves will weaken the fabric, so you don't want your lovely bag to fall apart at the seams because the holes have stretched and broken the fabric.
On with the actual tutorial. Although sewing with faux leather may seem very challenging, the most complex part of assembling most bags is in fact the lining. The thing about handmade is that you can make as many pocket as you like for all those things that roll around in your bag and not just cram it into the one pocket that your store bought bag has provided you with.
Credit card slots
Grab the credit card slot fabric. Place it right side down. Measuring from one of the shorter sides and go across - measure 3.5” (9cm) and draw a line, measure 2 (3/8)” (6cm) from the line you just drew and mark this, then mark at 2” (5cm), 2 (3/8)” (6cm), 2” (5cm), 2 (3/4)” (7cm). You can see the pen lines I marked clearer if you enlarge the picture.
With the right side of the fabric facing down, fold the fabric across the first 3.5"(9 cm) line (first picture), so the right side of the fabric is facing up. Iron.
Now folding it like an accordion, fold the fabric at 2 (3/8)” (6cm) line - so that the wrong side of the fabric is now facing up. Iron.
Keep folding along the lines until you finish with the right side facing up.Ironing each time.
Iron once more just to be thorough and to get some nice pressed line.
This is what it should look like when folded with cards fitted in.
Now topstitch along the bottom 2 folds, you can do the top one as well if you like.
Unfold the top most fold and flip it over so that the good sides of the fabric are now facing each other. We are trying to make a pocket behind the card slots with the good fabric.
Sew around the 3 sides of the rectangle. You won't need to sew along the folded edge.
Remember to leave a gap at the bottom, long side of the rectangle to turn the credit card slots through.
If you stitch straight across the bottom and back stitch along the way at two points, when you unpick the stitches in between the fabric will naturally fold along the removed stitches, making it easier to hem close than fiddling around with a hot iron in one hand.
Once you have unpicked the stitches between the two tacks, turn the fabric through the hole.
Iron flat.
Sew a vertical straight line halfway between the credit card slots.
Zip pocket
Grab your zip, the 2 zip pockets and 1 of the lining bag pieces (the largest rectangle)
Place one of the zip pocket pieces right side down on the lining bag piece about 1.25" (3 cm) from the top of the large lining piece.
Measure a rectangle 4.5" (l) x 3/8 "(h) about 0.75" (2 cm) from the top of the zip pocket fabric. Try to centre the rectangle equal distance on both sides of the zip pocket fabric.
Measure a line halfway between the rectangle height wise.
About 3/8" (1cm) out from the short edge of the rectangle, mark a dot. From the corner of the rectangle draw a line to the dot you just placed to make a diagonal line. Draw another line from the opposite corner to make another diagonal line. Now you should have a triangle in the corner.
Do this for the other corner.
Sew along the rectangle you have just drawn.
Using a sharp pair of scissors cut along the middle line you drew. Stopping at the tip of the triangles.
Cut along the diagonal lines. As close as you can get to the corners. Be careful to not cut the line you have just stitched.
It should look like this when cut.
Pull the zip pocket fabric through the hole you have just cut. Using your iron to press it down as firmly as you can, because it puckers.
Place your zip at the back of your zip pocket. You want to keep the excess equal on both sides as you don't want to sew through the metal stop of the zip as your sewing machine will up and die on you if you do. Probably bend a needle in the process as well if the sound of metal grinding on metal wasn't enough.
Pin the zip down to make sure it doesn't move and so you can avert potential disasters.
Because the zip is longer than required, you will need to make sure to pin the ends down to stop it from moving.
Sew around the zip. I didn't take step-by-step photos of this. Sorry. But as you sew as close as you can to the zip tab. Lift up your sewing foot and unzip your zipper so you can maneuver around it. If you would like more in depth photos check out my patchwork bifold wallet tutorial.
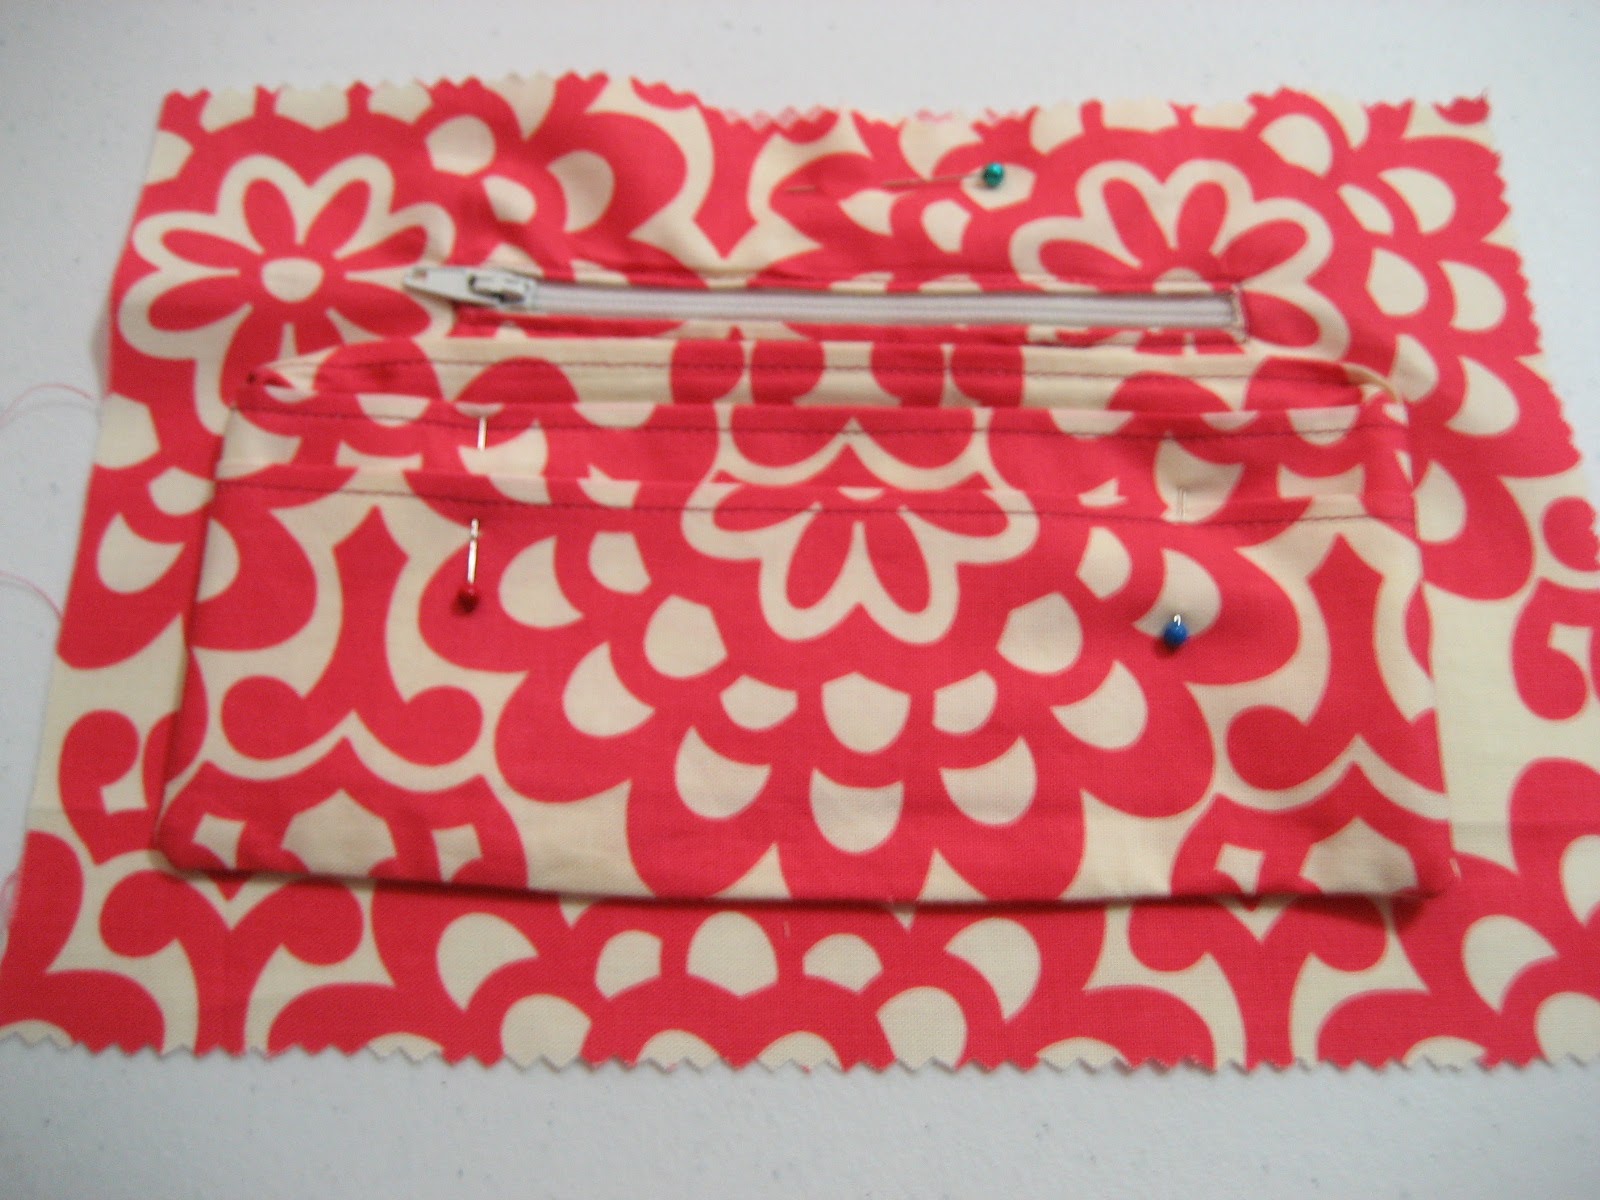
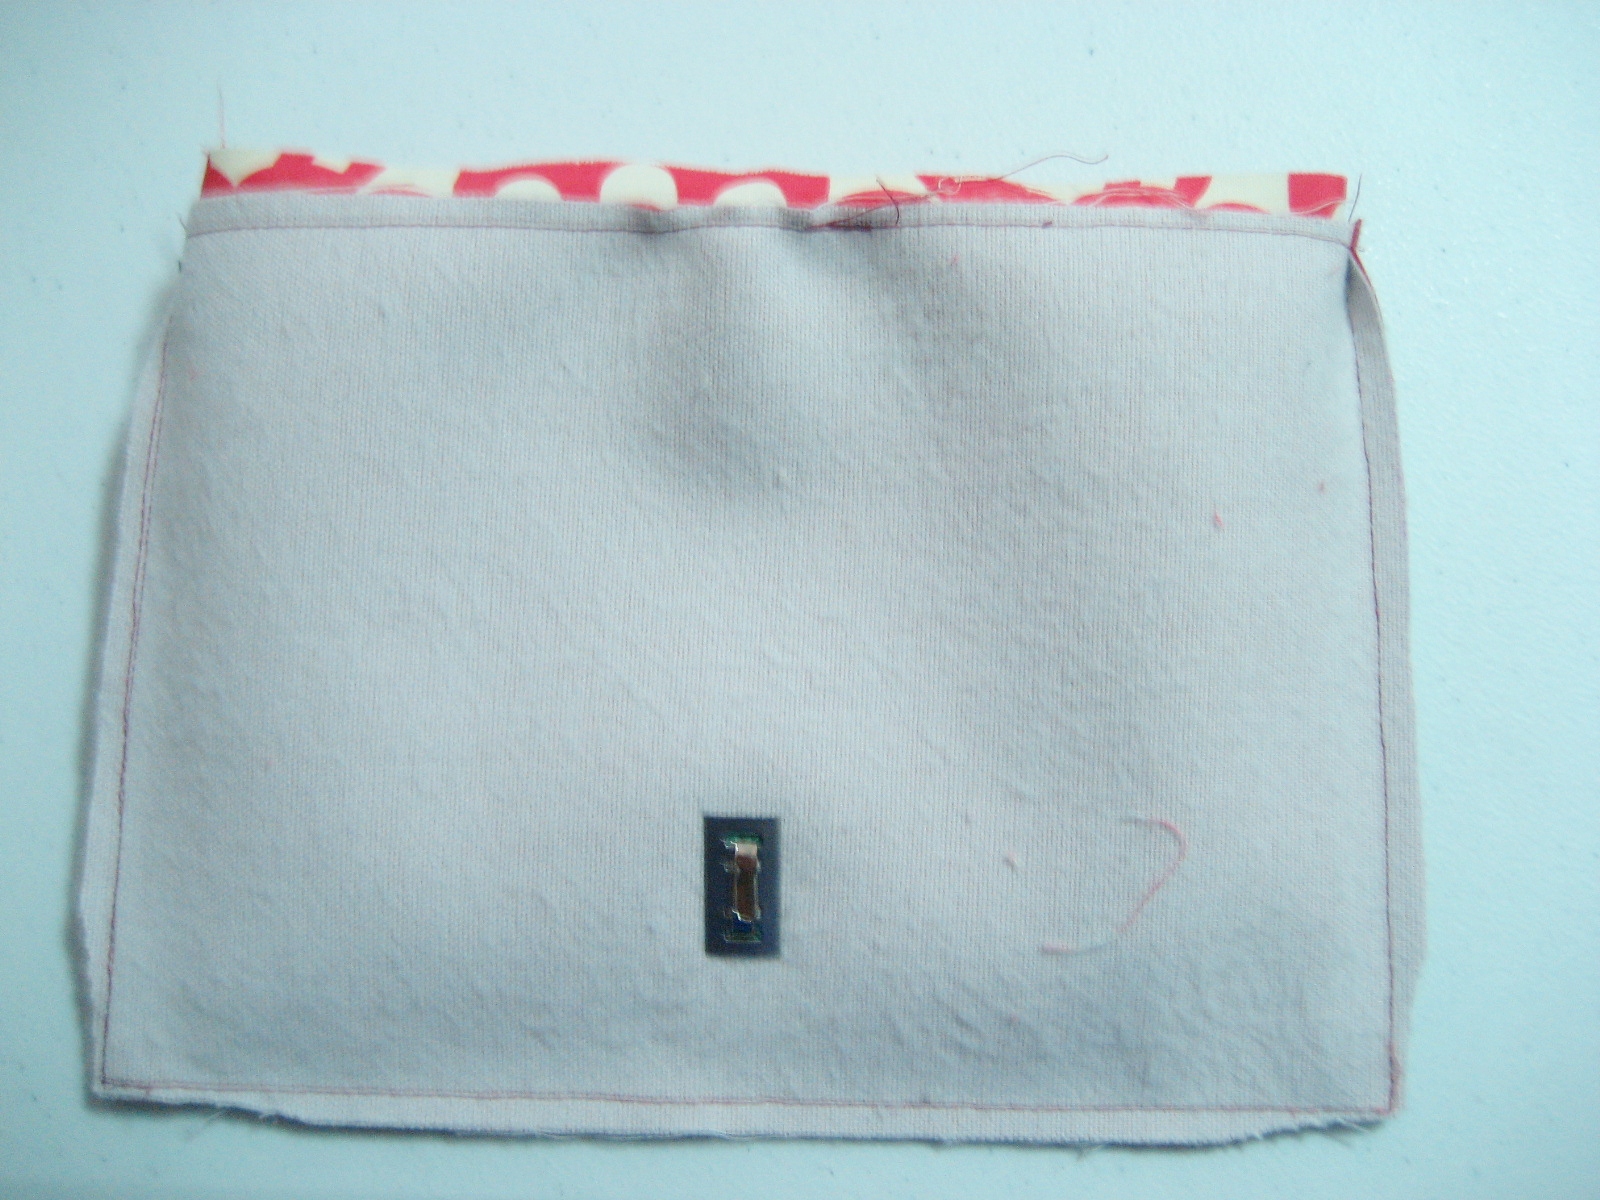
Once you have sewn the zipper into place it should look like this on the back.
Grab the other zip pocket fabric and place it right side down onto the other zip pocket. Sandwiching the zipper in between them. Pin around it.
When you sew around the zip pocket make sure to move the actual lining bag fabric out of the way.
This is what the zip pocket should look like at the front. So pretty.
Before moving on to the next step, flip the zip pocket up and pin it out of the way. Otherwise when you attach the credit card slots to the lining you will catch the zip pocket.
Grab the credit card slots that you put aside before.
Align it under the zip pocket so that the halfway point of the zip is lined up with the line you sewed through the credit card slots previously. I forgot to sew a line down my credit card slots which is why you can't see it in the picture below.
Sew around the two short sides and the long side on the bottom.
Once you have attached the credit card slots to the lining you should have one long pocket (where the scissors are) and 4 credit card slots.
Phone pocket
Grab the phone pocket fabric. Fold and iron in half.
Sew around the three sides – remember to leave a gap on the long edge.
Turn the pocket through the gap in the lining and iron the pocket.
Grab the other lining fabric (largest rectangle) that you have cut.
Attach the phone pocket to this lining fabric about 1.5" down from the top. Sew around the three sides, leaving the top one un-stitched.
Sewing the flap
Grab the long rectangle strip for the D rings. Fold in half lengthwise and iron.
Fold the long sides into the centre line that you have just ironed.
Fold this in half again. Iron.
The strip of fabric should be 1/4 the size it was before.
Unfold the fabric. You should now have four ironed lines.
On the two outermost lines cut a .25" triangle from each corner.
Fold the fabric lengthwise back into the centre.
Fold the short side of the folded fabric up.
Now fold the corner of the fabric into the centre line like a triangle.
Fold down all sides like this into the centre and sew around the border like shown in the 4th picture.
Grab one of the D ring fabrics and slip a D ring to the halfway point.
Place this on your fabric, pin and sew about 1.5" from the edge of the flap to the start of the D ring.
This is what it should look like once attached to the flap.
Grab the lining and the outer fabric for the flap
Using bulldog clips or pegs or whatever is handing attach the flap fabrics to each other right sides facing each other.
Sew around the two curved sides.
Top stitch around the flap
Assembling the body of the bag
Grab the two outer fabric for the body of the bag. Right sides facing each other.
Sewing around three of the sides, leaving 1 of the long sides un-stitched.
Trim the corners of the outer bags.
Grab the two lining bag body fabrics, right sides facing each other.
Sew around the three sides remembering to leave a gap in the bottom.
Attaching the heart shaped push lock
If you flip the heart shaped push lock over there are two prongs at the back.
Grab the washer and measure a point 2 inches from the bottom of the seam of the outer bag fabric rectangle.
Using a pen mark the outer holes of the washer.
Grab a sharp pair of scissors to make a hole through these two lines you have drawn.
Push the heart shaped locks prongs through the holes in the fabric and washer.
Using pliers fold the prongs over on themselves. Do not fold them out as the long end of the prong may pierce the outer bag fabric after prolonged use.
Assembling the bag
Turn the lining of the bag so the right sides are facing outwards.
Slip this inside the outer bag (with its right sides facing each other)
The phone pocket should be facing the side with the lock and the credit card + zip pockets should be facing the plain side.
Grab the flap of the bag. Slip it in between the plain outer fabric and the lining. The red PVC outer flap should be facing the red PVC out of the plain body of the bag. And the lining flap should be facing the credit card/zip pocket lining.
Attach all these layers using pegs/bulldog clips.
Stitch around the whole of the bag.
Remember the lining of the bag which has the hole in it? Turn the whole bag out through that hole.
Flatten the lining of the bag out and align the two sides of the gap in the fabric. Stitch this opening closed.
Topstitch around the top opening of the bag.
Assembling the heart shaped push lock
Align the halfway point of the flap to the halfway point of the push lock. Mark this point.
Attach the top part of the push lock aligned to the point you just marked.
Grab a pencil, pop it in the holes where the screws go to mark both the points.
Grab a sharp needle/ stitch picker and pierce these two holes all the way through the two fabrics.
Grab a small screw driver and attach the two screws.
If you like you can add glue, but since I am so clumpsy, I opted not to as the screws seem to give a very good hold.
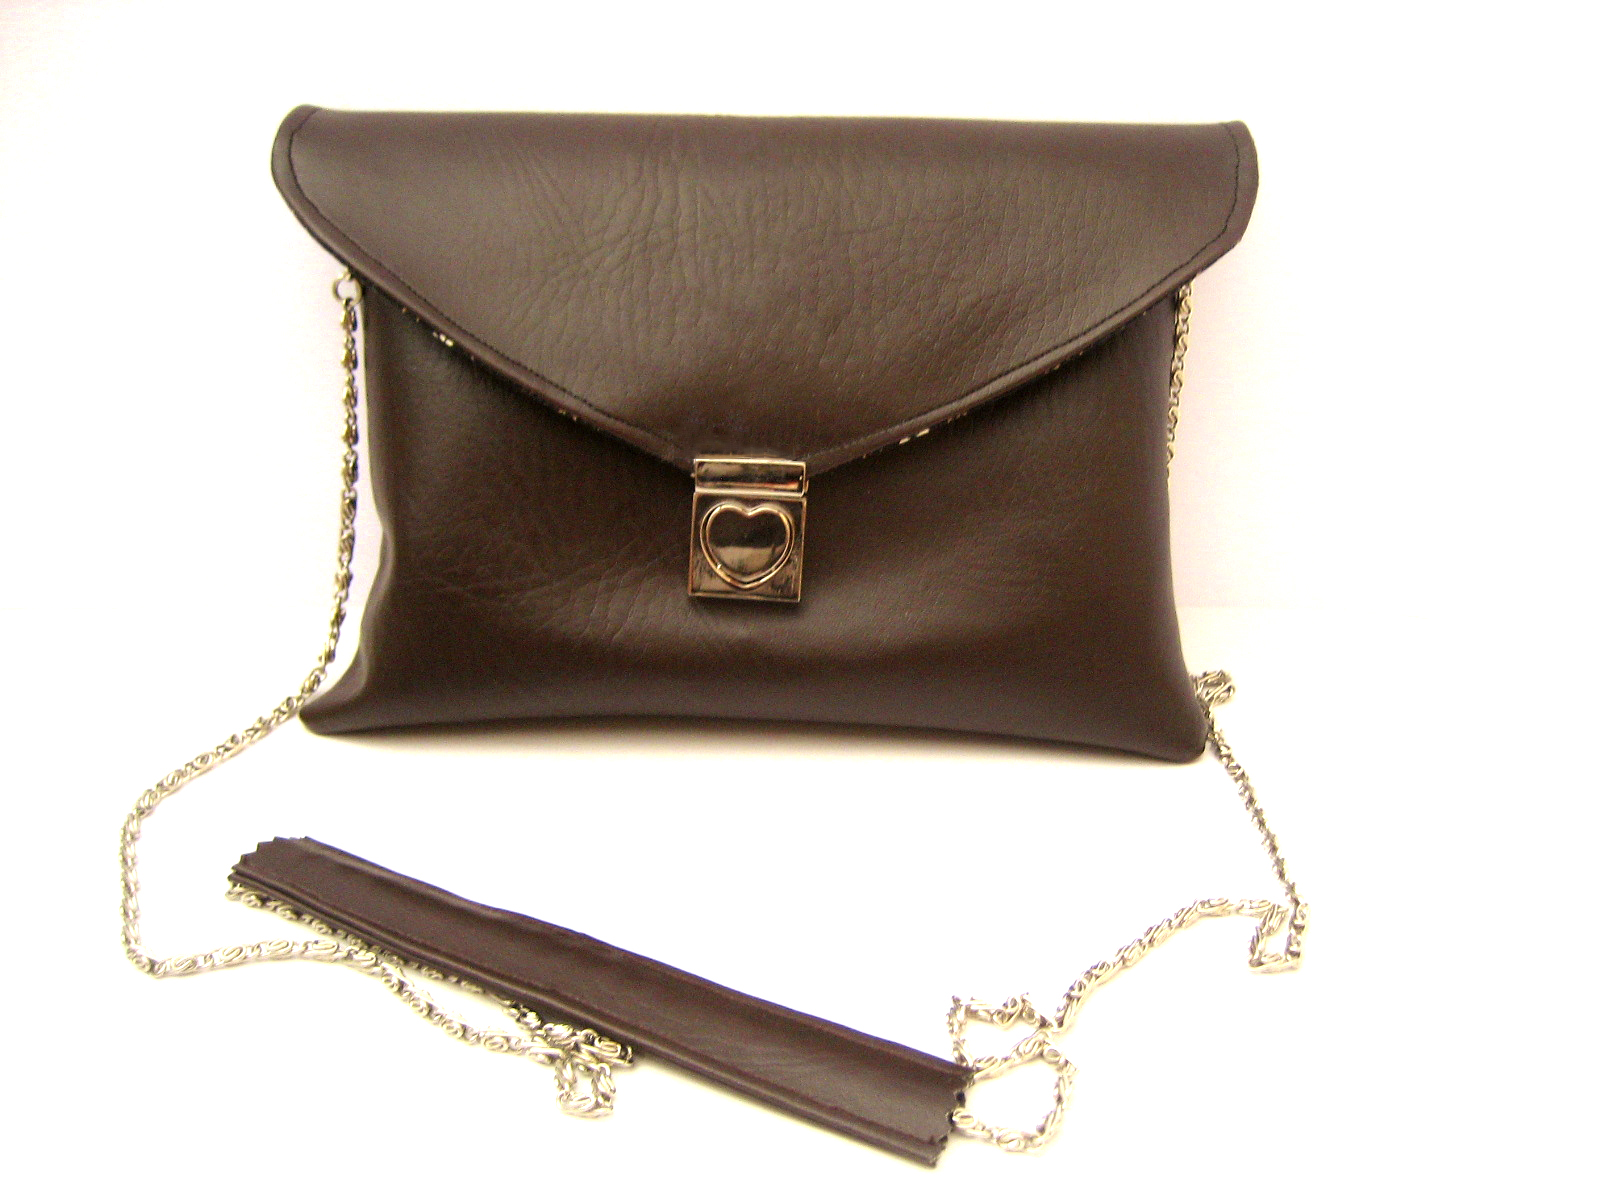
The last thing you have to do is attach the bag chain to your D-rings.
And now you have complete your very own Soy Envelope Clutch.
Pictures of the credit card and zip pockets in action.
Spacious phone pocket which can also hold and ipod.
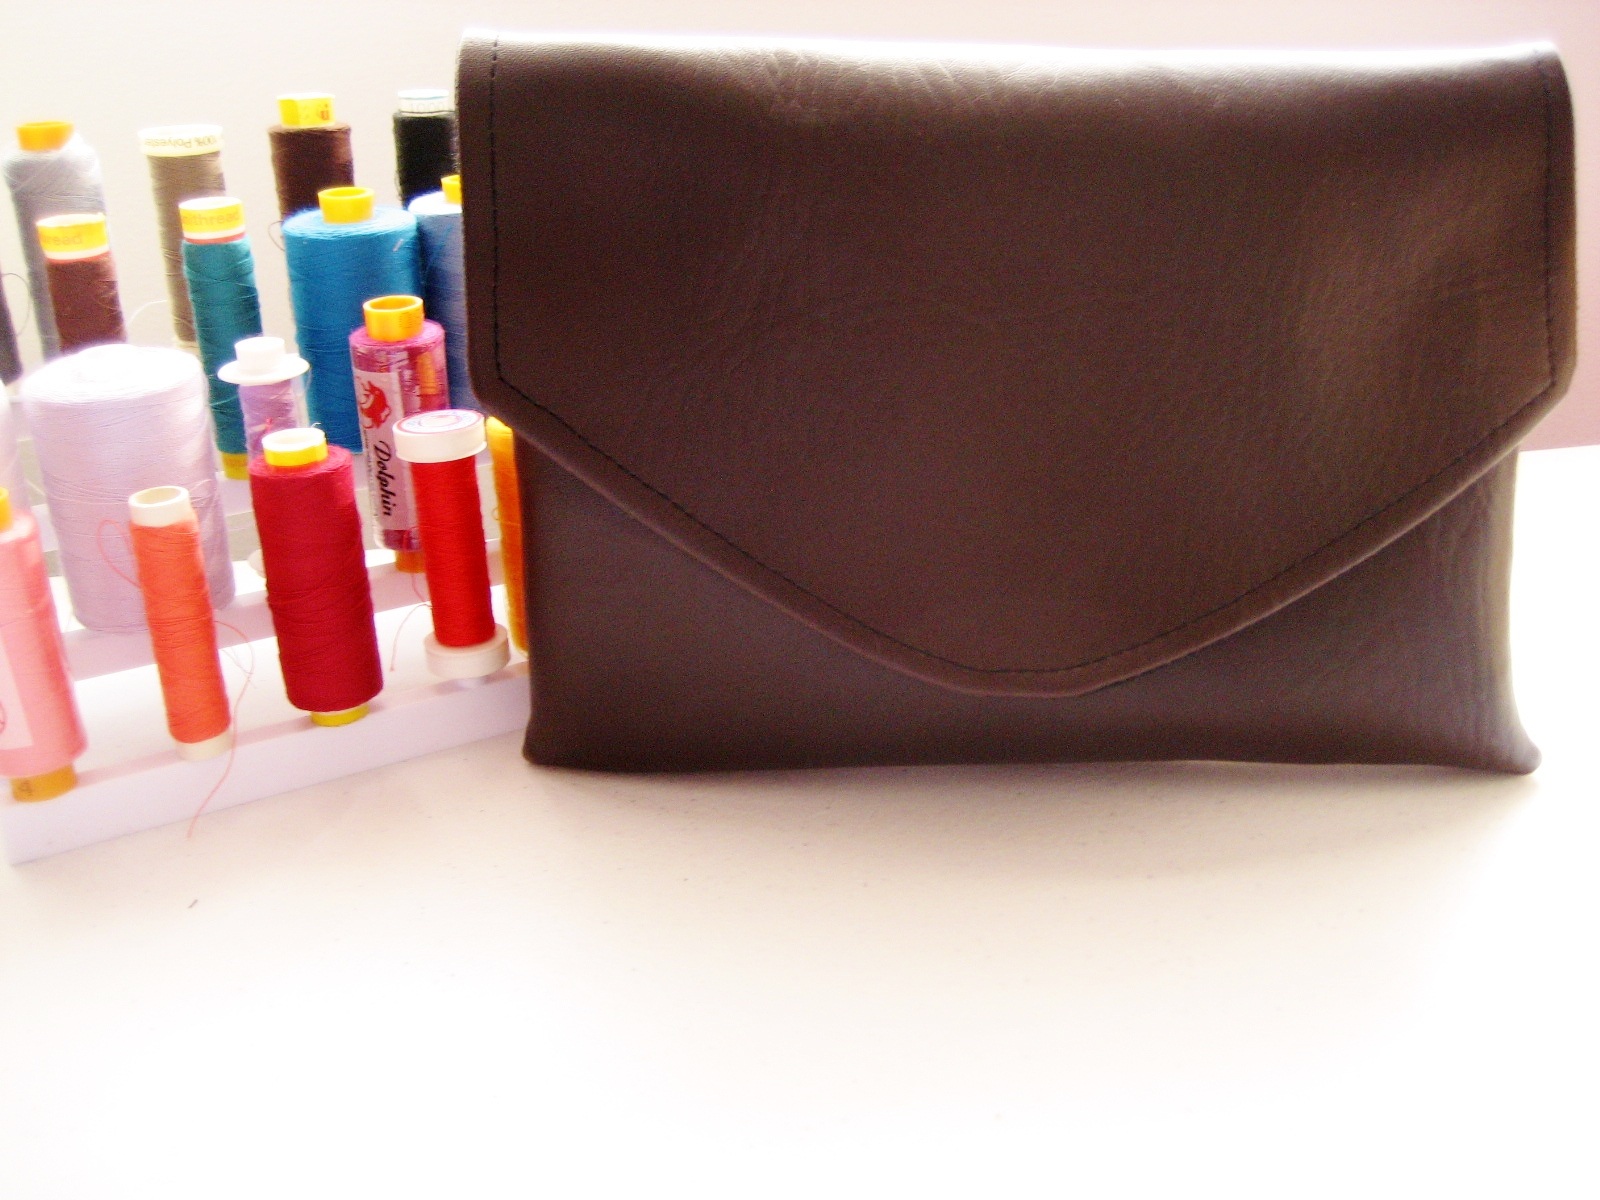
And one last look at the clutch in its entirety.
Hope you made it through my pic heavy tute.
**Updated version of the tutorial featuring a magnetic snap button closure is available here. The tutorial teaches you the basic technique for adding a magnetic snap that you can use for all projects.










0 comment:
Post a Comment