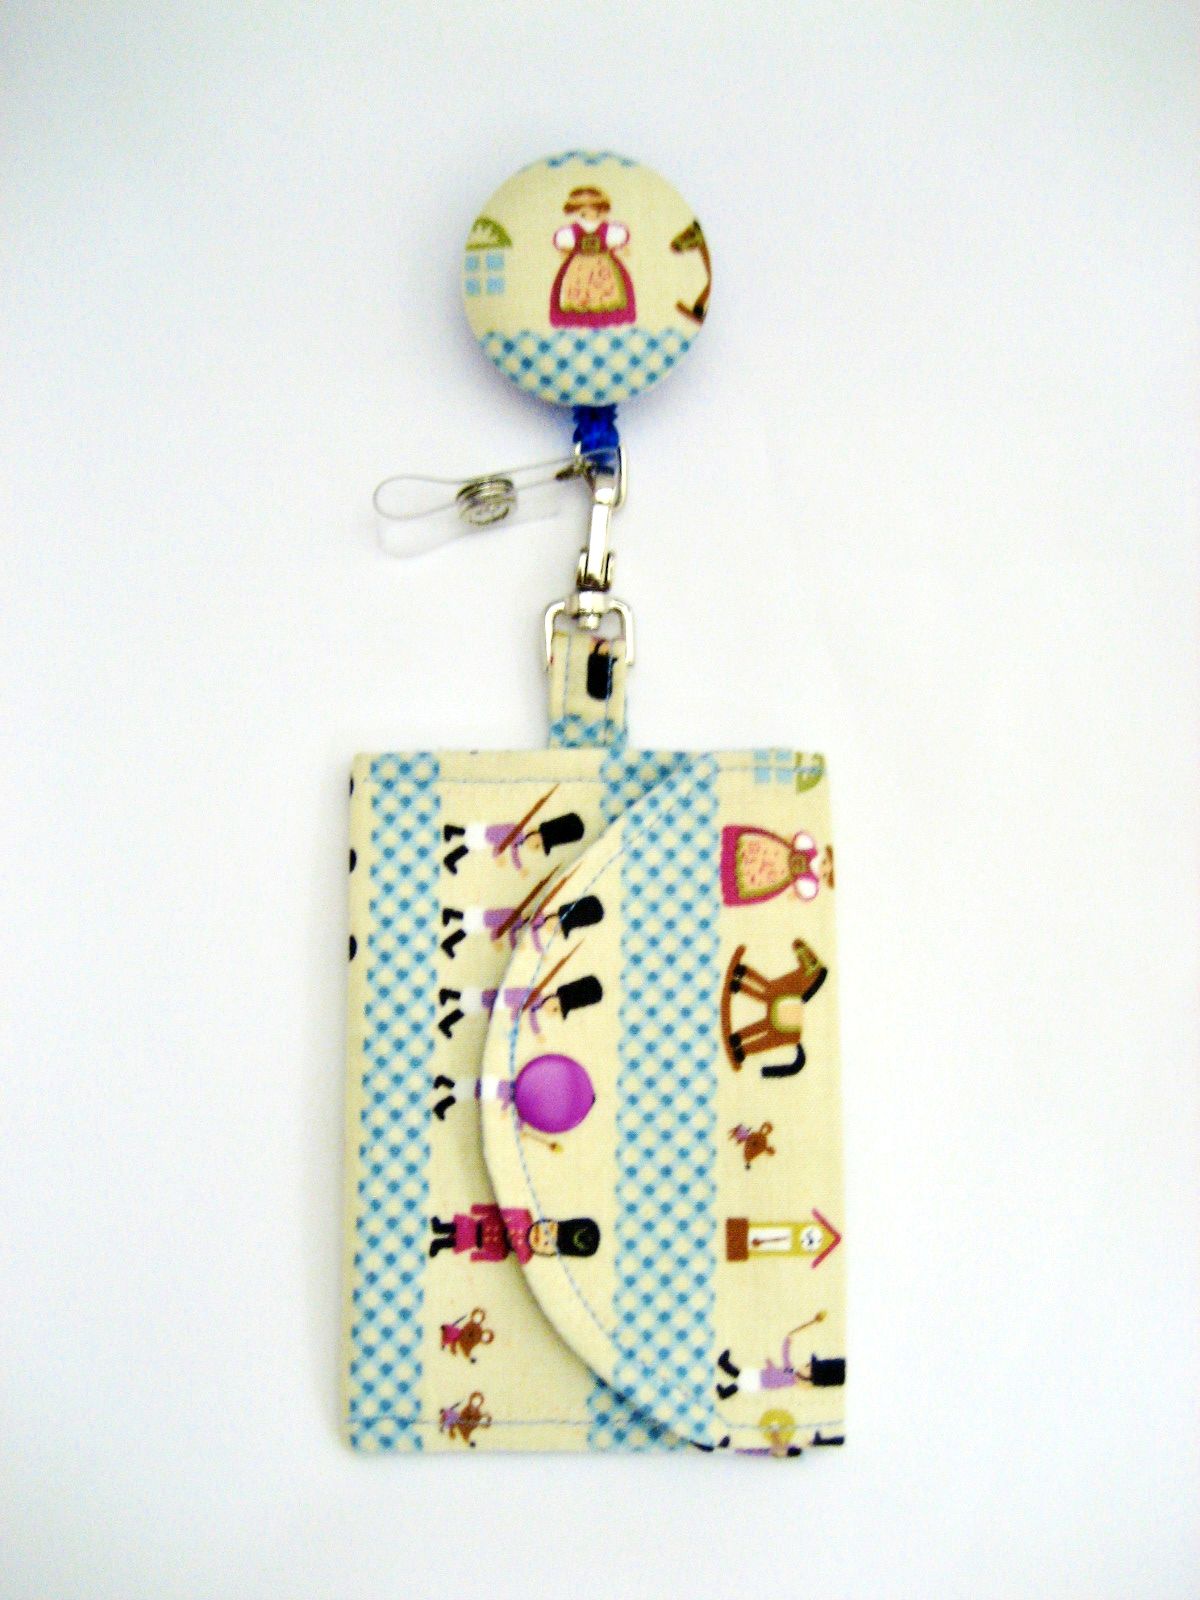
The name of this project is dedicated to one of my friends, whose birthday it was and to whom I owe a present. I hope she likes her very own ID wallet and pouch named for her with a matching badge reel.
What you will need
1 x outer fabric – cut from template
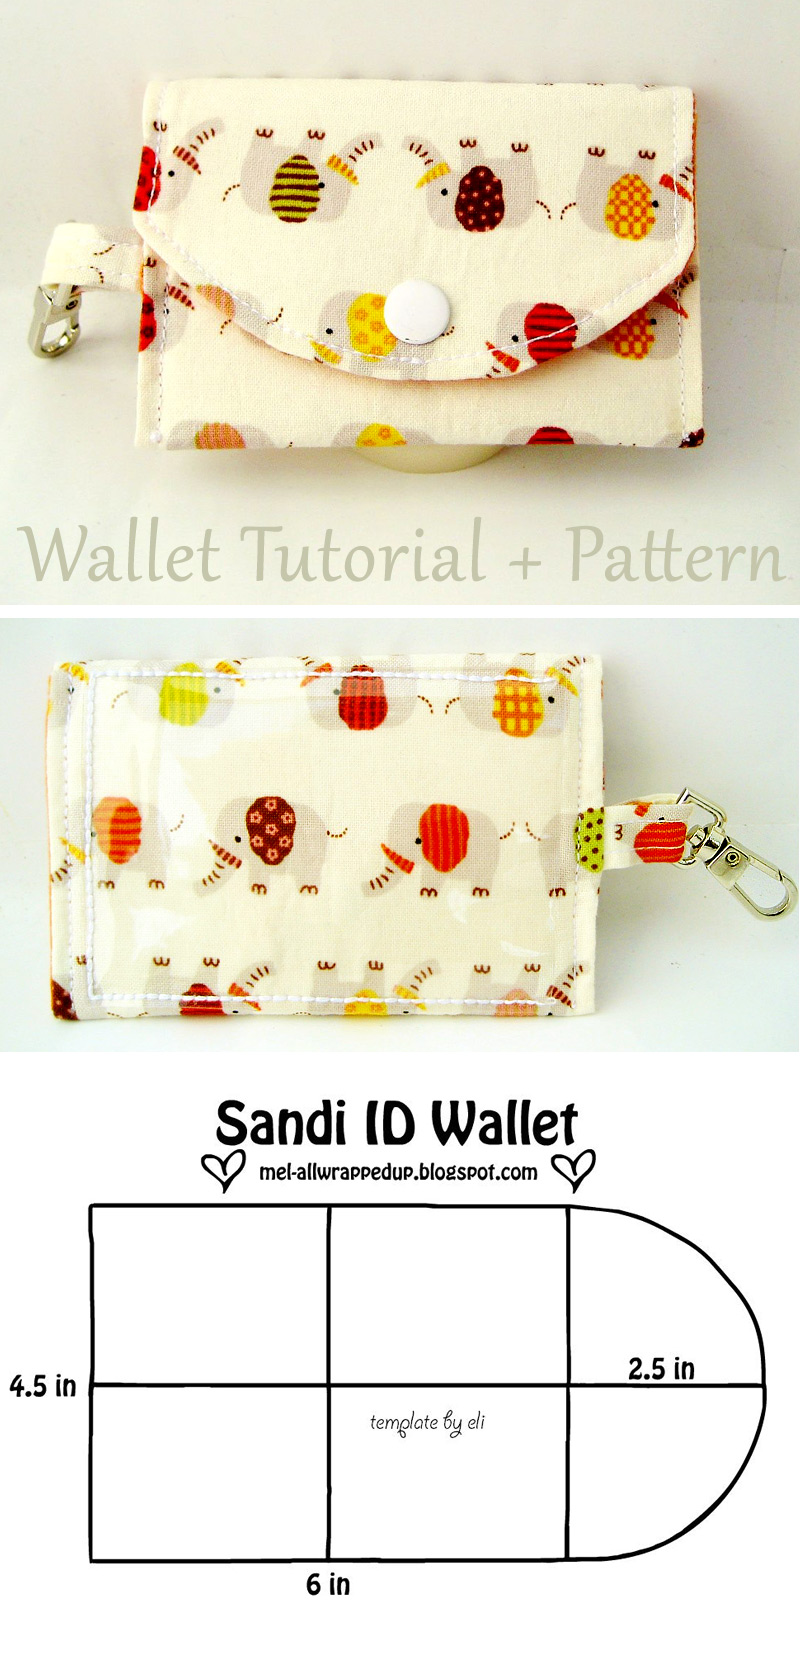
The template below is basically a 2.5” semi circle attached to a 6”(w) x 4.5” (h) rectangle
If my photoshop/ paint drawing skills improve I will try and make an actual downloadable template but for now, try and eyeball the picture below
To download the template all you need to is click on the image to view it in its original size, download and print it.
1 x lining fabric – cut from template
2 x iron on interfacing - cut from template
1 x outer fabric strip – to hold the hook on
1 x clear vinyl rectangle – for ID pocket – 2.5” (w) x 3.5” (h)
Hardware
Small lobster swivel hook
The one I used can be found in my shop, it is 0.5” (w) x 1.25” (l)
Metal snap prong button 11mm diameter
What you will need to do
Grab the interfacing pieces. You will need to trim 1cm (~0.4”) off around the outside of the interfacing so that when you iron the interfacing onto the outer fabric you will be able to see the fabric.
Iron the interfacing on with the shiny face sticking to the wrong side of your outer fabric.
Now iron the interfacing to the lining fabric.
Grab the outer fabric strip for the hook (I really have no idea what to call this), and fold in half and iron.
Unfold and fold the edges into the centre seam you have just ironed.
Now fold in half again.
You should have a strip of fabric ¼ the size of what you started with.
Before you sew both sides of the strip, thread it through the base of your hook to make sure it fits. If not you will need to unfold, trim and start again.
Now sew up both sides of the fabric strip.
Put the hook and fabric aside and grab your outer + lining fabric pieces.
Place your outer and lining fabric pieces together, wrong sides together - so that the good sides face out as they would well the wallet is complete.
Fold the rectangle end of the wallet up 3", and fold the flap down 2.5". Basically you need to fold along the pink and green lines drawn on the template paper.
Iron along the fold lines.
By ironing along the folds you have now divided the wallet into thirds.
Grab the clear vinyl ID pocket and attach it (with clips, as pins tend to permanently mark the vinyl) to the middle third of the outer fabric.
Make sure to really go back and forth over the start and finishing of your stitching, to really attach the vinyl to the outer fabric, otherwise it comes a bit loose.
If you have a newer machine choose your triple stitch function - it's rather pretty and super secure.
Now in the picture above, find the halfway point and mentally mark it.
You need to place the fabric strip and hook in the middle of this image.
I found a rather blurry picture of this, but will probably help your imagination more than my lackluster descriptive skills.
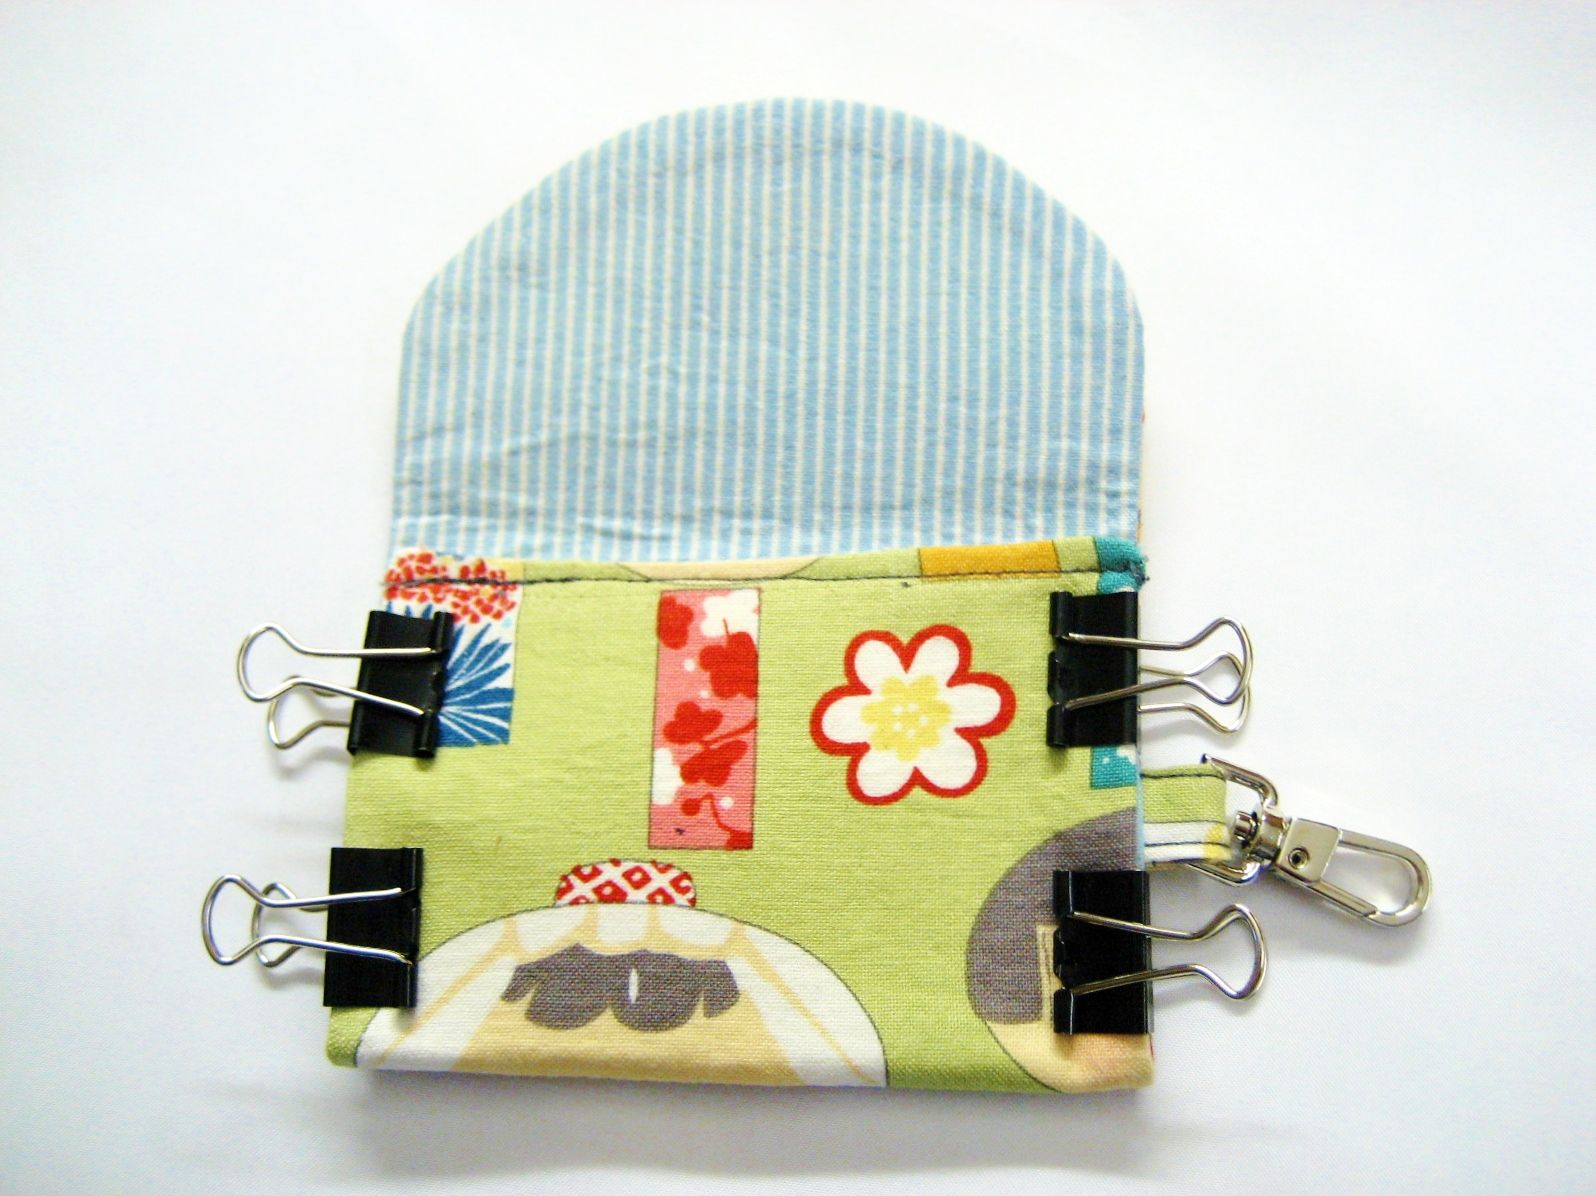
Now place the outer fabric piece and the lining piece, good sides facing each other - sandwiching the hook in-between.
With both pieces sandwiched together pin, pin, pin around the outside.
Sew around your pins.
When I sew a piece good sides together, and need to turn it through a slip hole, I find the easiest way to do so is to sew the whole thing shut and then unpick where I want the hole to be so that there is a line to follow when topstitching.
Once sewn and a some stitches have been unpicked, pull the wallet through the lining so the good sides are facing out.
Iron the wallet nice and flat and push the edges of the hole back into the lining.
Be careful when ironing not to iron over the vinyl pocket on a high iron setting, even when ironing through the lining. Either turn down the iron setting or use a cloth to protect the vinyl.
Topstitch over the hole to close it.
Fold the bottom 3" of the wallet up to form a pouch and press.
It will be a bit of a struggle to pin all the layers together so grab whatever is handy to hold the pieces together, clothes pegs would work in a pinch.
Topstitch around the whole thing.
Now to attach the metal snap button.
How to attach a metal snap prong button with normal pliers
Before we start just a note on the tools you can use to attach the metal snap prong buttons. Not everyone will have the special eyelet/prong pliers that I prefer to use so I will walk you through the simple method using plain old pliers. If you prefer to use the special tool that comes with most button kits then please follow the instructions on the back of the package it came with.
What you will need
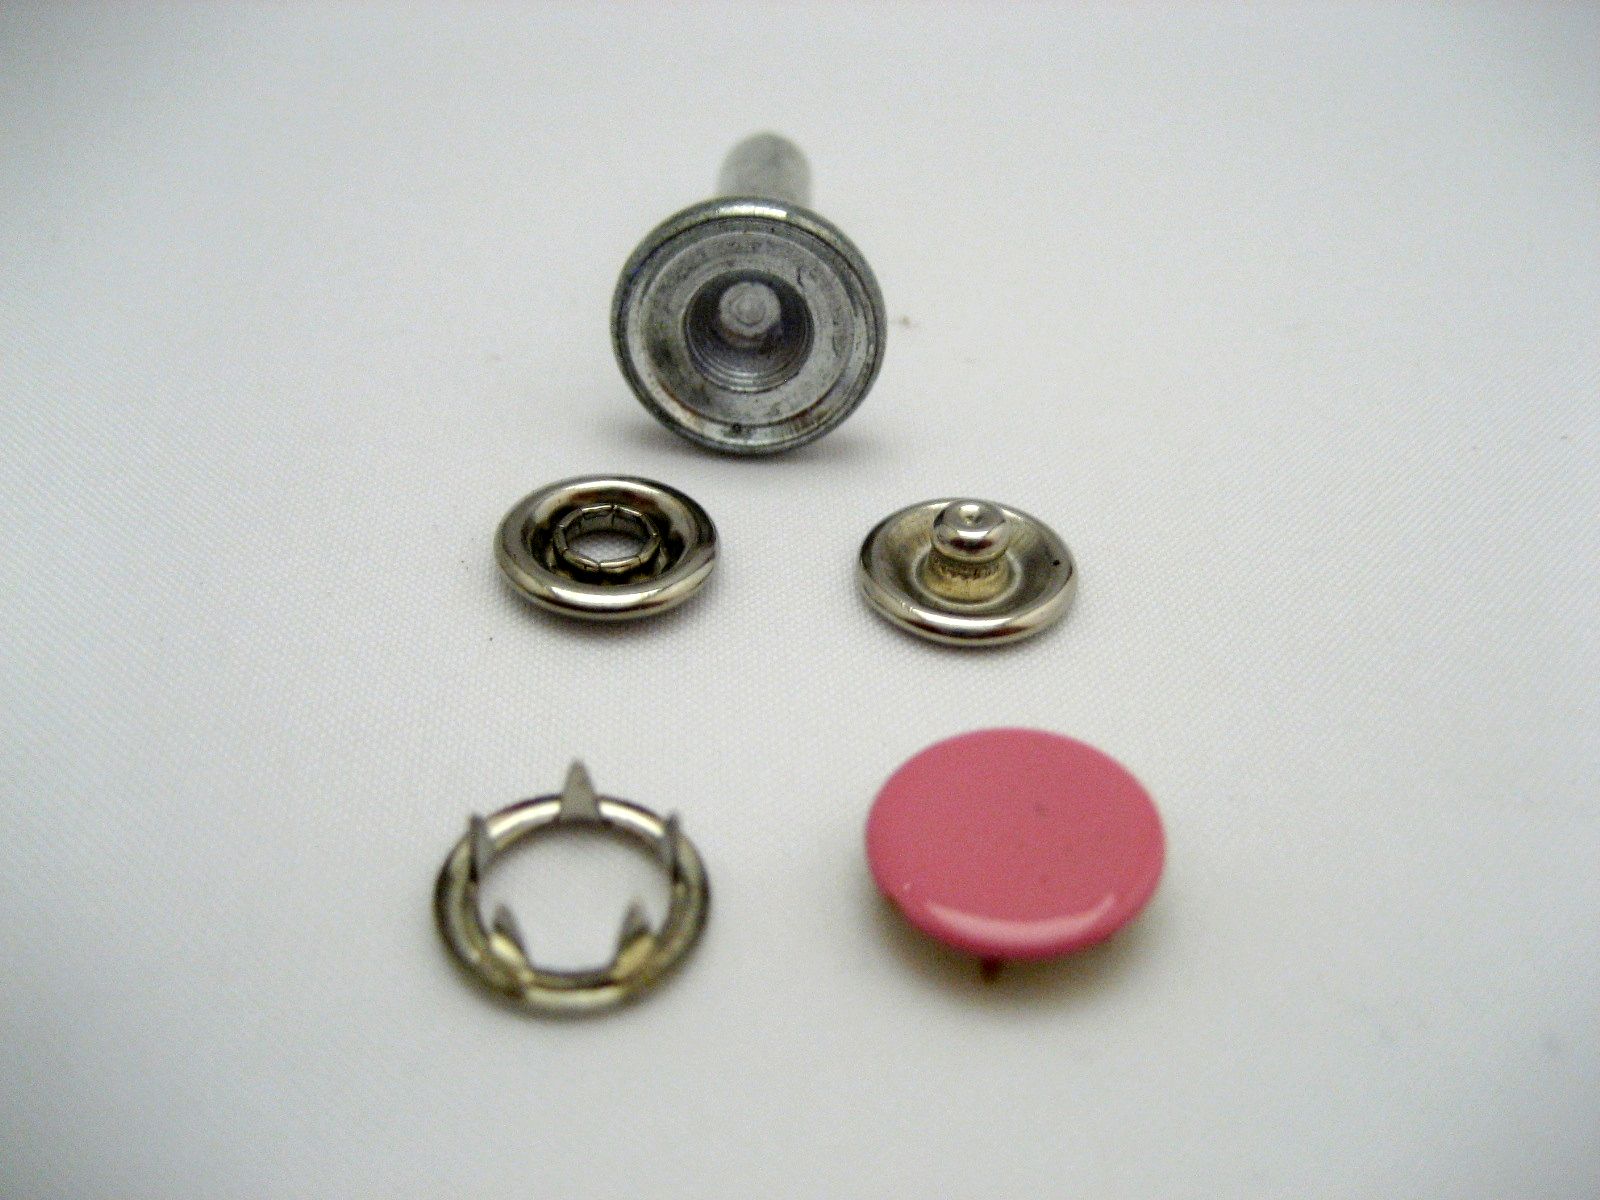
Snap prong button - 4 parts - coloured metal cap (top prong), stud, socket and bottom prong.
One of the following tools
Special eyelet/prong pliers
Button tool (metal thing) and hammer
Normal pliers + a spare piece of fabric
Special snap prongs for buttons on the left, and the metal button (thing) that comes with prong button packages (i.e. finger bruisers)
What you will need to do
First things first, pop a pin through all the layers of the wallet to mark where you want your button to go.
As you pull the needle out through the layers mark one spot on the wallet and another spot on the top flap. You will have marked two spots on the outer fabric.
The picture below shows the different parts of the metal snap prong button. The top left is the socket, the top right is the stud, the bottom left the bottom prong and the bottom right the coloured metal cap (top prong).
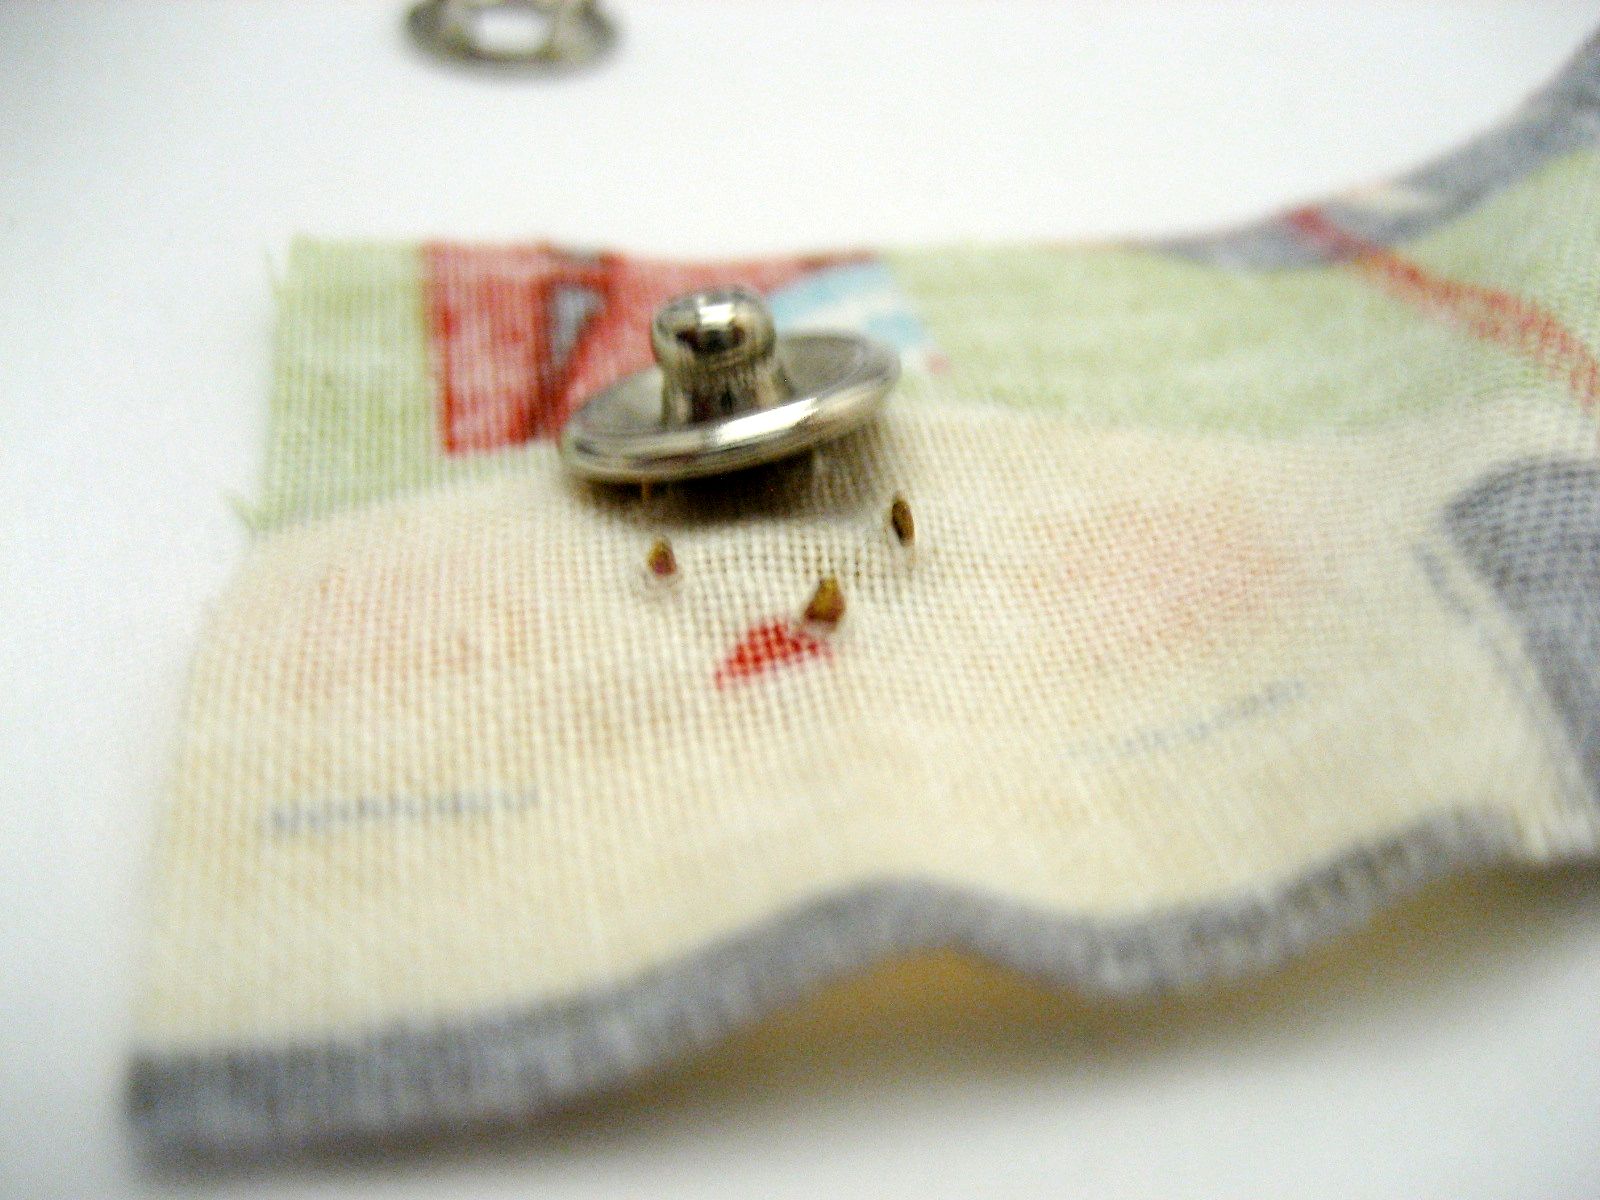
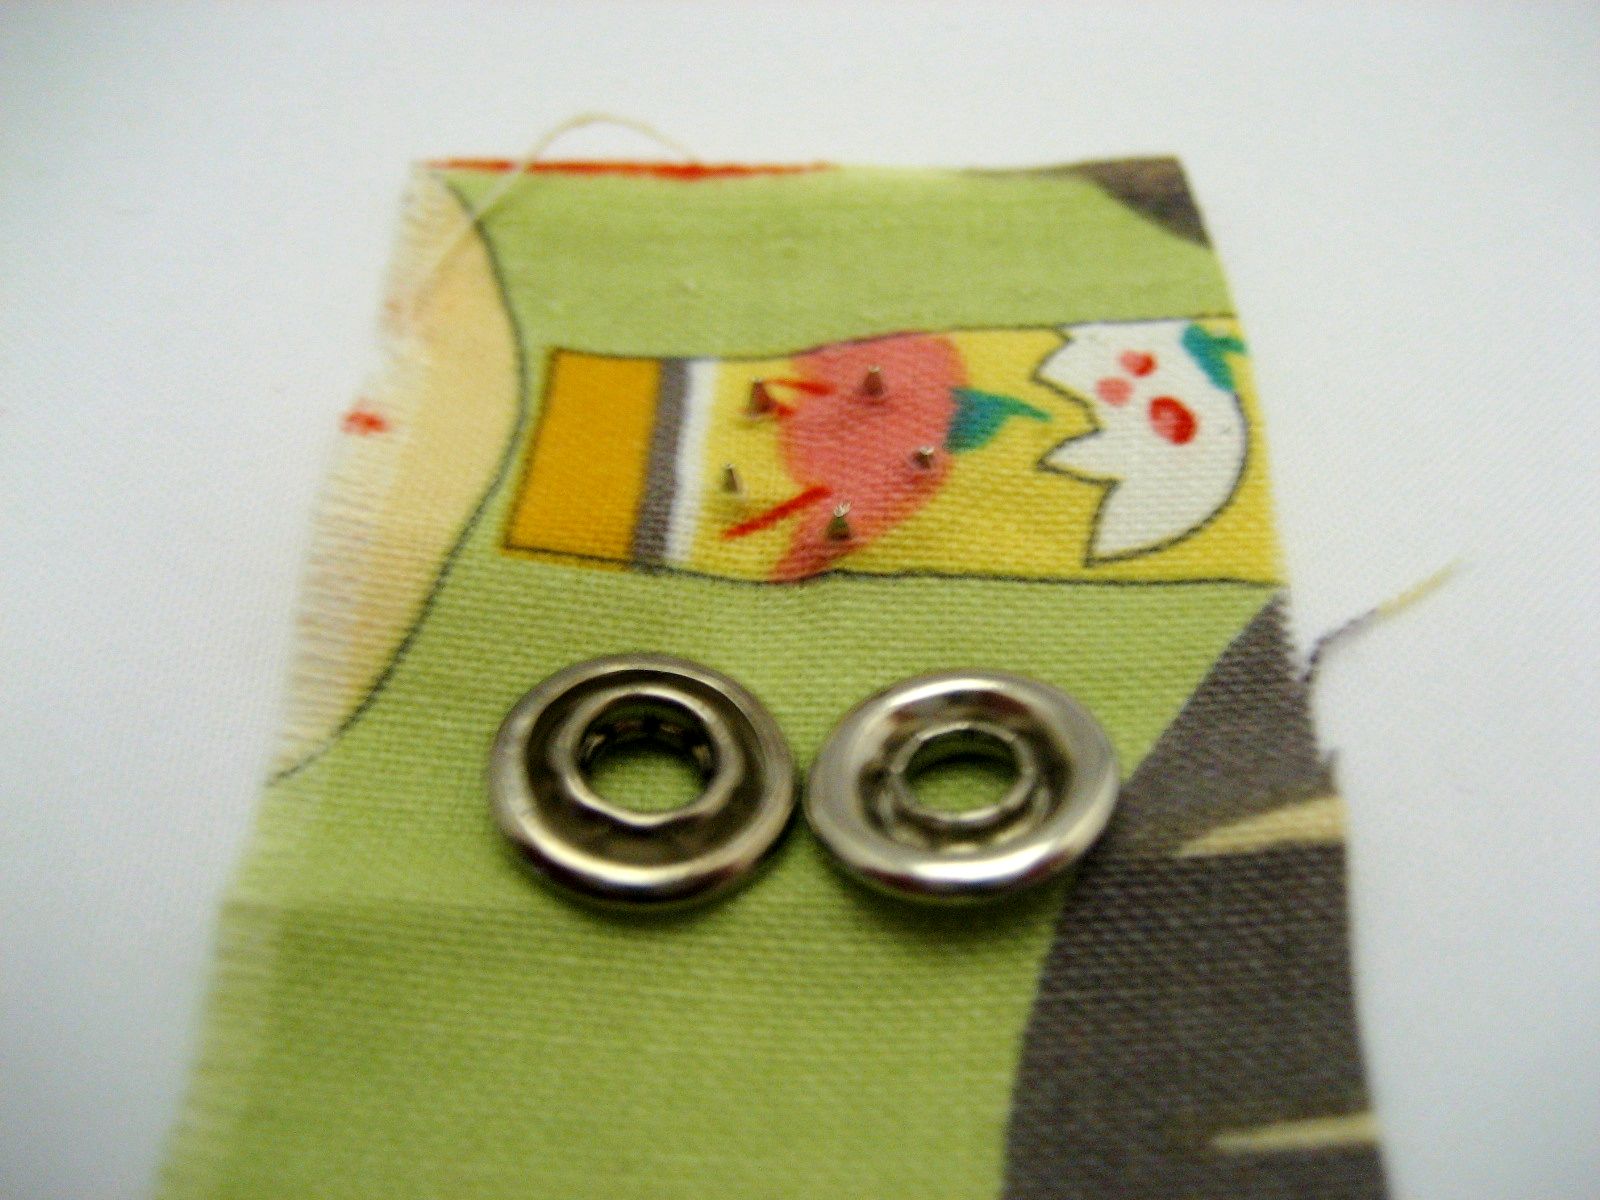
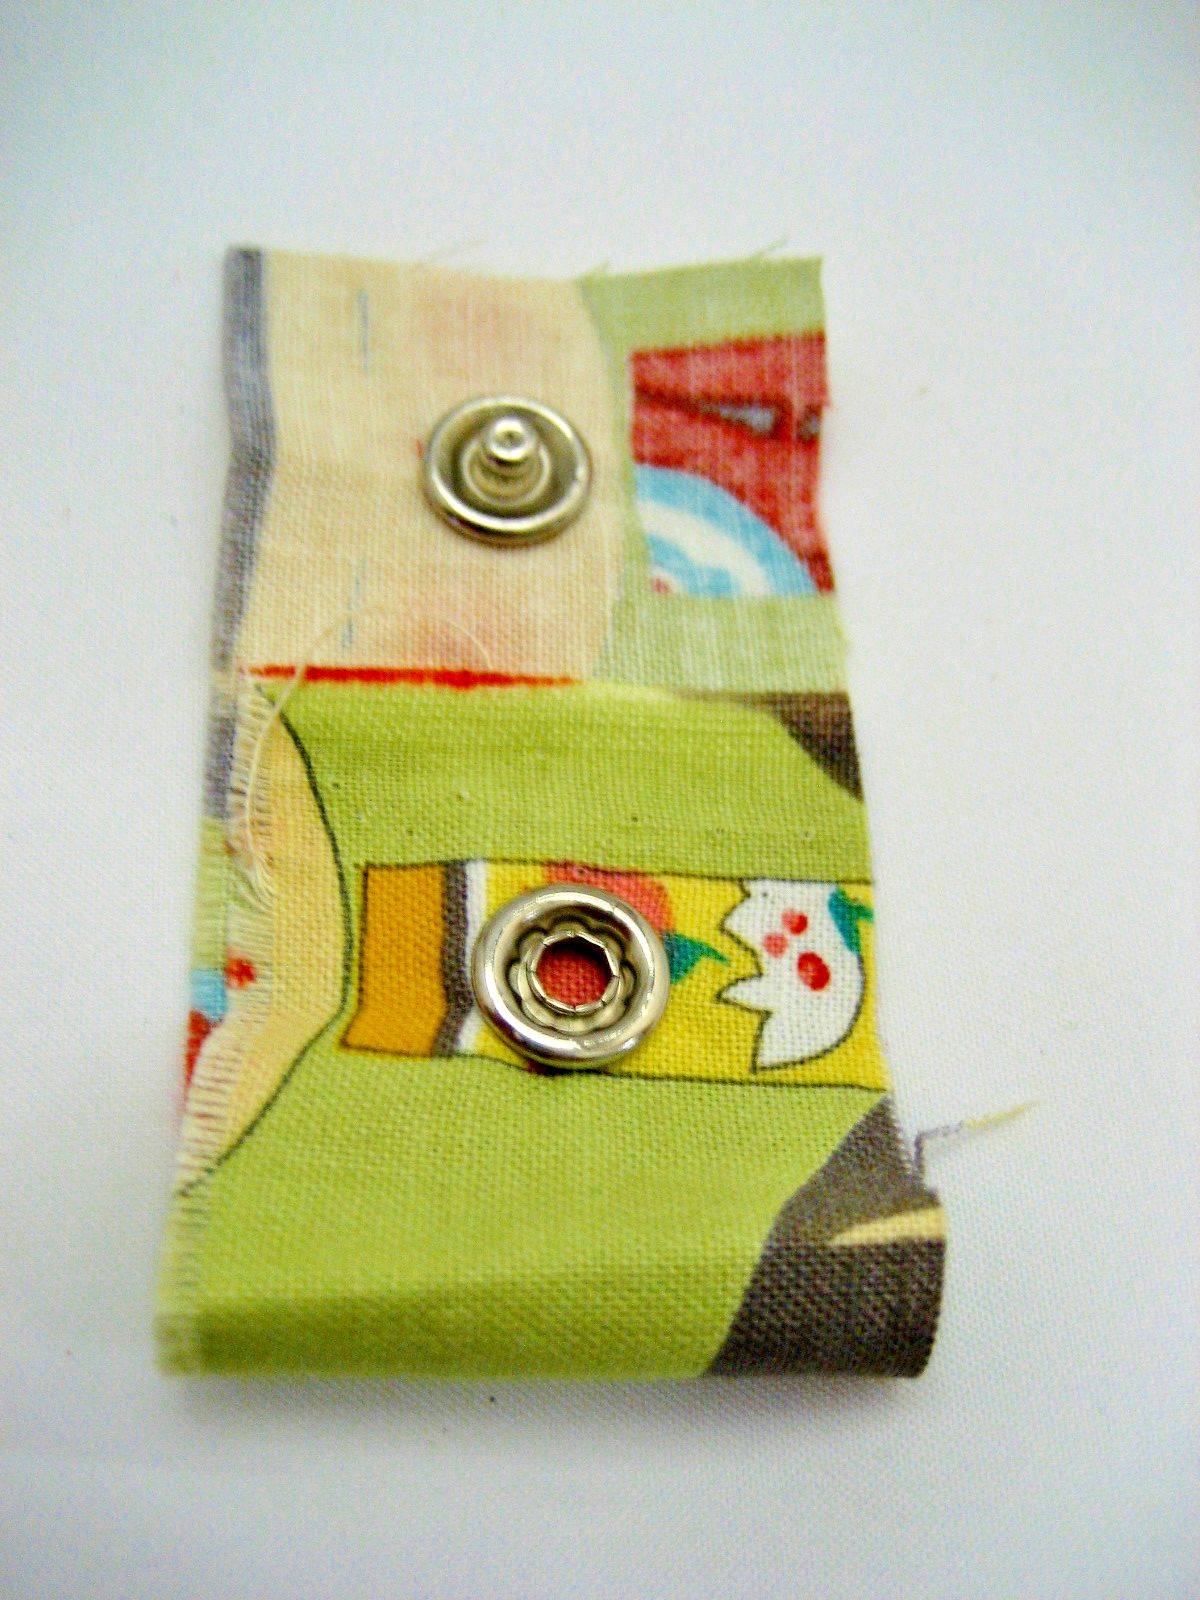
You will need to have the right side of the fabric facing up, and push the coloured metal cap (top prong) through the fabric and pierce it - so that the prongs stick through into the wrong side of the fabric.
The coloured metal cap (top prong) should be centered around the mark you left on the fabric. For the Sandi ID wallet, the top prong and stud should be place on the top flap. Whilst the bottom prong and socket should be placed on the base of the wallet.
Focus on the coloured metal cap (top prong) which has pierced through the good side of the fabric on the left. The dark pink cap is there for reference.
Grab the stud and align it with the top prong, on the wrong side of the fabric.
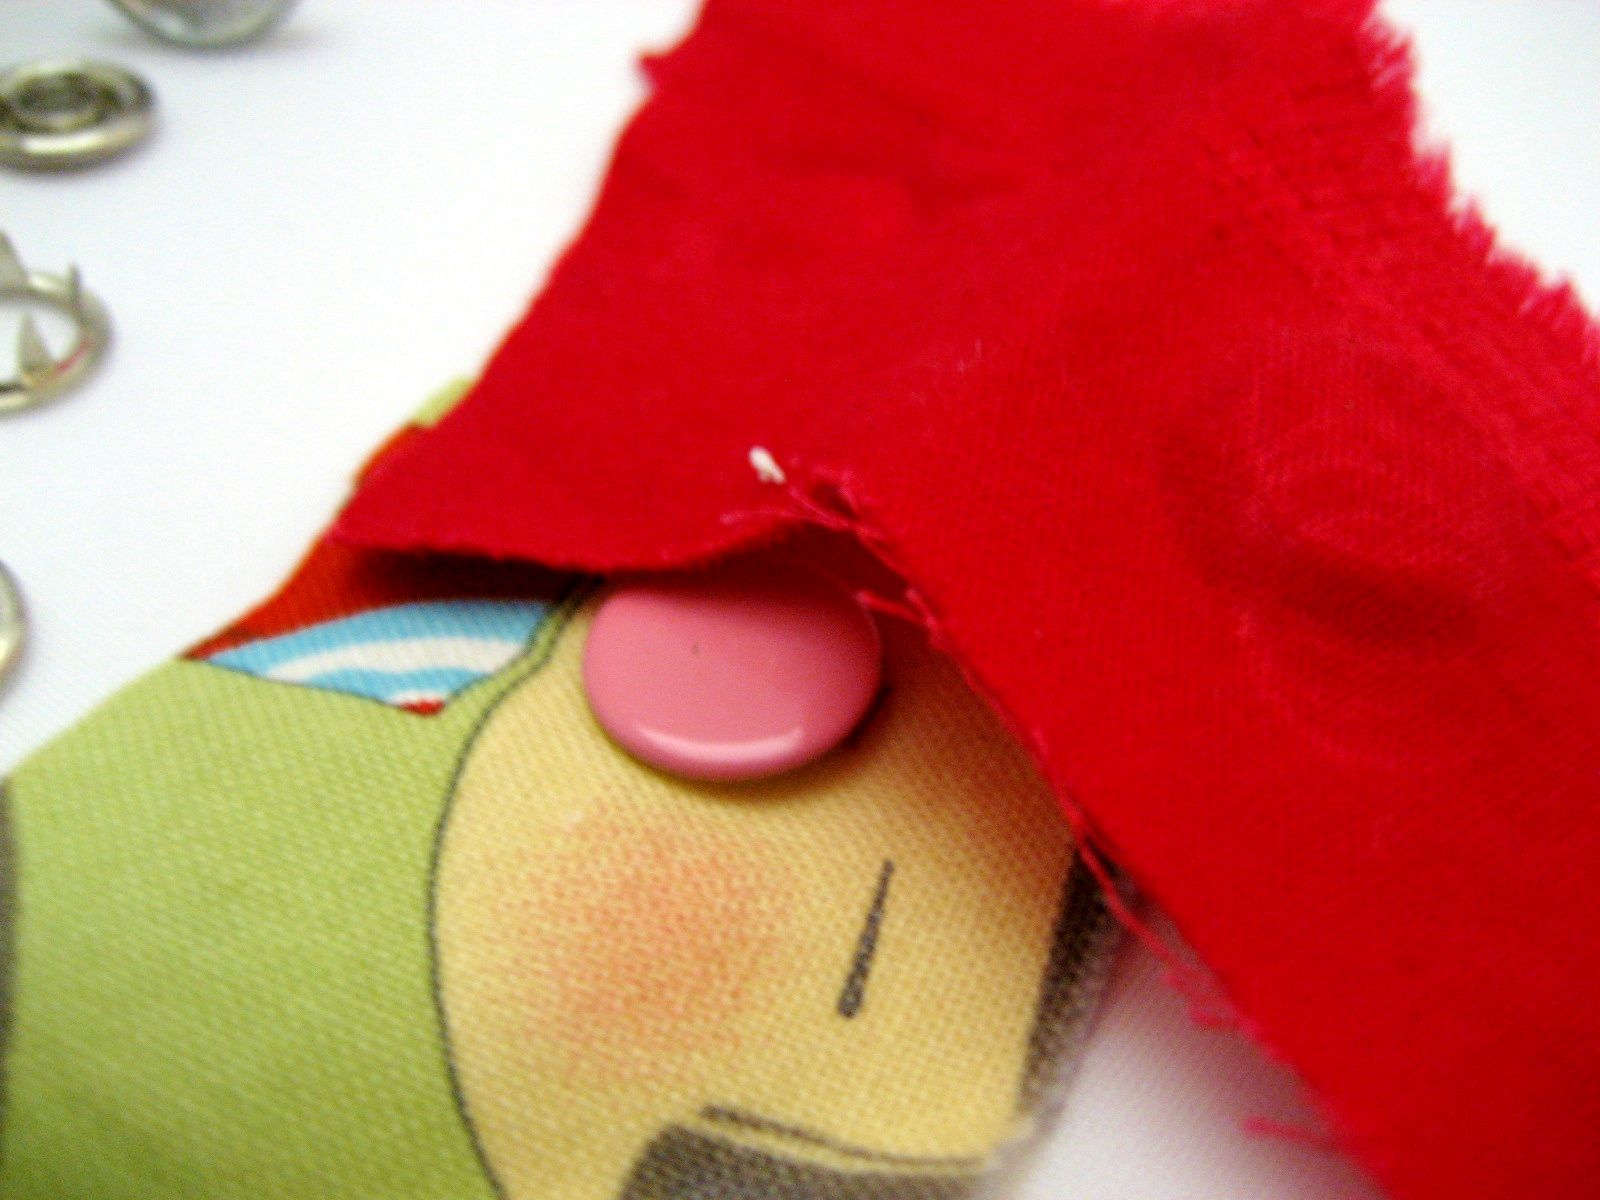
Fold your scrap fabric in half so you have a double layer to protect the painted colour metal cap from your pliers.
Make sure the stud and coloured metal cap (top prong) are aligned correctly.
Firmly press around the base of the study (NOT directly on the jutting out studdy part but the base of the stud).
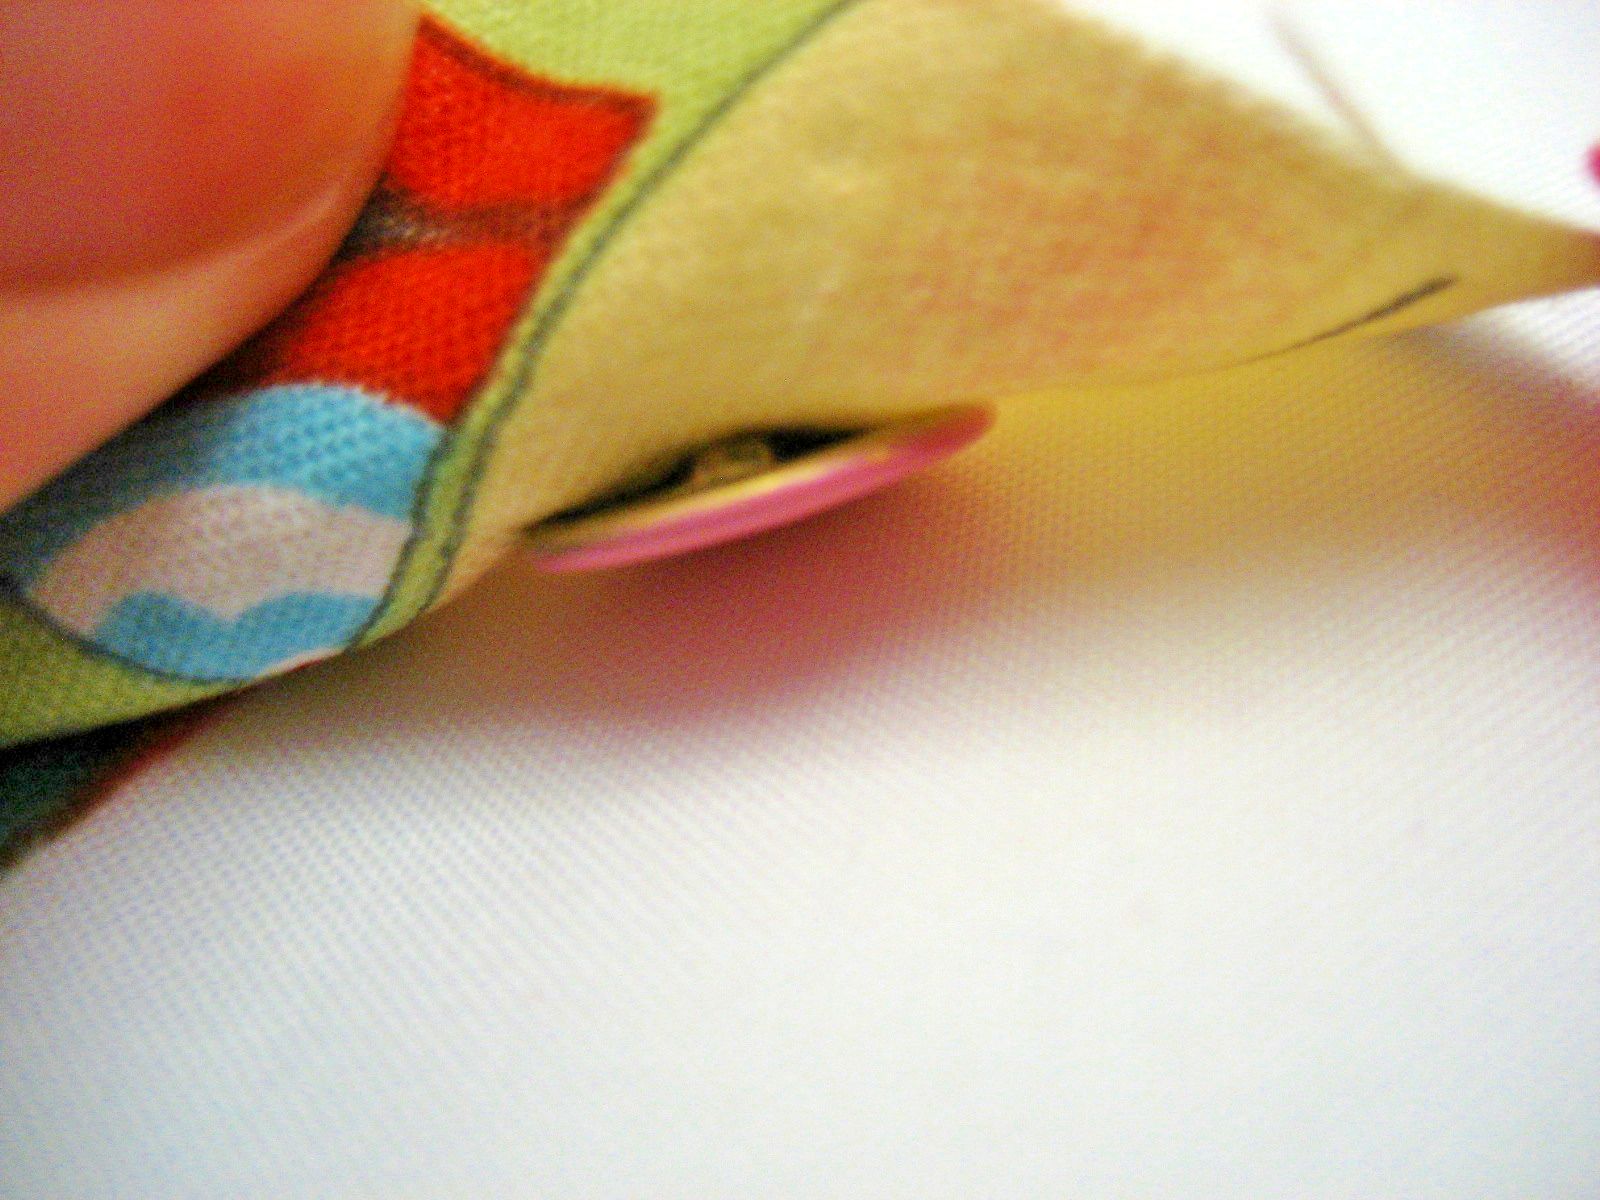
If parts of the prong have not fully been pushed in you will be able to tell once you pull a little on the fabric as seen in the picture below.
Press around the base of the study again.
Now grab the bottom prong and the socket.
The socket has two sides so the one on the right is how you want it to be placed, otherwise the stud and socket will be a little loose. If you are unsure just snap them to each other and memorise which side of the socket fit - I do it frequently and then forget which side was correct and end up triple checking the fit like a minor OCD habit.
Again piece the fabric with the bottom prongs, however this time you want the prongs to poke out into the good side of the fabric. The socket will go on top of this.
Align the bottom prong and the socket.
Using the scrap fabric to cover the bottom prong ring, firmly squeeze together the bottom prong and the socket.
Now check the fit of the study it should be perfect! Especially if you are like me and had to triple check which side of the socket was upwards.
Now you have successfully installed a metal snap prong button with no injury to your fingers, or your wallet because all your money had to go into the swear jar for ruined buttons and counter tops from hammering.
Give the wallet a quick press and be careful not to iron over the vinyl as it will melt. If you need to stuff a spare cloth or some fabric inside the pouch to created a barrier between the front of the wallet and vinyl.
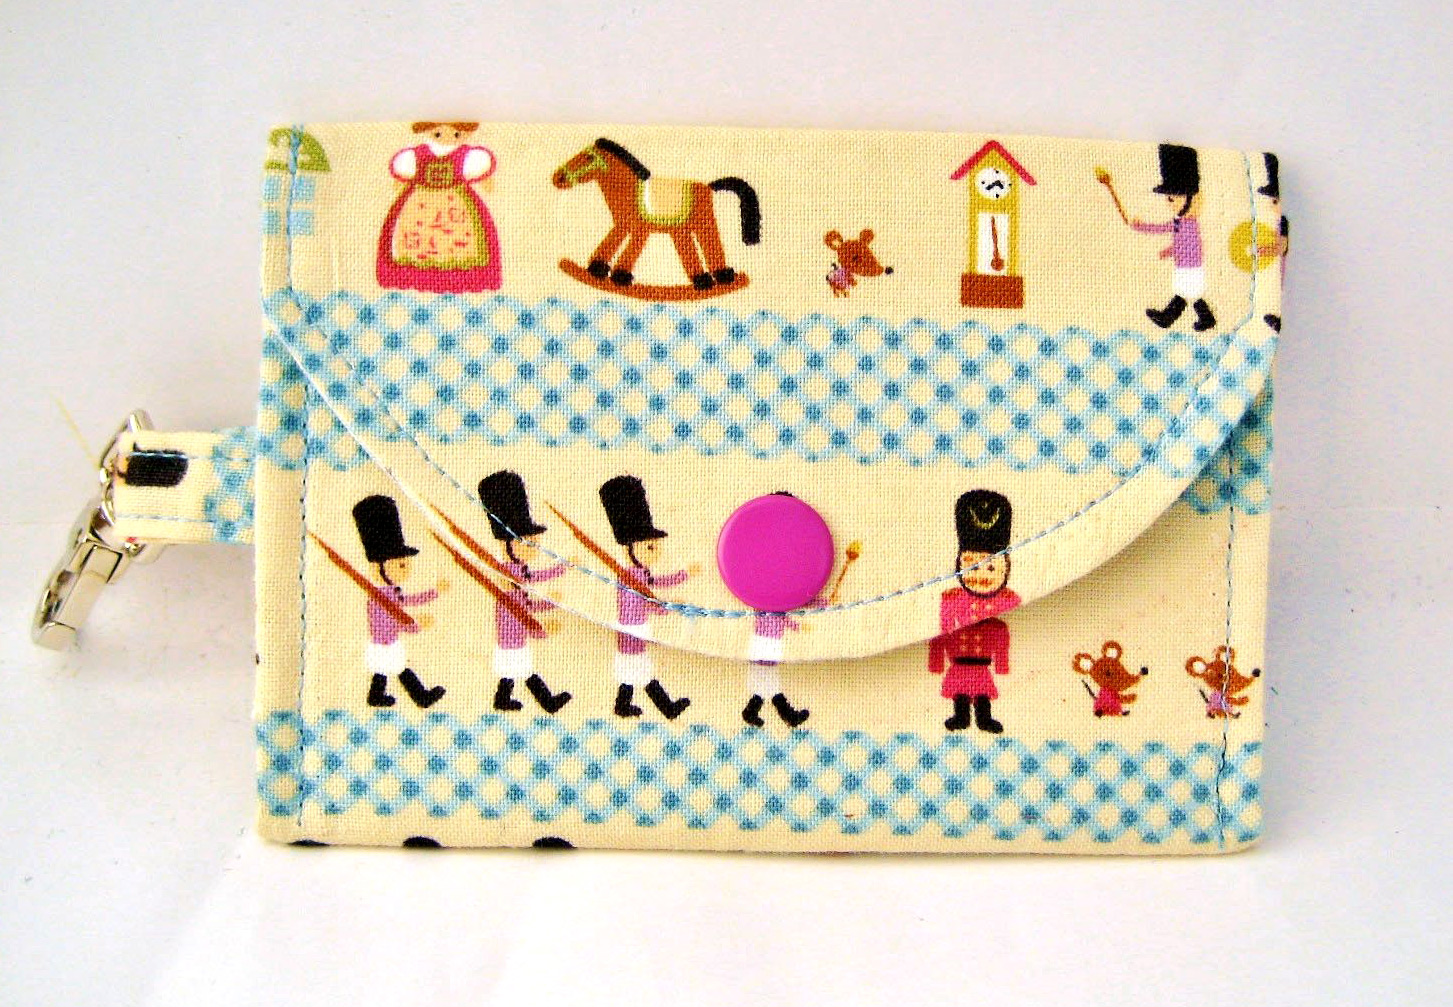
Front of the Sandi ID Wallet - a pouch perfect for keys, coins and hairpins.
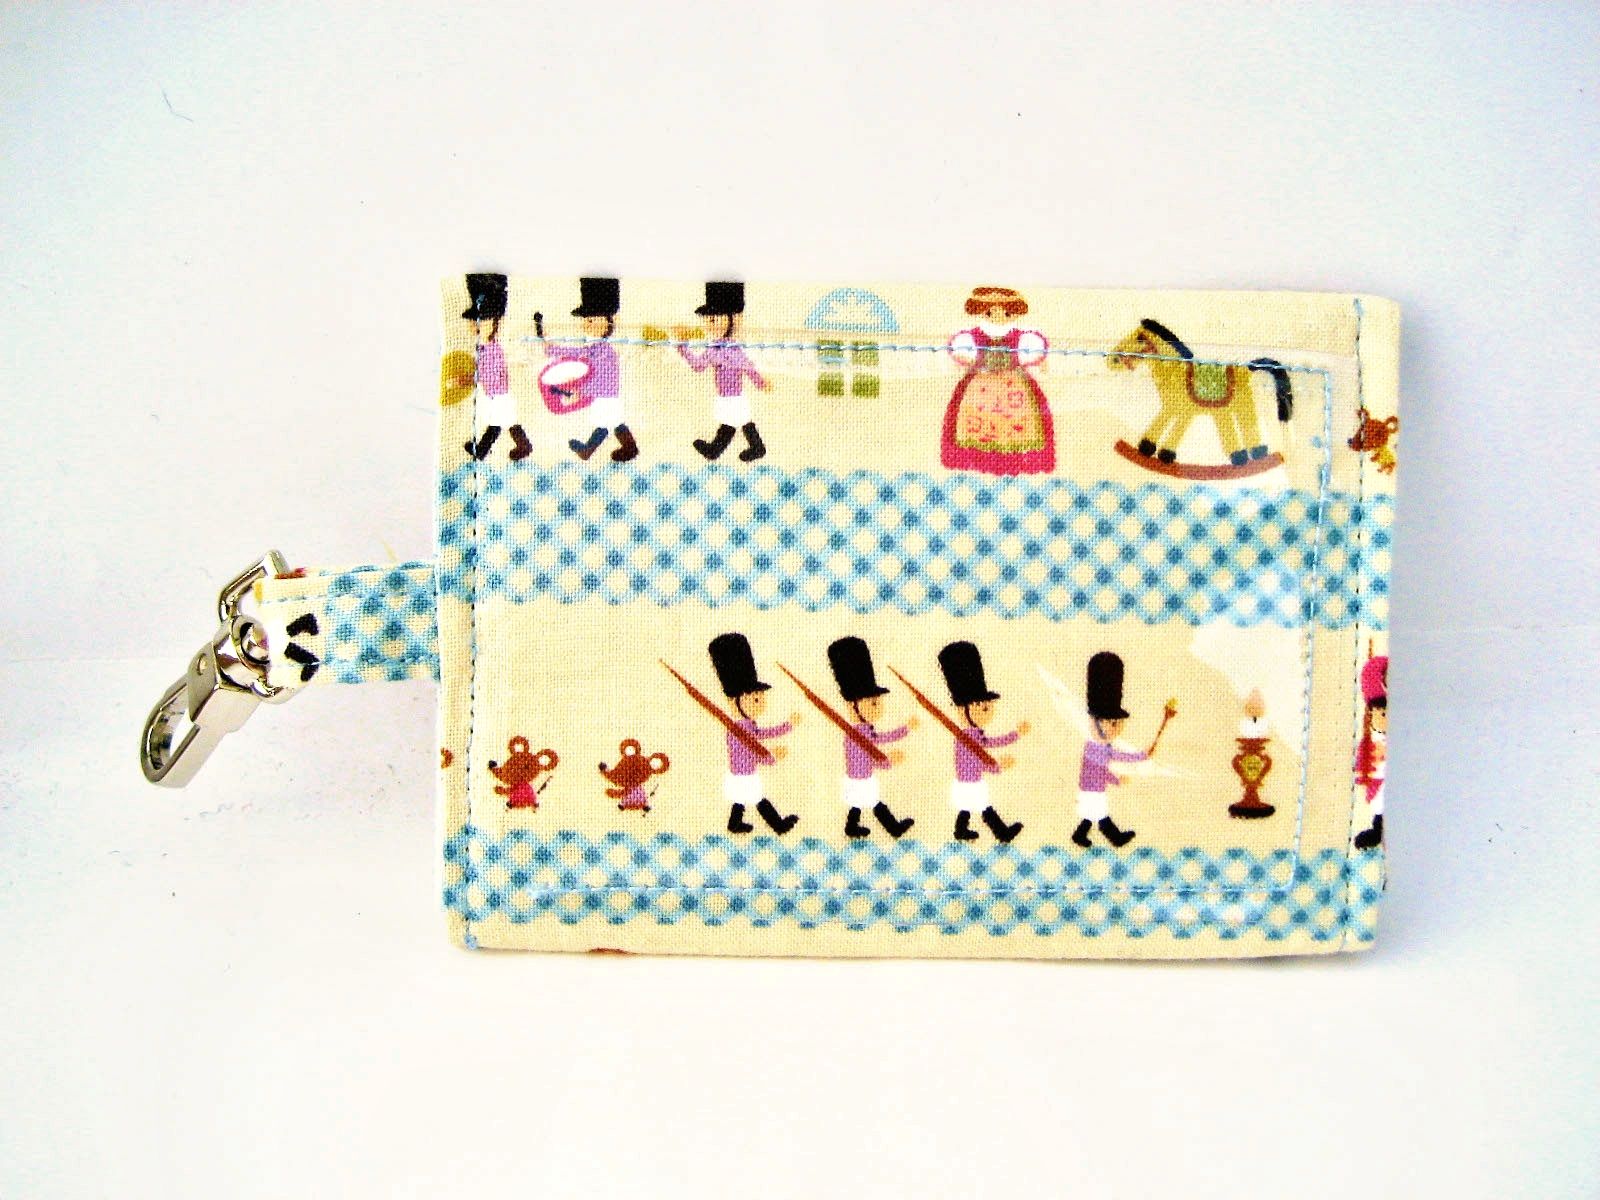
Back of the Sandi ID Wallet - a clear vinyl pocket for IDs.
A close up of the back of the Sandi ID Wallet - triple stitched clear vinyl pocket making it extra secure for holding important cards.












0 comment:
Post a Comment