I'm sure all of my students already know how to make a shell bag, right? Today we will play a new trick, make a shell bag with pinch pleats →-)
Shell bag finished size → 15cm (width) × 12cm (height) × 5cm (thickness)
DOWNLOAD PDF PATTERN
1. The lining of this shell bag is made in the same way as the regular model. To make it easier, cut a 26cm(L) x 21cm(W) piece of lining fabric and a piece of auxiliary cotton. If it is with glue auxiliary cotton, use the ironing method to glue the auxiliary cotton and lining together, if not with glue, use the pressing method to fix the lining and auxiliary cotton. 2.
2. According to the paper shape of the lining fabric, trim the lining fabric and the auxiliary cotton together, and then cut a small notch in the middle of the top, bottom, left, and right points to mark.
3. The paper pattern for the fabric is a bit weird. Cut the fabric according to the paper pattern, and don't forget to mark the fabric with a knife eyelet where you pinch the pleats. Sew the two edges of the bottom of the bag to the curved bottom edge of the bag, and then press the seam allowance to the bottom of the bag with an iron.
4. Take the cut lining and lay it with the cotton side facing up. Then lay the attached wrap side on top and secure it with a bead pin by aligning it with the midpoint of the bottom edge. Then press a loop of thread along the inside of the tablecloth wrap bottom to secure the tablecloth wrap bottom to the inside→
5. Then align the two midpoints of the shell bag lining with the table cloth in the other direction and position them with a bead pin.
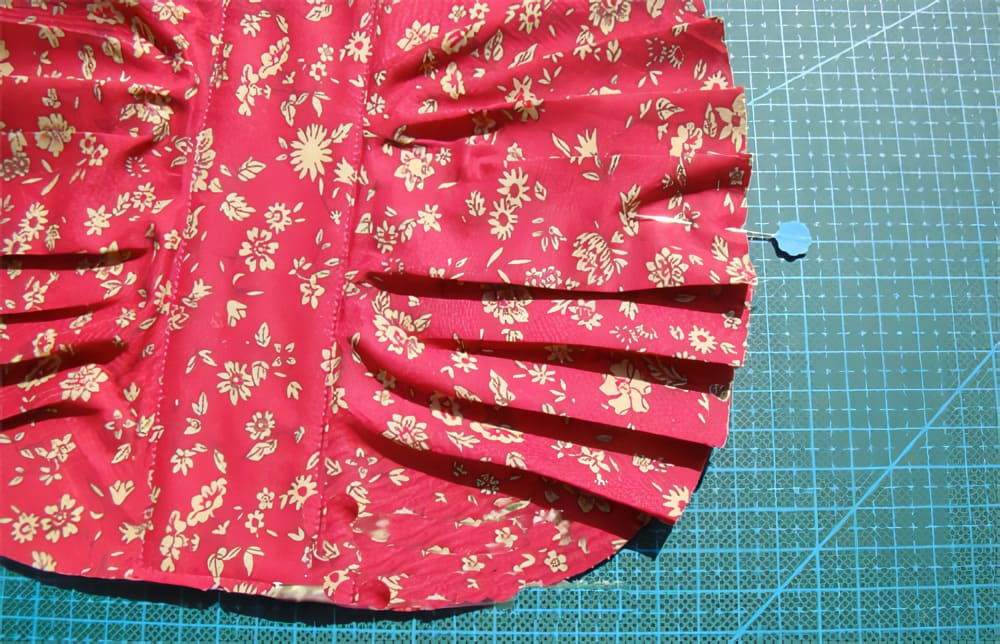
6. Pinch the pleats on the bag's surface according to the markings made, and press the pleats with an iron to shape them. When you pinch the pleats, make sure they are smooth, and the edge of the knife will have a difference in the position of the eye after you pinch the pleats, so don't worry about it for now.
7. After all the pleats have been pinched, sew a circle along the edges to secure the shell bag's tablecloth and inner side, then trim the tablecloth edges neatly along the inner edges.
8. The next step is to sew the zipper on the edge, I will not repeat them here.
For details, see DIY Half Moon Pouch Tutorial


0 comment:
Post a Comment